In the words of Pink Floyd, “It’s good to warm my bones beside the fire”, and in this case, it’s good to warm mine and your bones with delicious and nutritious bone broth!! In the winter months especially, it’s always good to have bone broth on hand. Various recipes call for it and it’s good to sip on as it’s packed full of nutrients that benefits our bodies from head to toe and it soothes the soul. The collagen and marrow from the bones helps our bones strengthen and heal when fractured. It helps our hair and nails to grow. It helps balance our gut, which I have found out is our second brain, and effects so many parts of our bodies as well. If our gut is having issues, more than likely other parts of our body are probably having issues and can play a role into how our mental health is doing. It helps boost our immune system and helps our body to heal when down with an illness. Plus its just comforting during the long winter days.
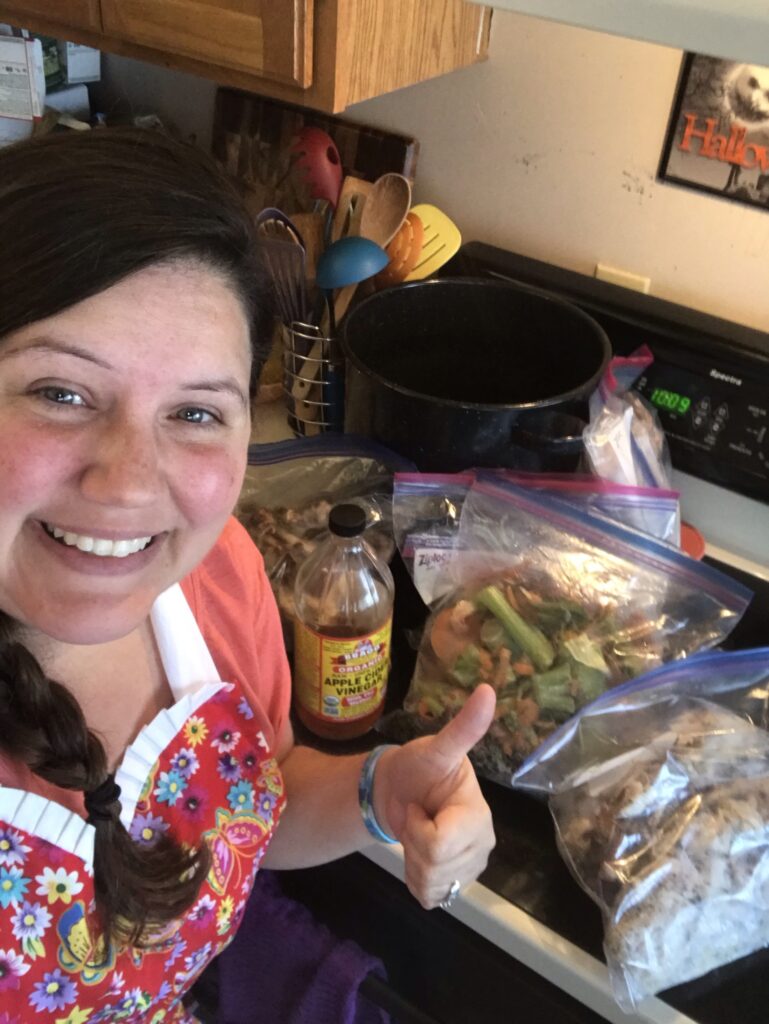
Working with bones from the animals may take a bit of getting used to whether you’re working with chicken feet to use in your chicken bone broth or knuckle and or neck bones when making beef bone broth. It’s perfectly fine if you don’t have these certain kinds of bones when making broth, it just adds more collagen and nutrients, even without those specialized ones, you are still getting a powerhouse of nutrients to your body. If you’re lucky your local butcher may have these kinds of bones. When we get a quarter cow, i ask them to save bones for me and I’ve had friends give me their bones from their butcher as well. Chicken feet has been the hardest for me to find. Luckily a local school was butchering a bunch of their chickens and they were so nice in saving the feet for me! You can also save the leftover bones from your meals by storing them in a zip-lock bag in the freezer. I also save our veggie scraps in the freezer to add extra flavor and nutrients to the broth. (We try and eat as many organic foods as possible, but that’s not always available or affordable) I usually have three separate food scrap containers going on at one time. One is veggie and fruit scraps for our chickens, one for the compost and then one in the freezer for bone broths. I also currently have one that is just for onion peels and scraps to eventually dehydrate and make my own onion powder. I haven’t done this before so this will be a first and excited to try it in the near future!
I also want to mention that it will aromafy your whole house, my son says the beef bone broth makes the house smell like cheeseburgers. One batch of chicken bone broth I made had leftover bones from a chicken that we smoked and that made the house smell so good and gave the broth a hint of smokiness flavor.
Items needed:
- Water
- Organic Apple Cider Vinegar with the mother
- Any and all chicken bones including feet or beef bones such as neck, knuckle, oxtail, t-bones and/or soup bones
- Veggie scraps such as carrots, celery, onion, fennel, leeks, onion and their skins
- Herbs such as thyme, rosemary, bay leaf, ginger, parsley, and garlic and their skins
- The biggest stockpot you have so that you can make a lot at once therefor cutting down on the amount of times needing to make this.
- Himalayan salt (optional
- Cheesecloth
- Strainer
- Large spoon with holes
- Smaller stock pot to hold the strained liquid
- Various sizes of sanitized glass jars with lids – I almost always save glass jars from the foods that we buy and I like to have different sizes as often times a different amount of broth is needed for each use. Sometimes recipes call for a small amount, say no more than a cup, where if you are making a soup, that would need a larger amount, usually around six cups or so, and then if just wanting some to sip on, you would need around two cups for that.
- Plastic walmart type sacks to hold the bones when straining them out
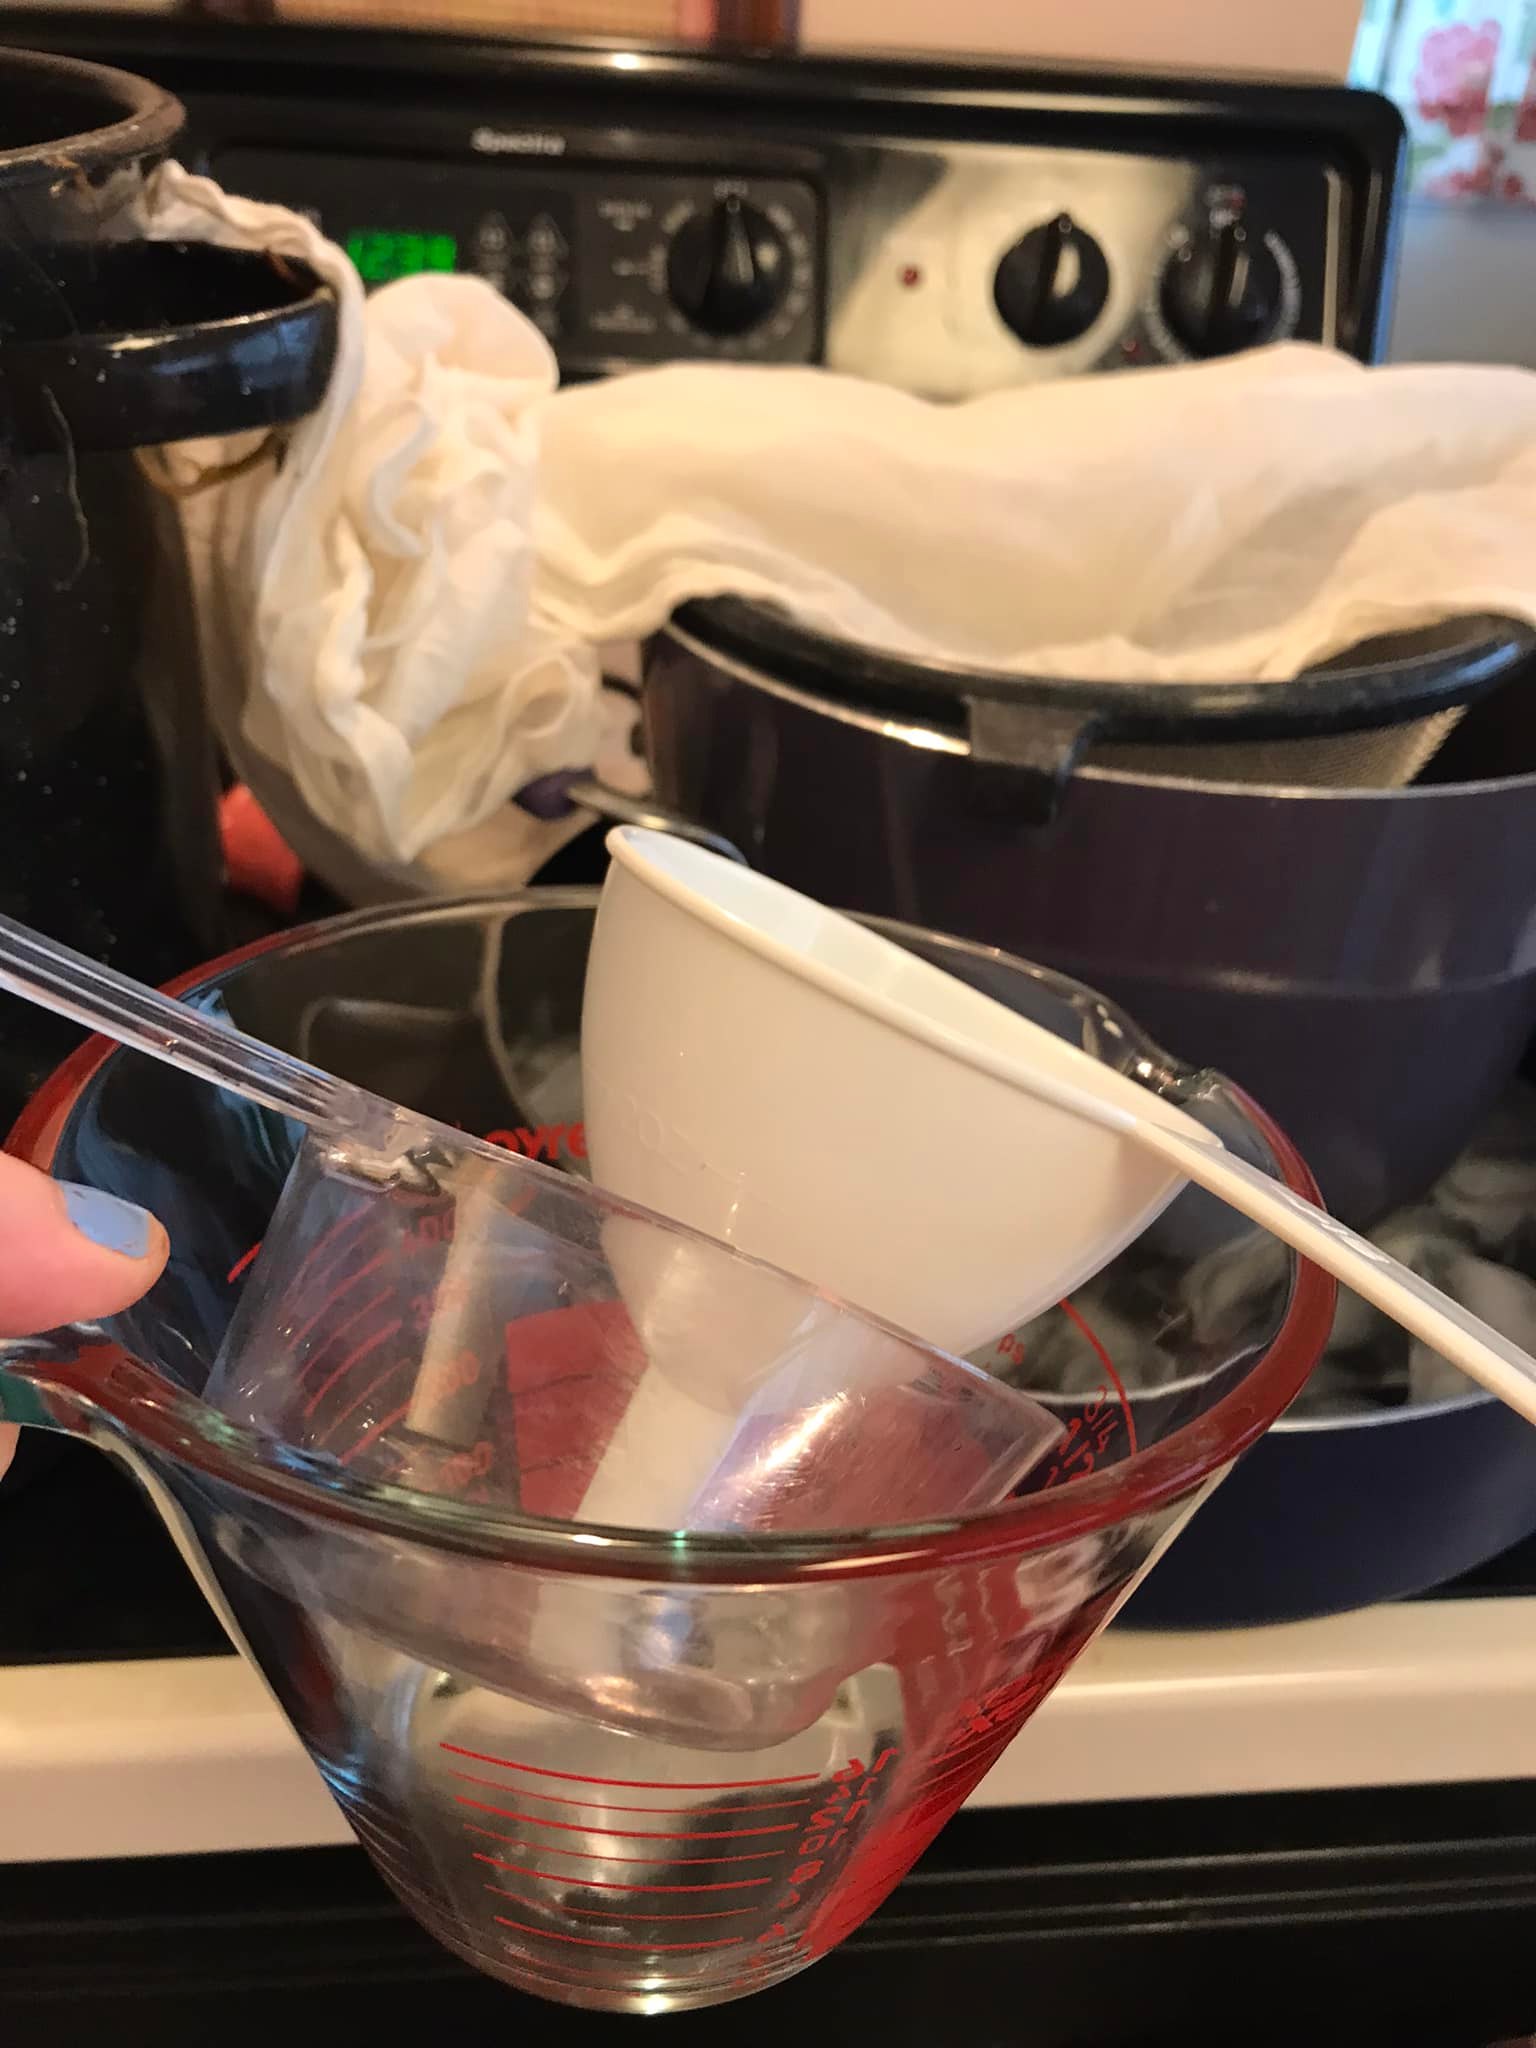
- Funnel to get the strained broth into the jars
- Masking tape and pen or marker to label jars
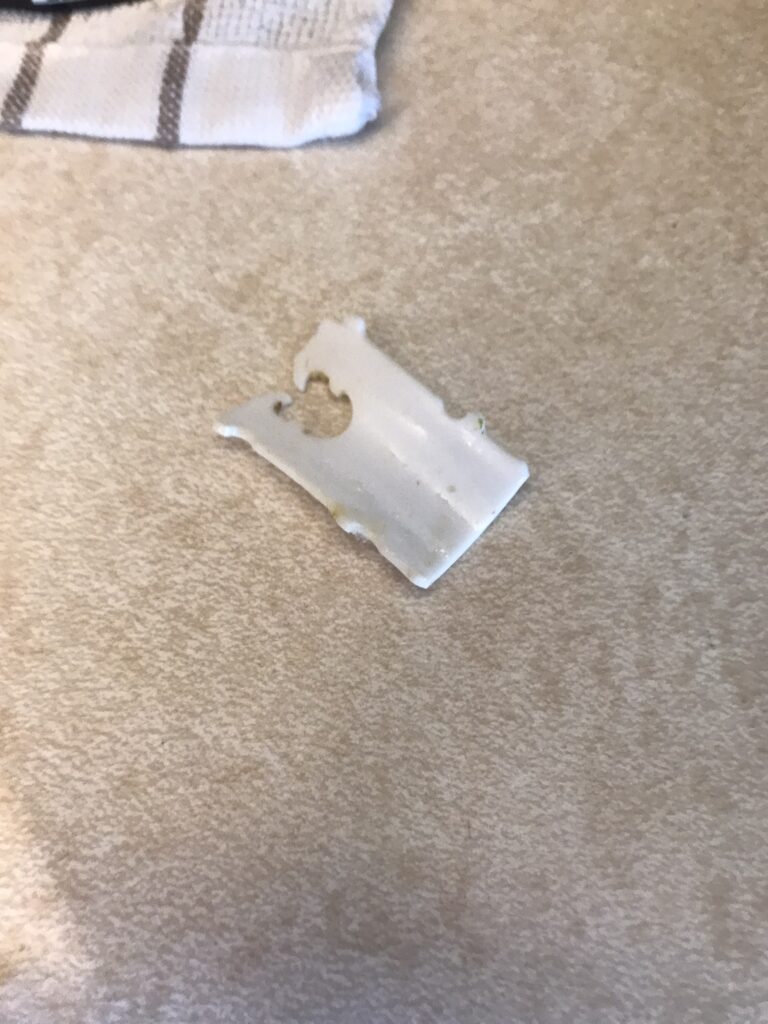
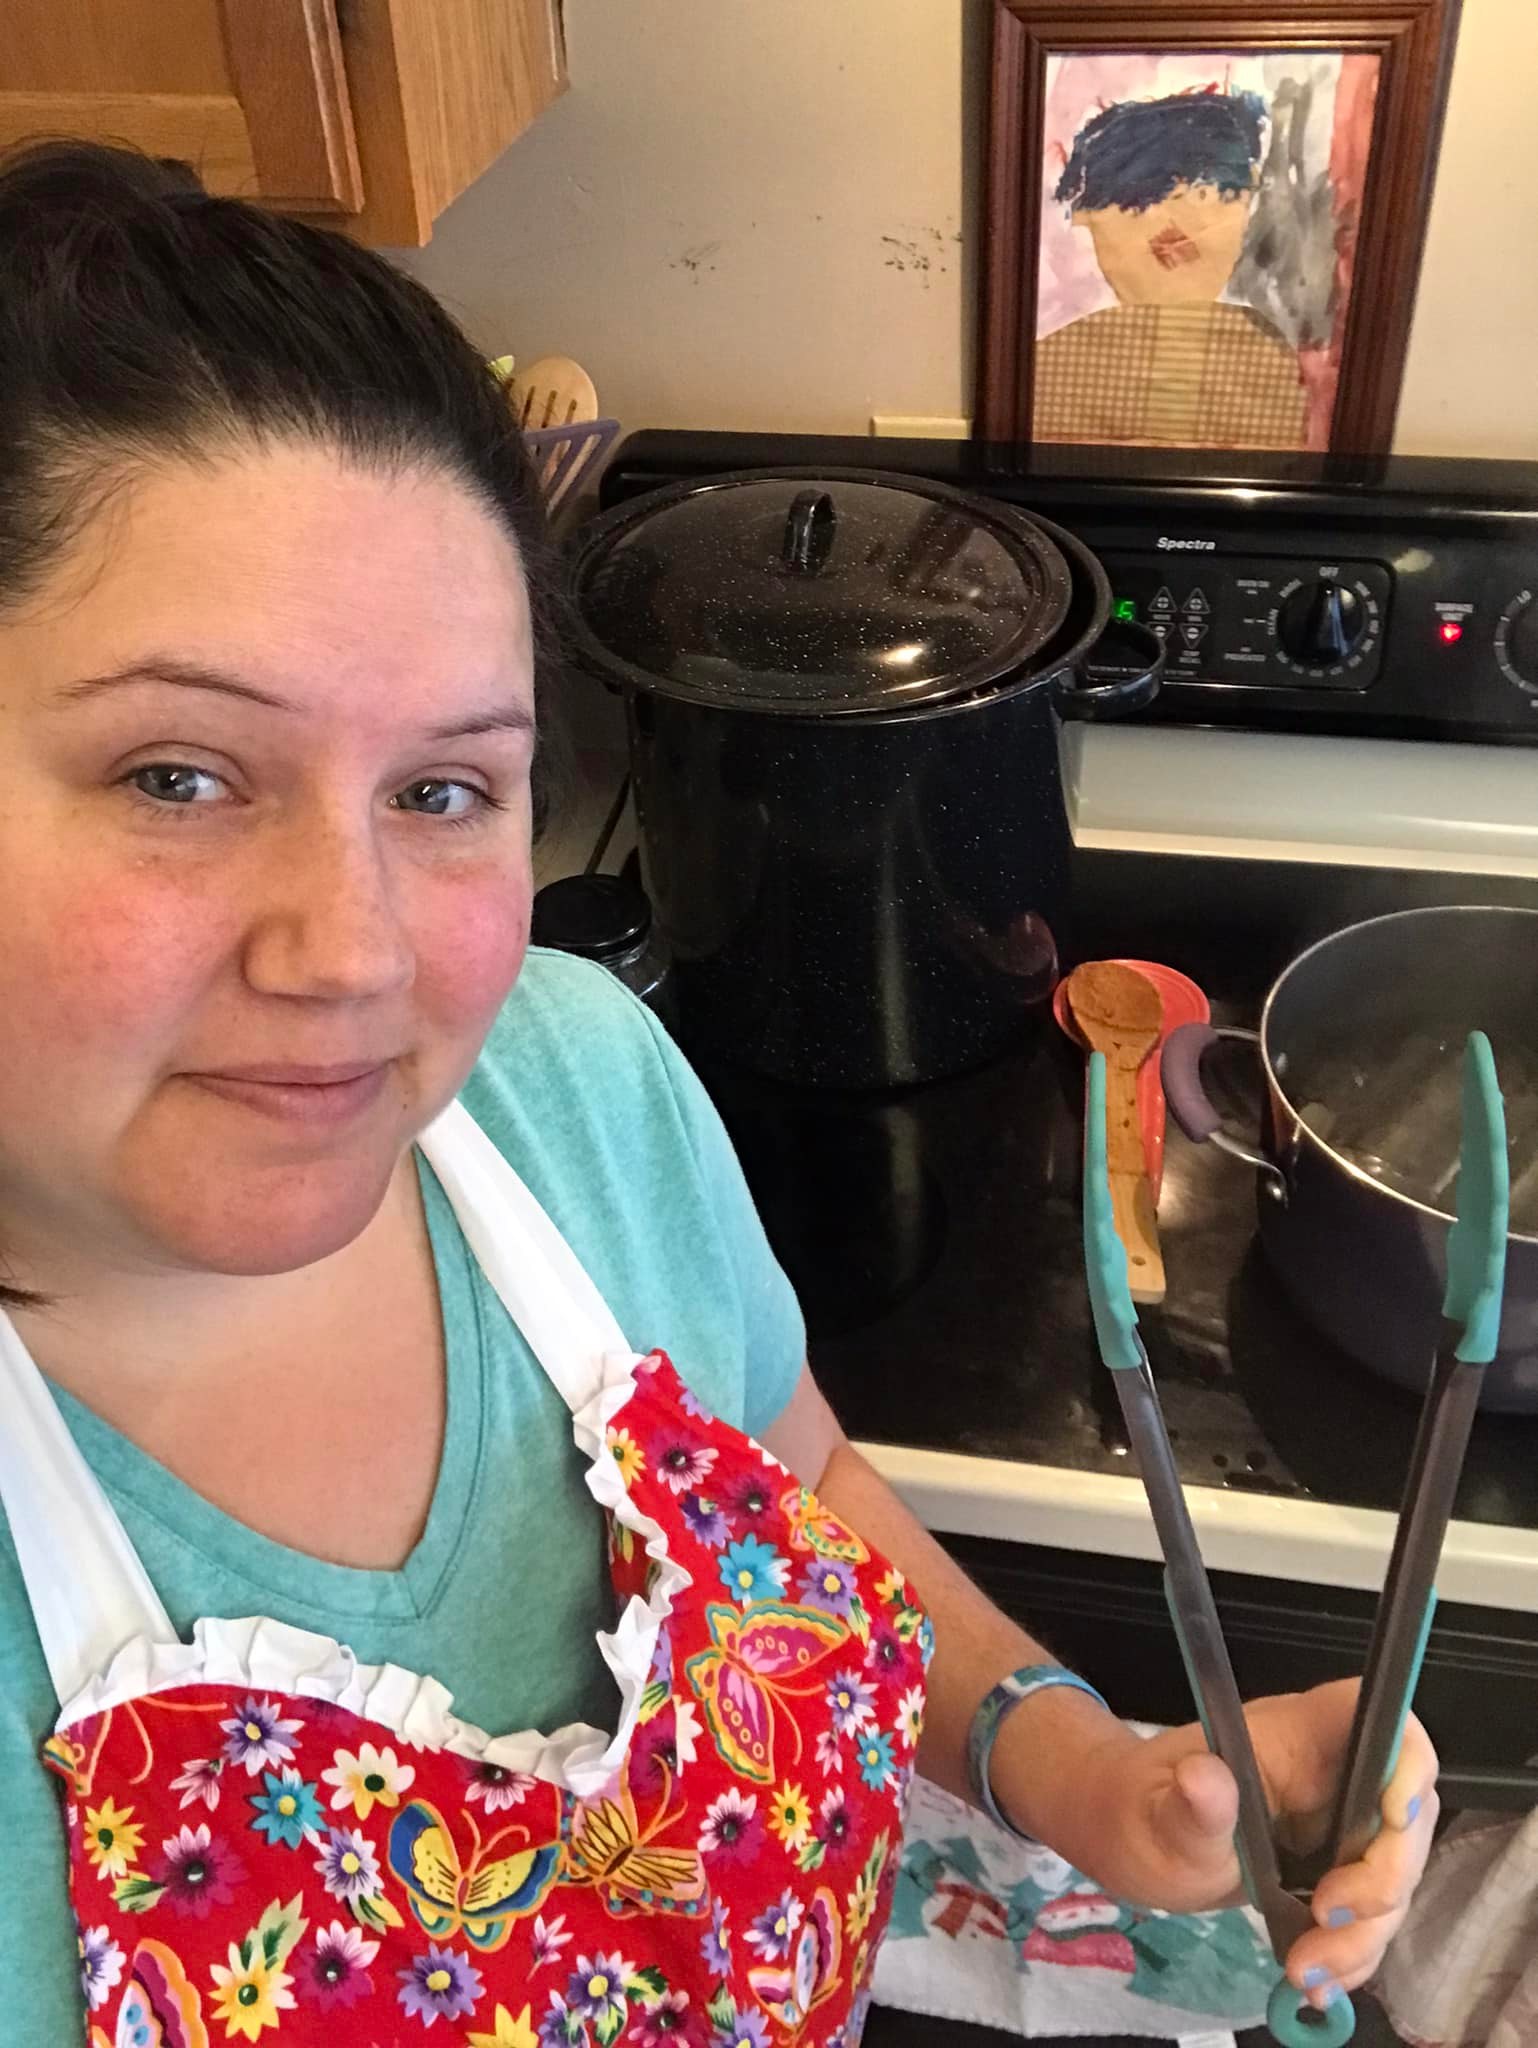
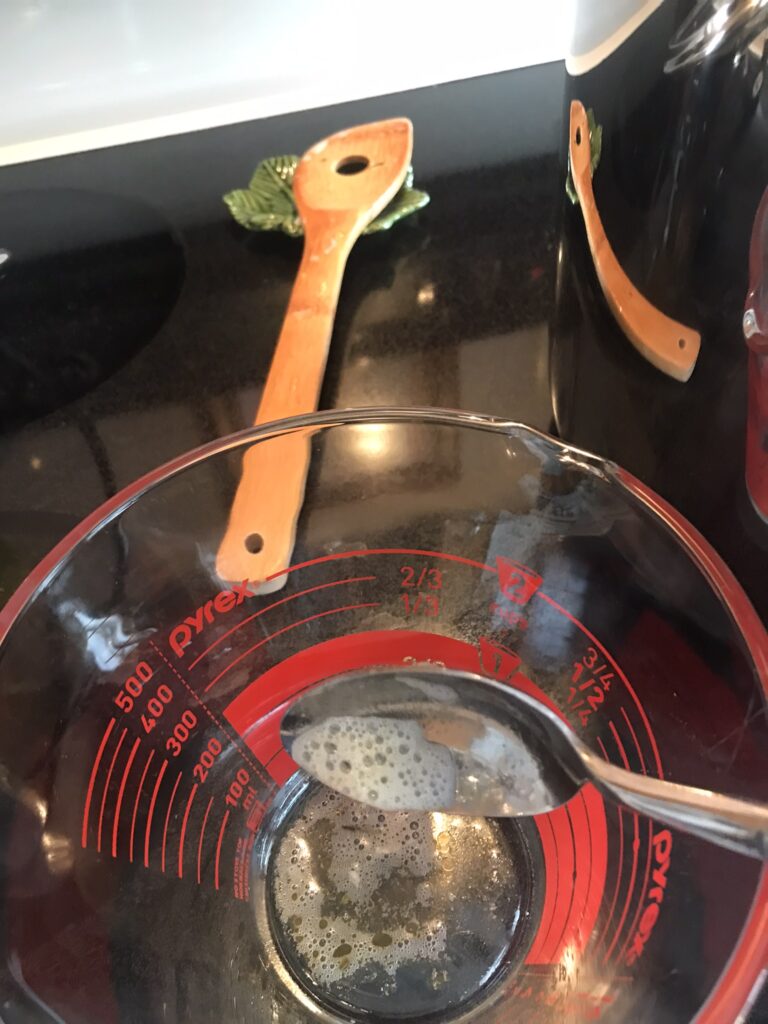
Before we go any further, learn from a mistake of mine, be sure to check through your veggie scraps to make sure there are no clips, twisty ties, rubber bands, stickers, etc. before you save your veggie scraps. I found this when I was straining out the bones and veggies and had to throw out a big beautiful batch
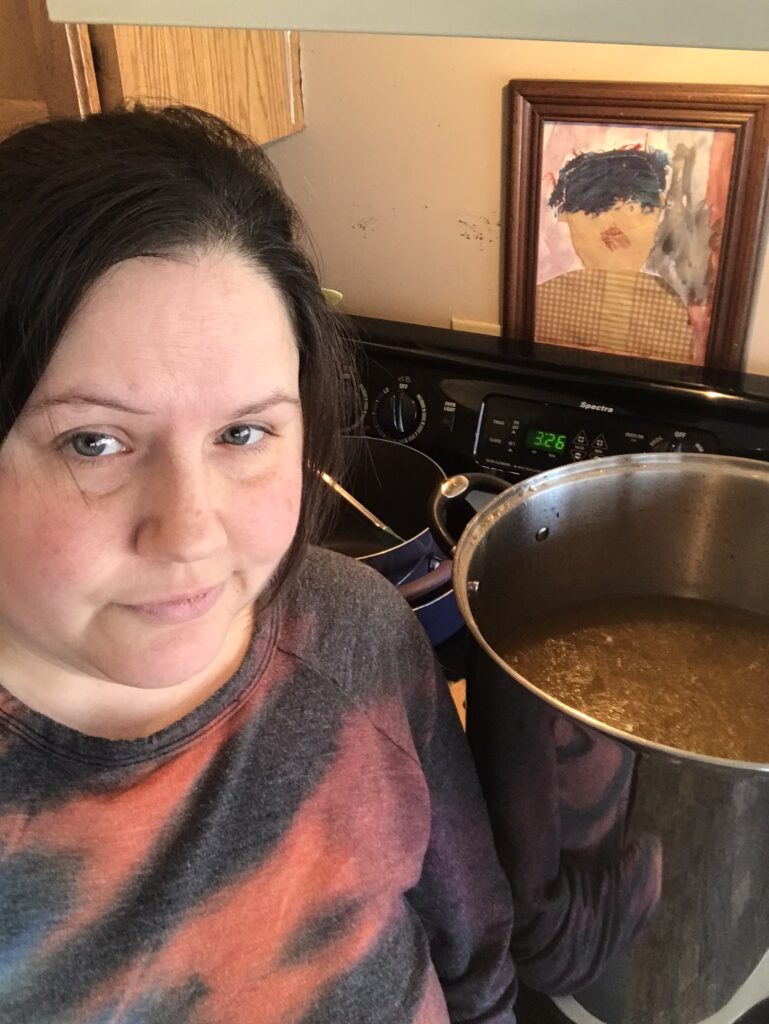
This was my defeated, disgusted face when I learned that I ruined a whole pot full of liquid gold. I could’ve still saved and used it but I wouldn’t have been able to give any to share and I would have thought heavily about it every time I went to use some. So for my mental health and just in case plastic leaked into the broth, I threw out this batch
Beef Bone Broth Tutorial

Soup Bones
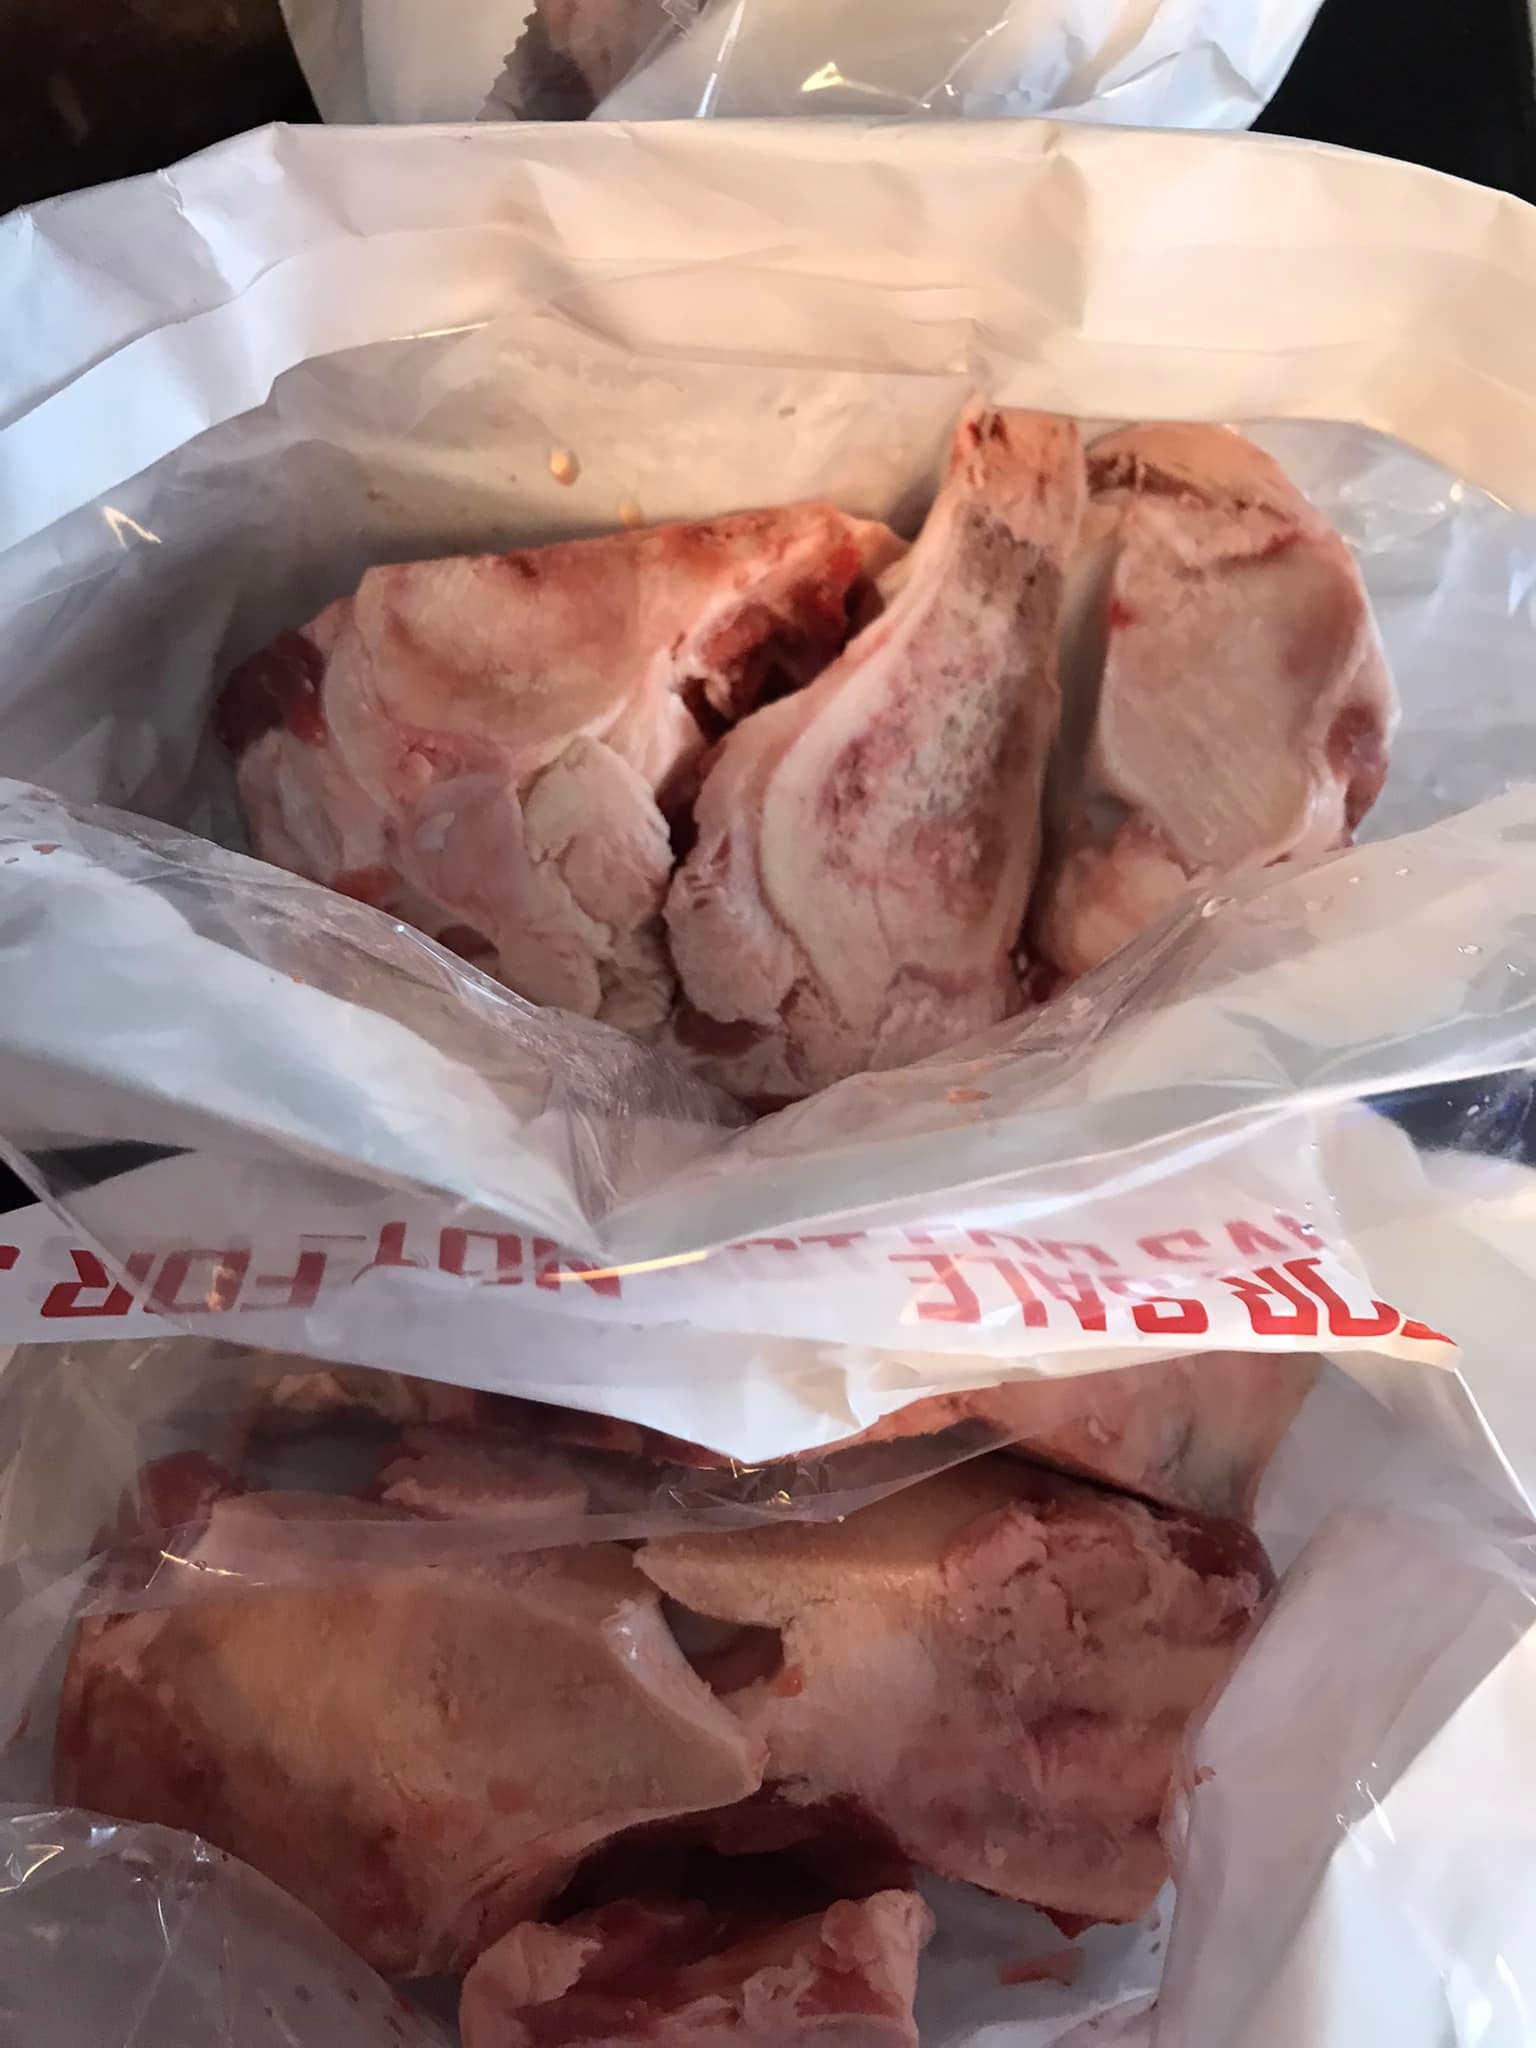
Knuckle Bones
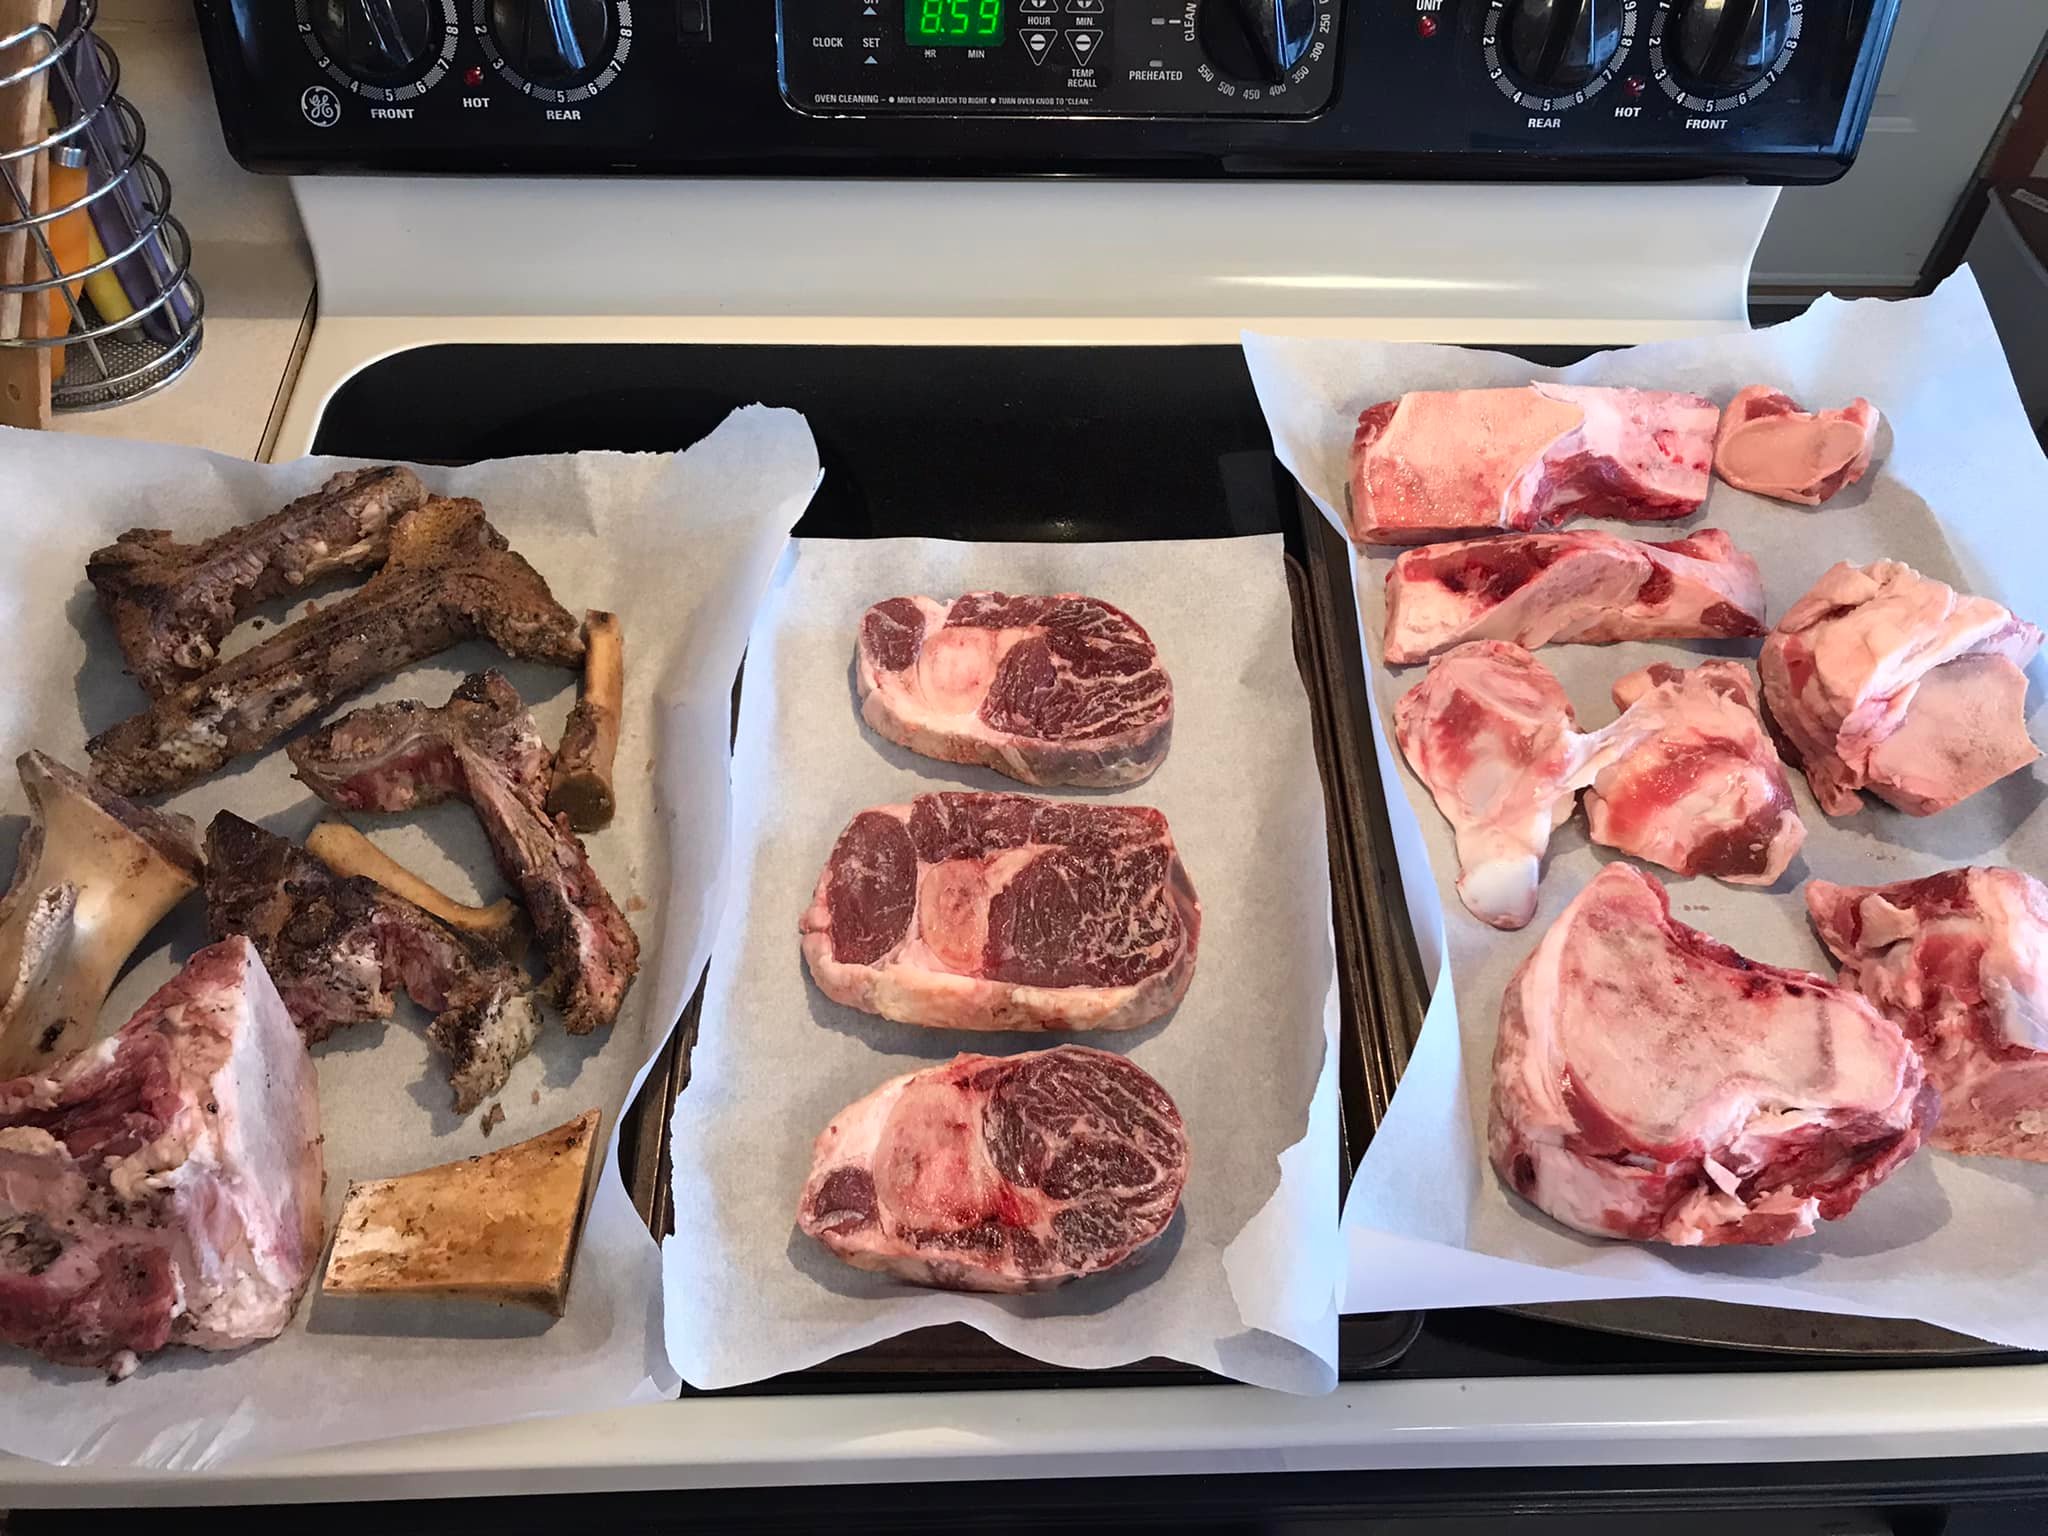
Ready to throw in oven to bake for a bit
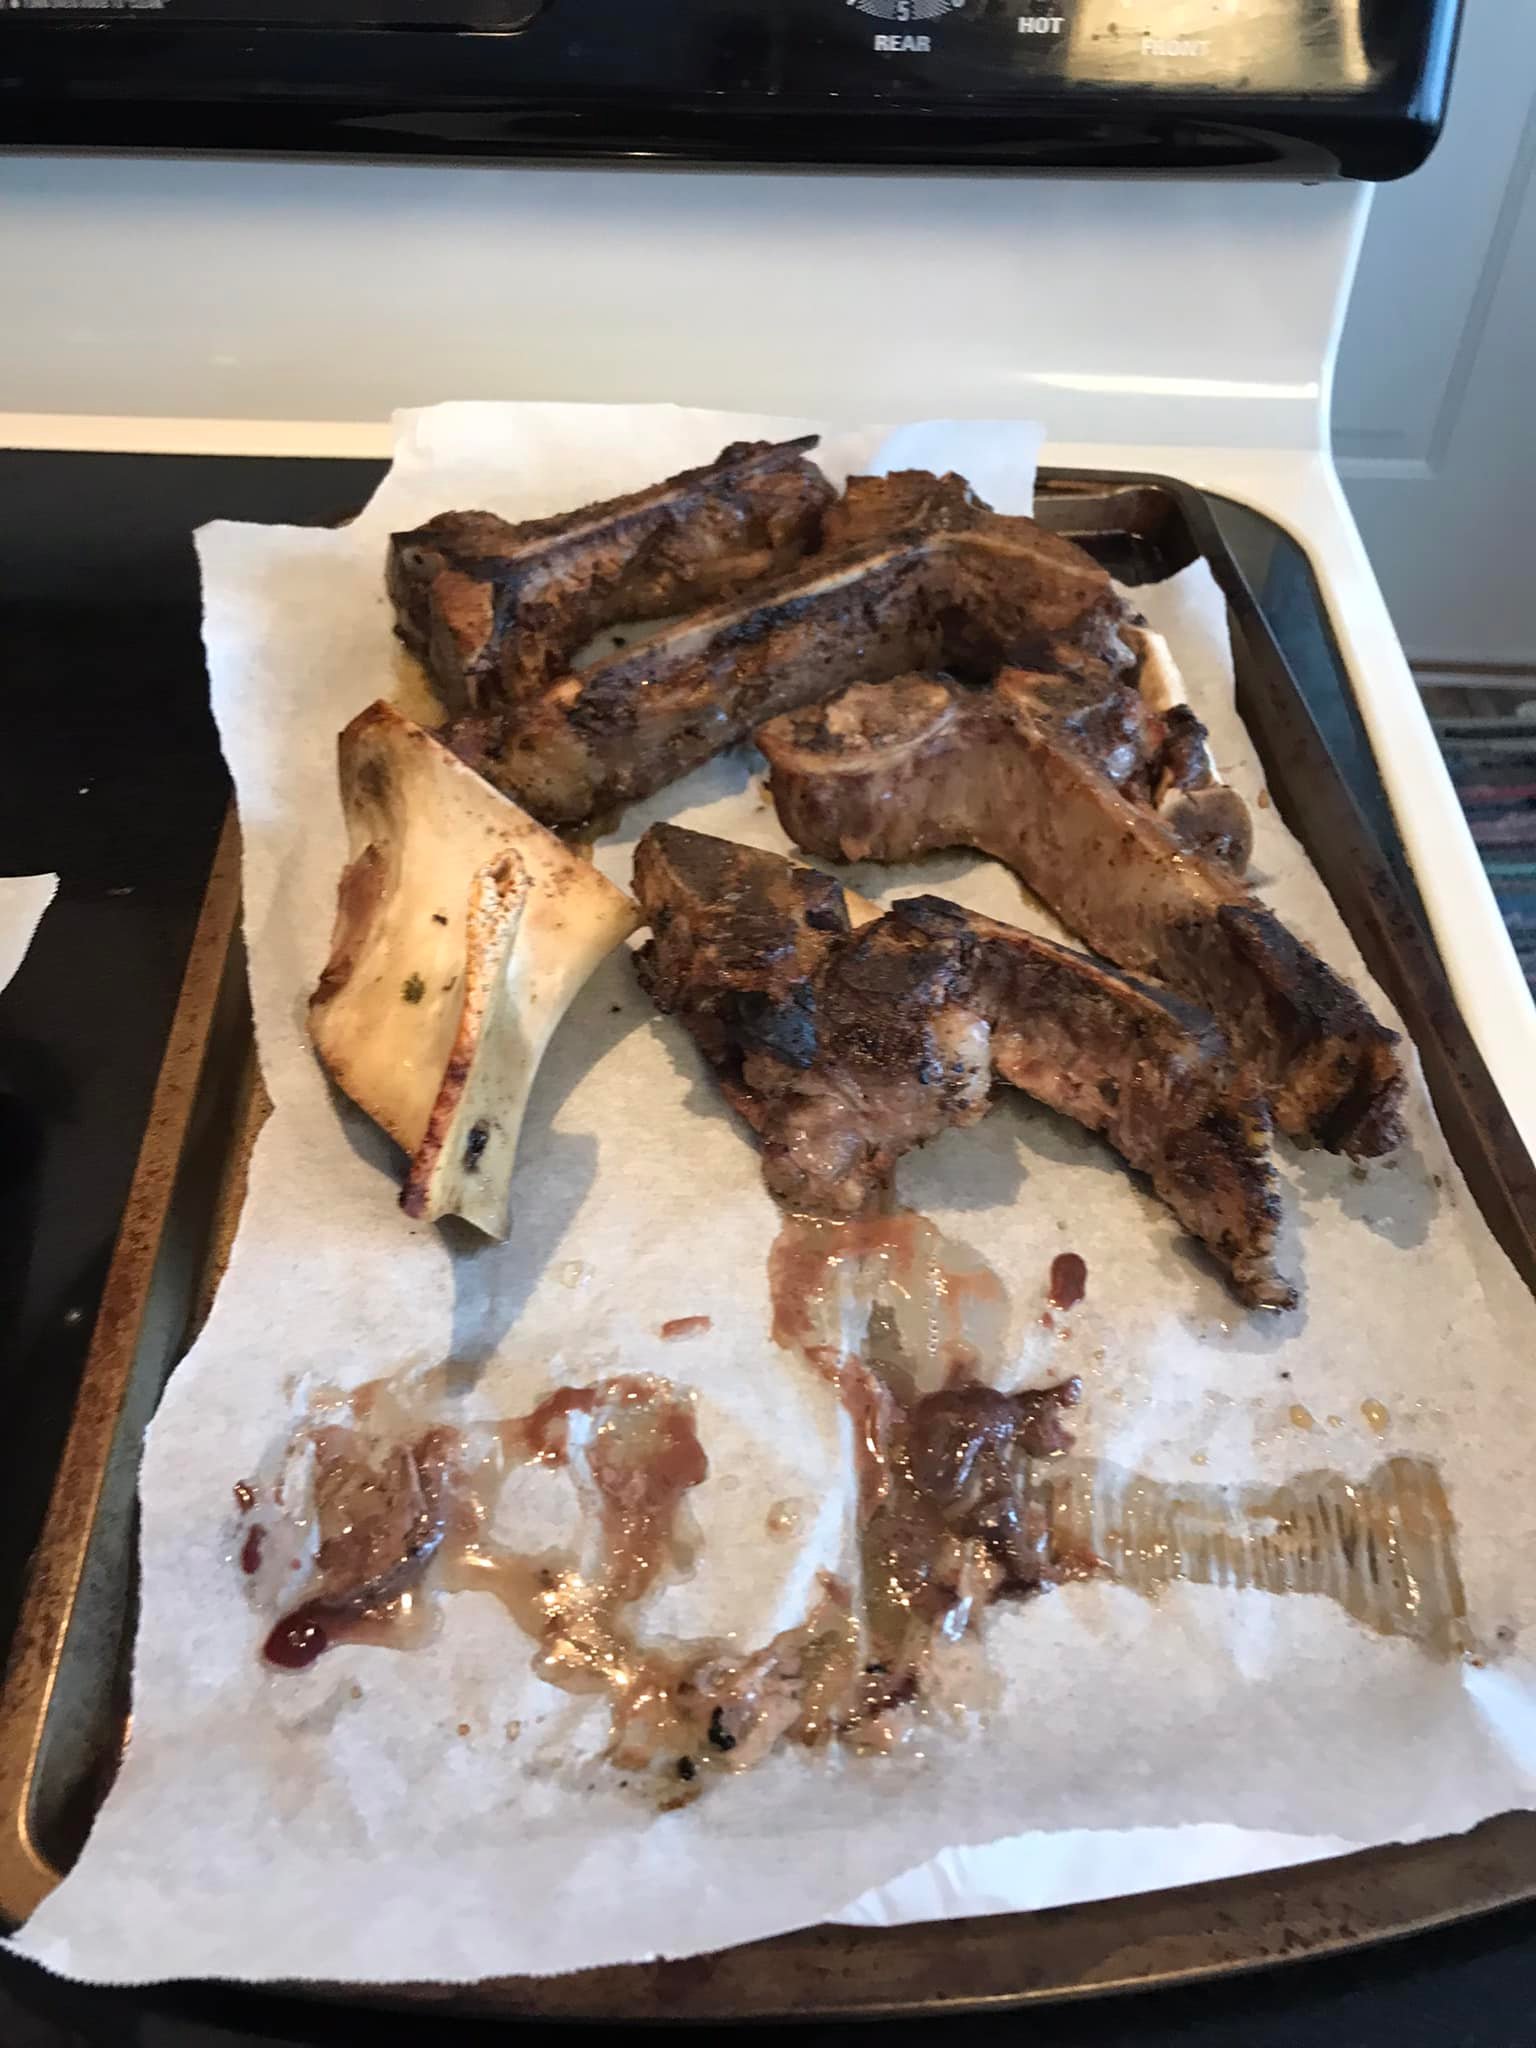
Bake at 400 for 25 minutes or so. This brings out the flavor and gives the broth a rich, beautiful color
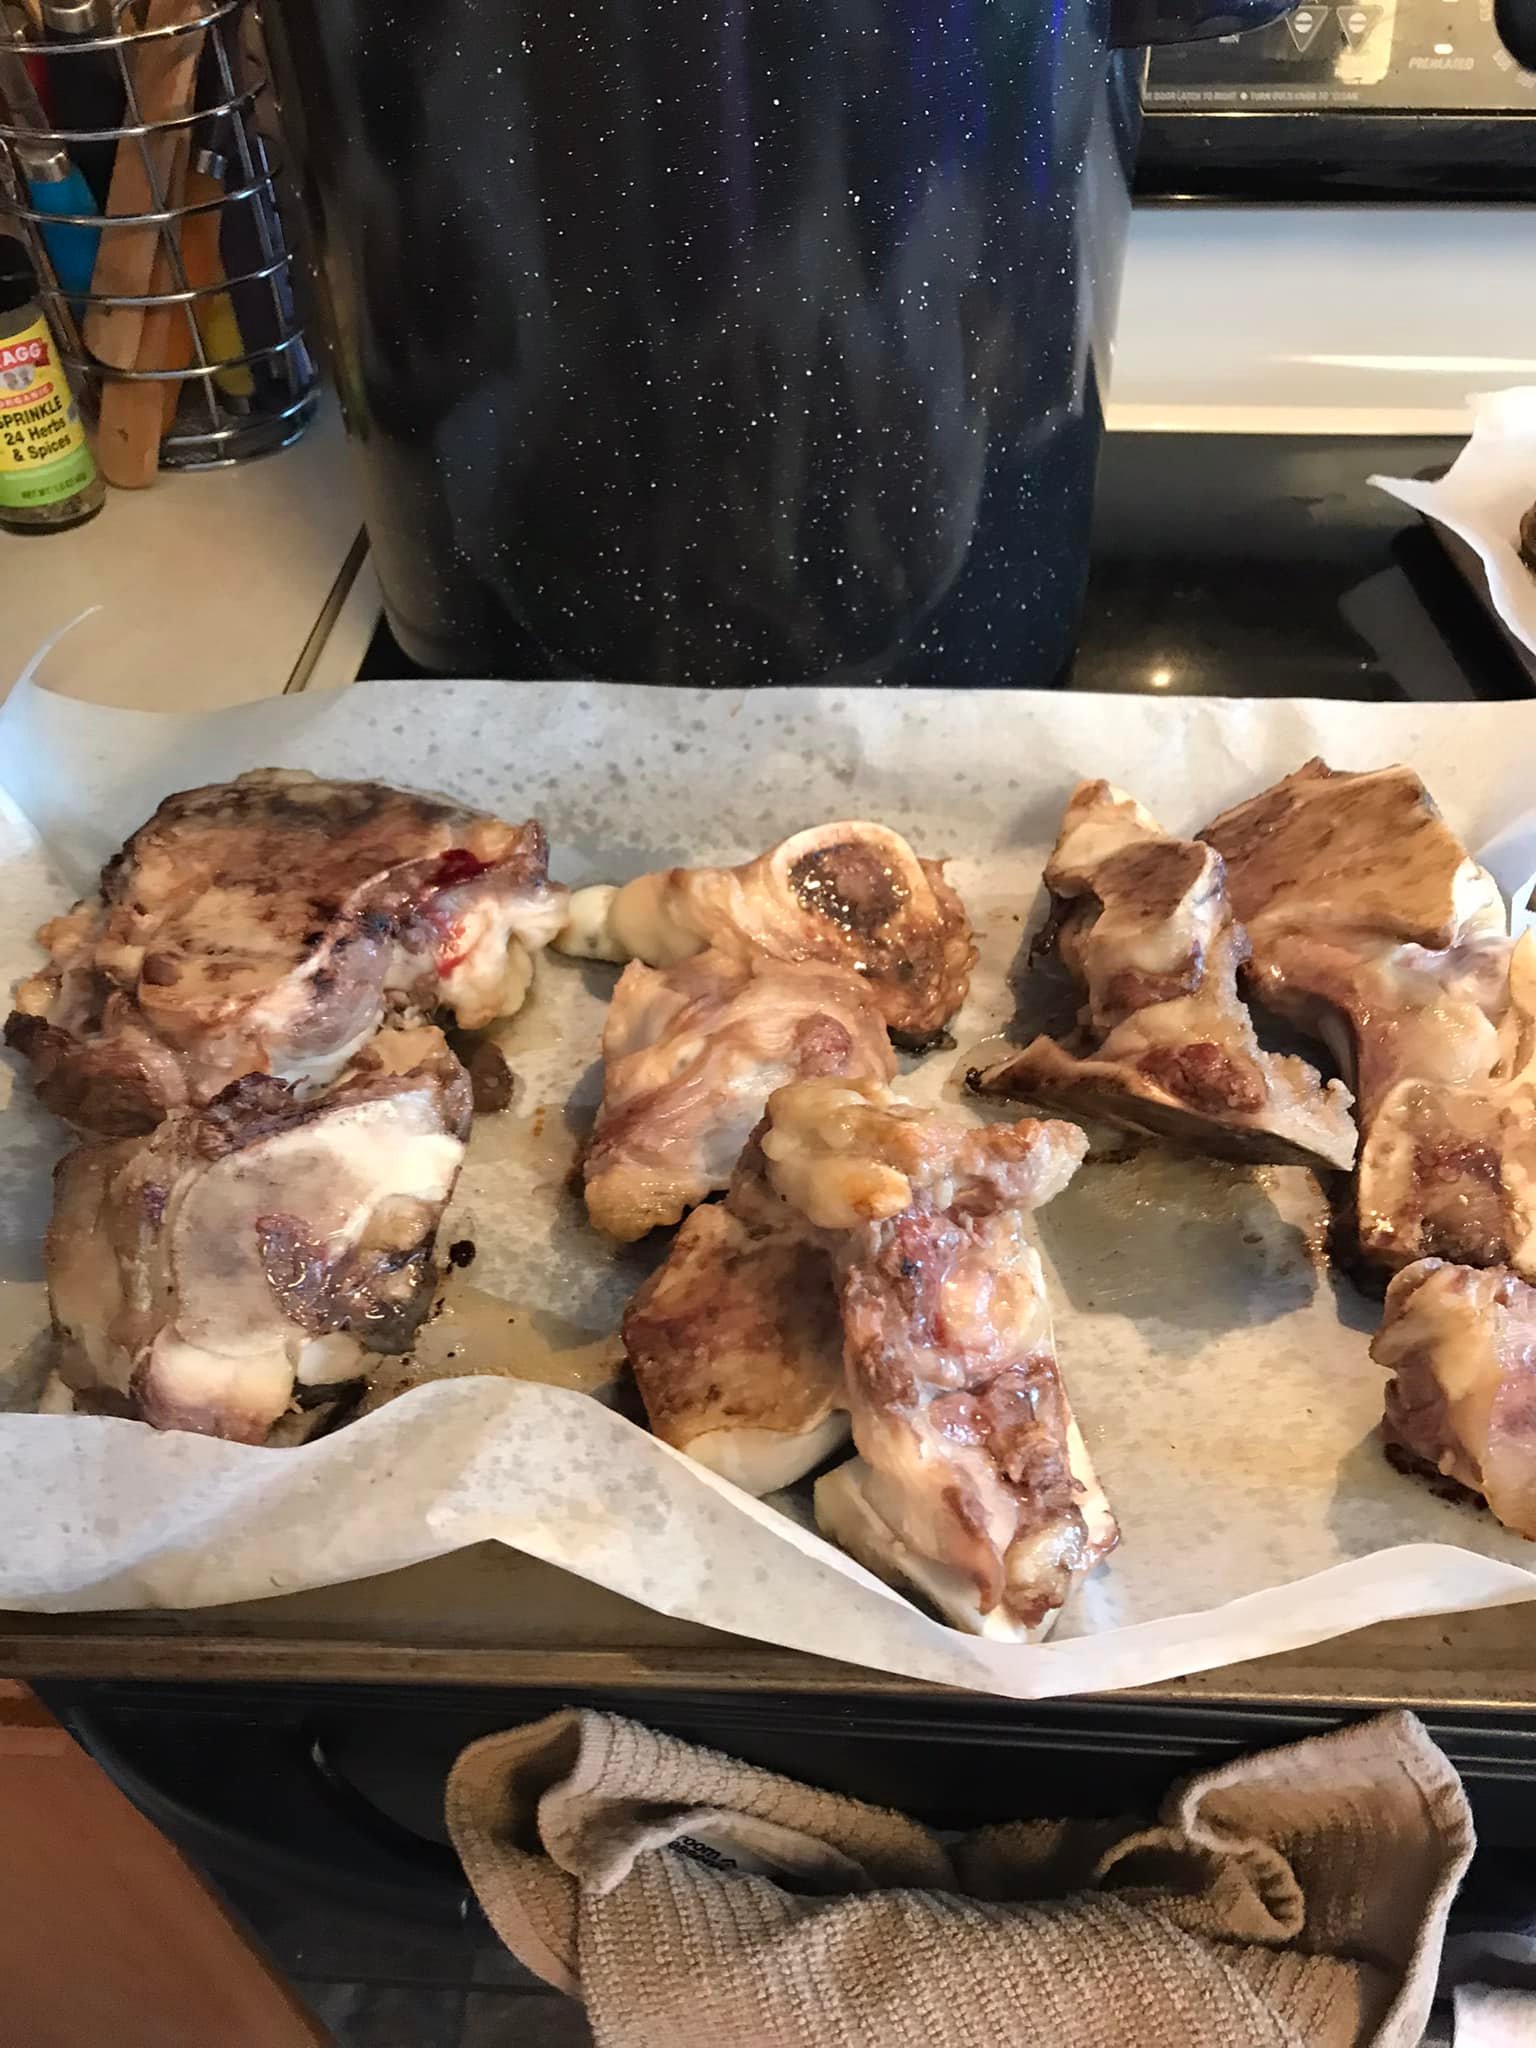
Done from the oven. Once the bones are ready, add them to a large stock pot.
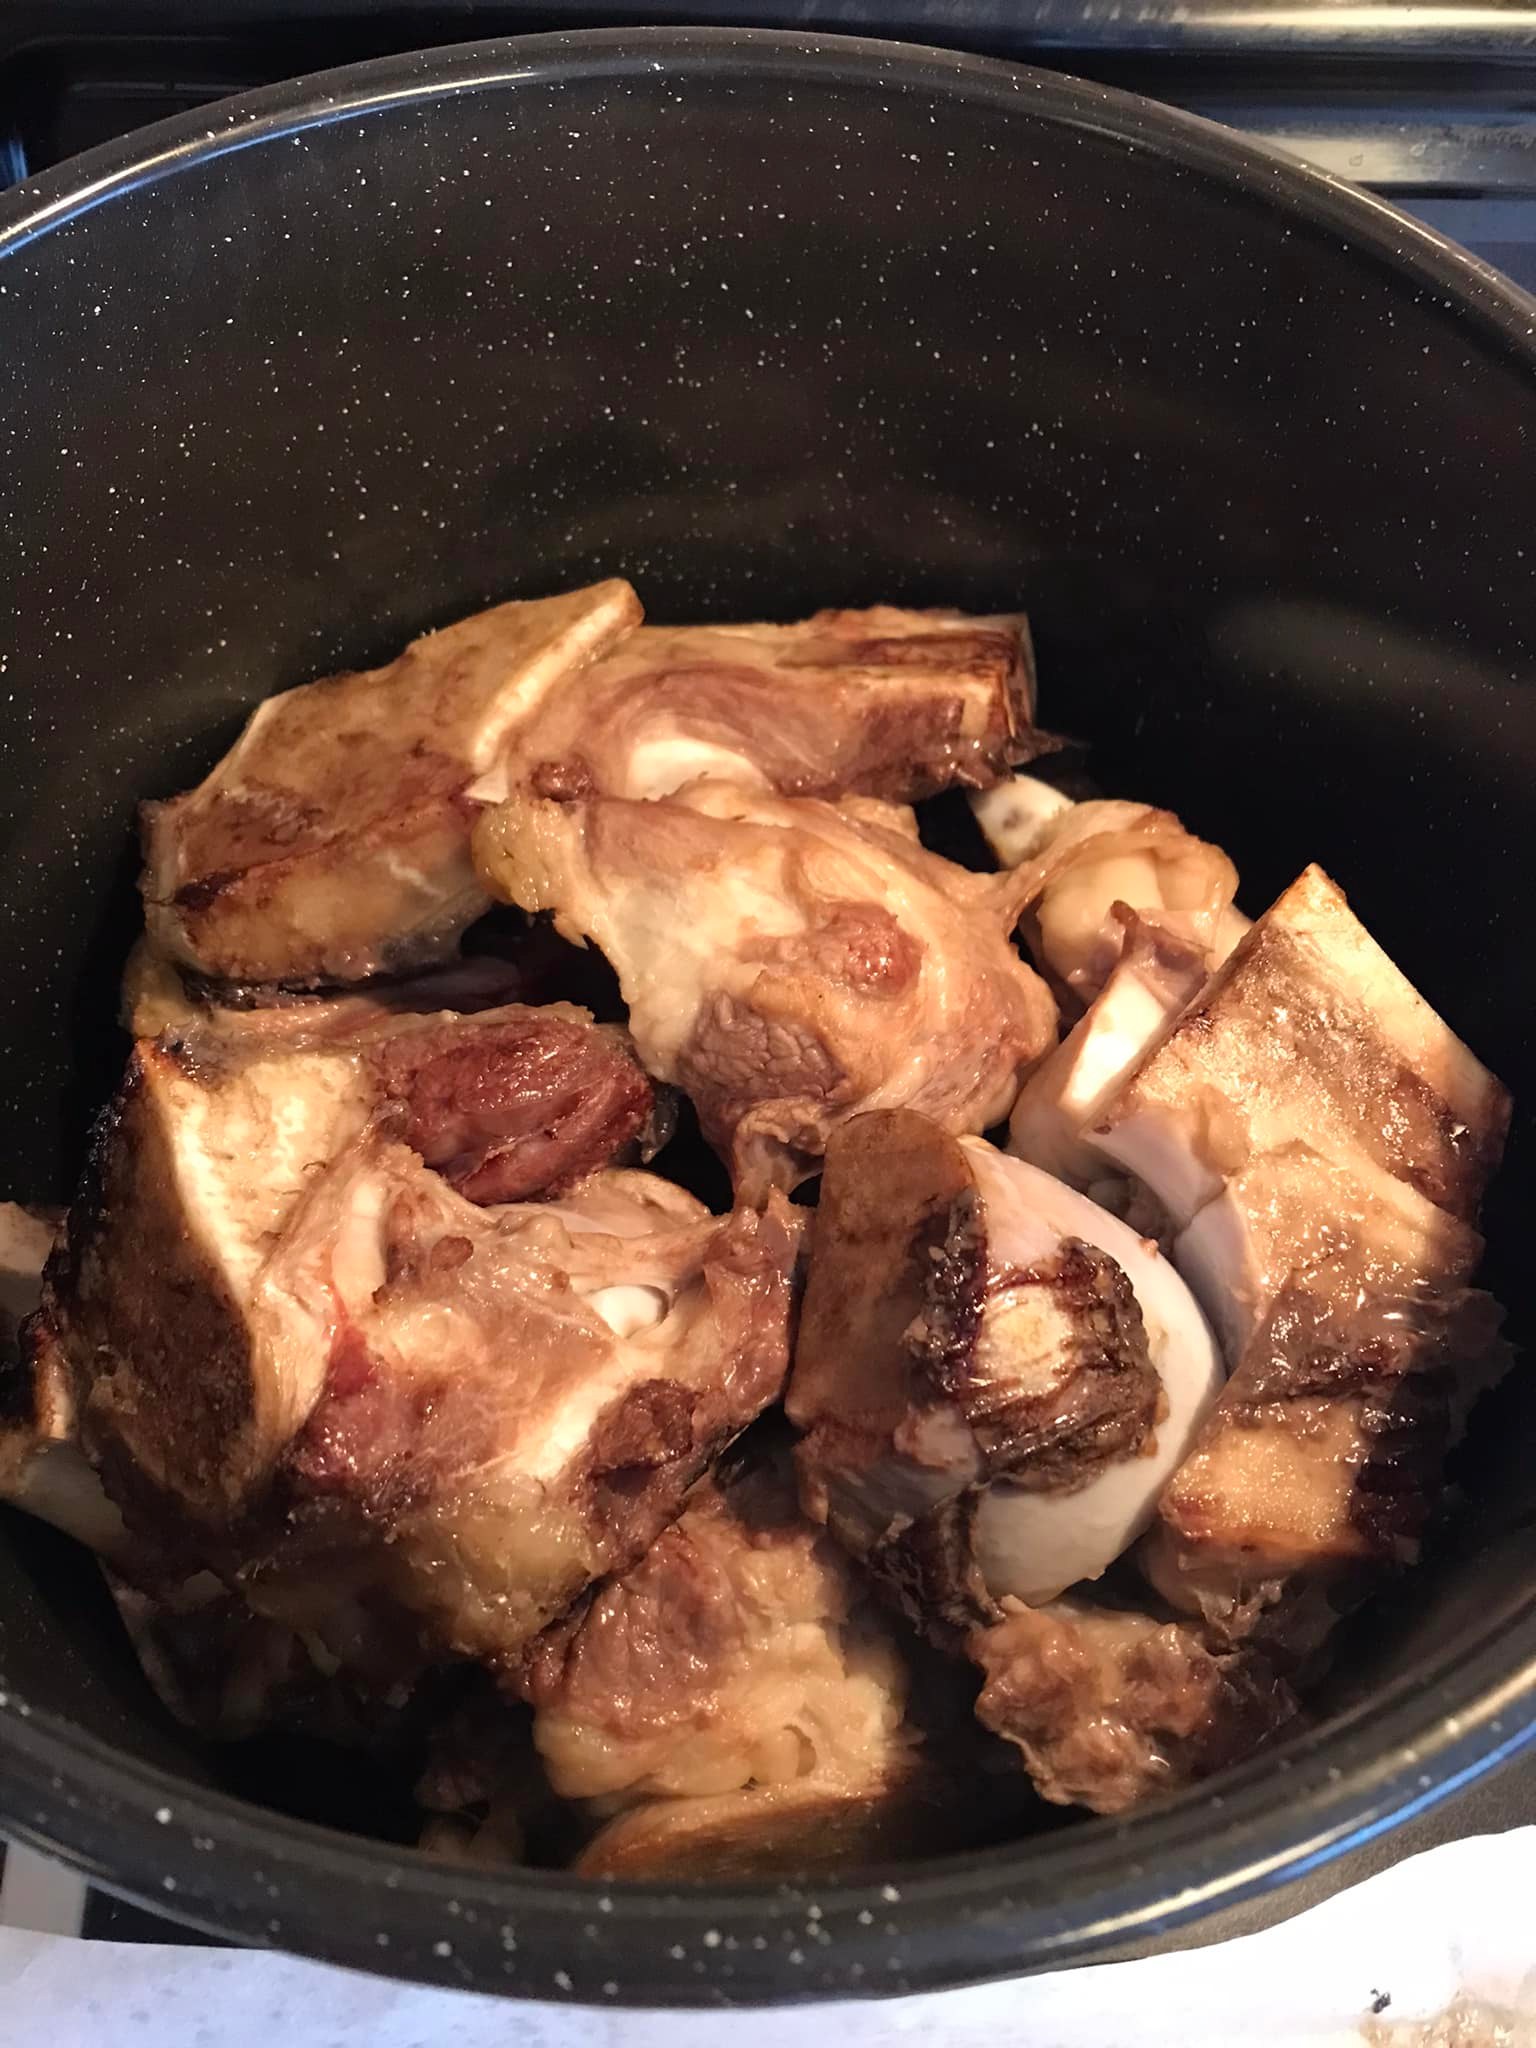
All these took up nearly the whole pot. I was a little worried I wouldn’t have enough room for the veggie scraps
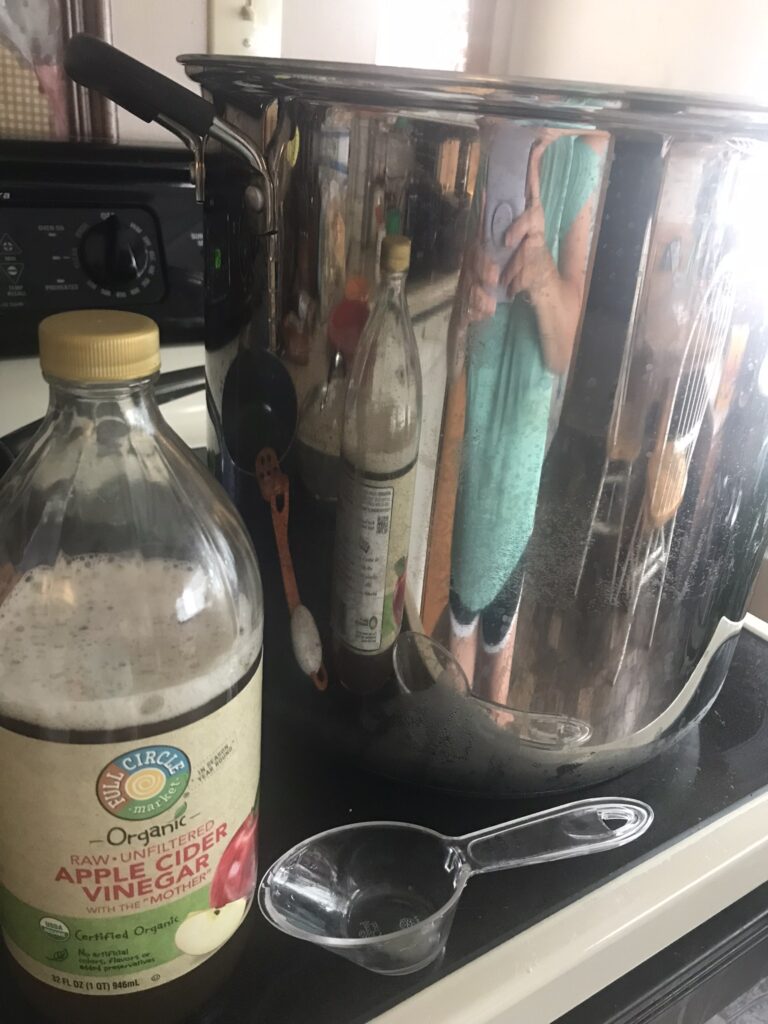
Before turning on the burner, soak the bones in water (filtered if available) and Apple Cider Vinegar with the mother for 30 minutes as this helps draw out the collagen nutrients from the bones. This is a super beneficial step, don’t skip. For this amount of bones, I used probably about 3/4 cup.

Been soaking and now ready for the fire. Turn on the burner to medium high heat
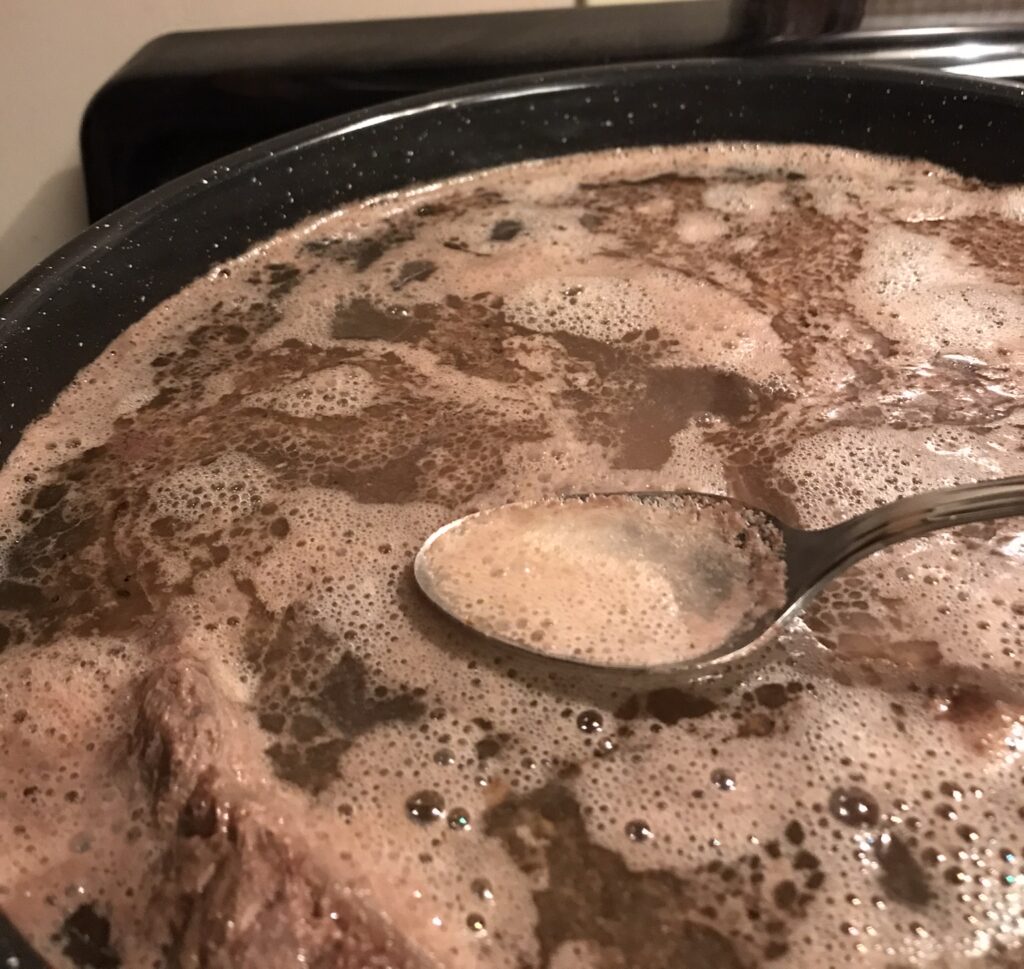
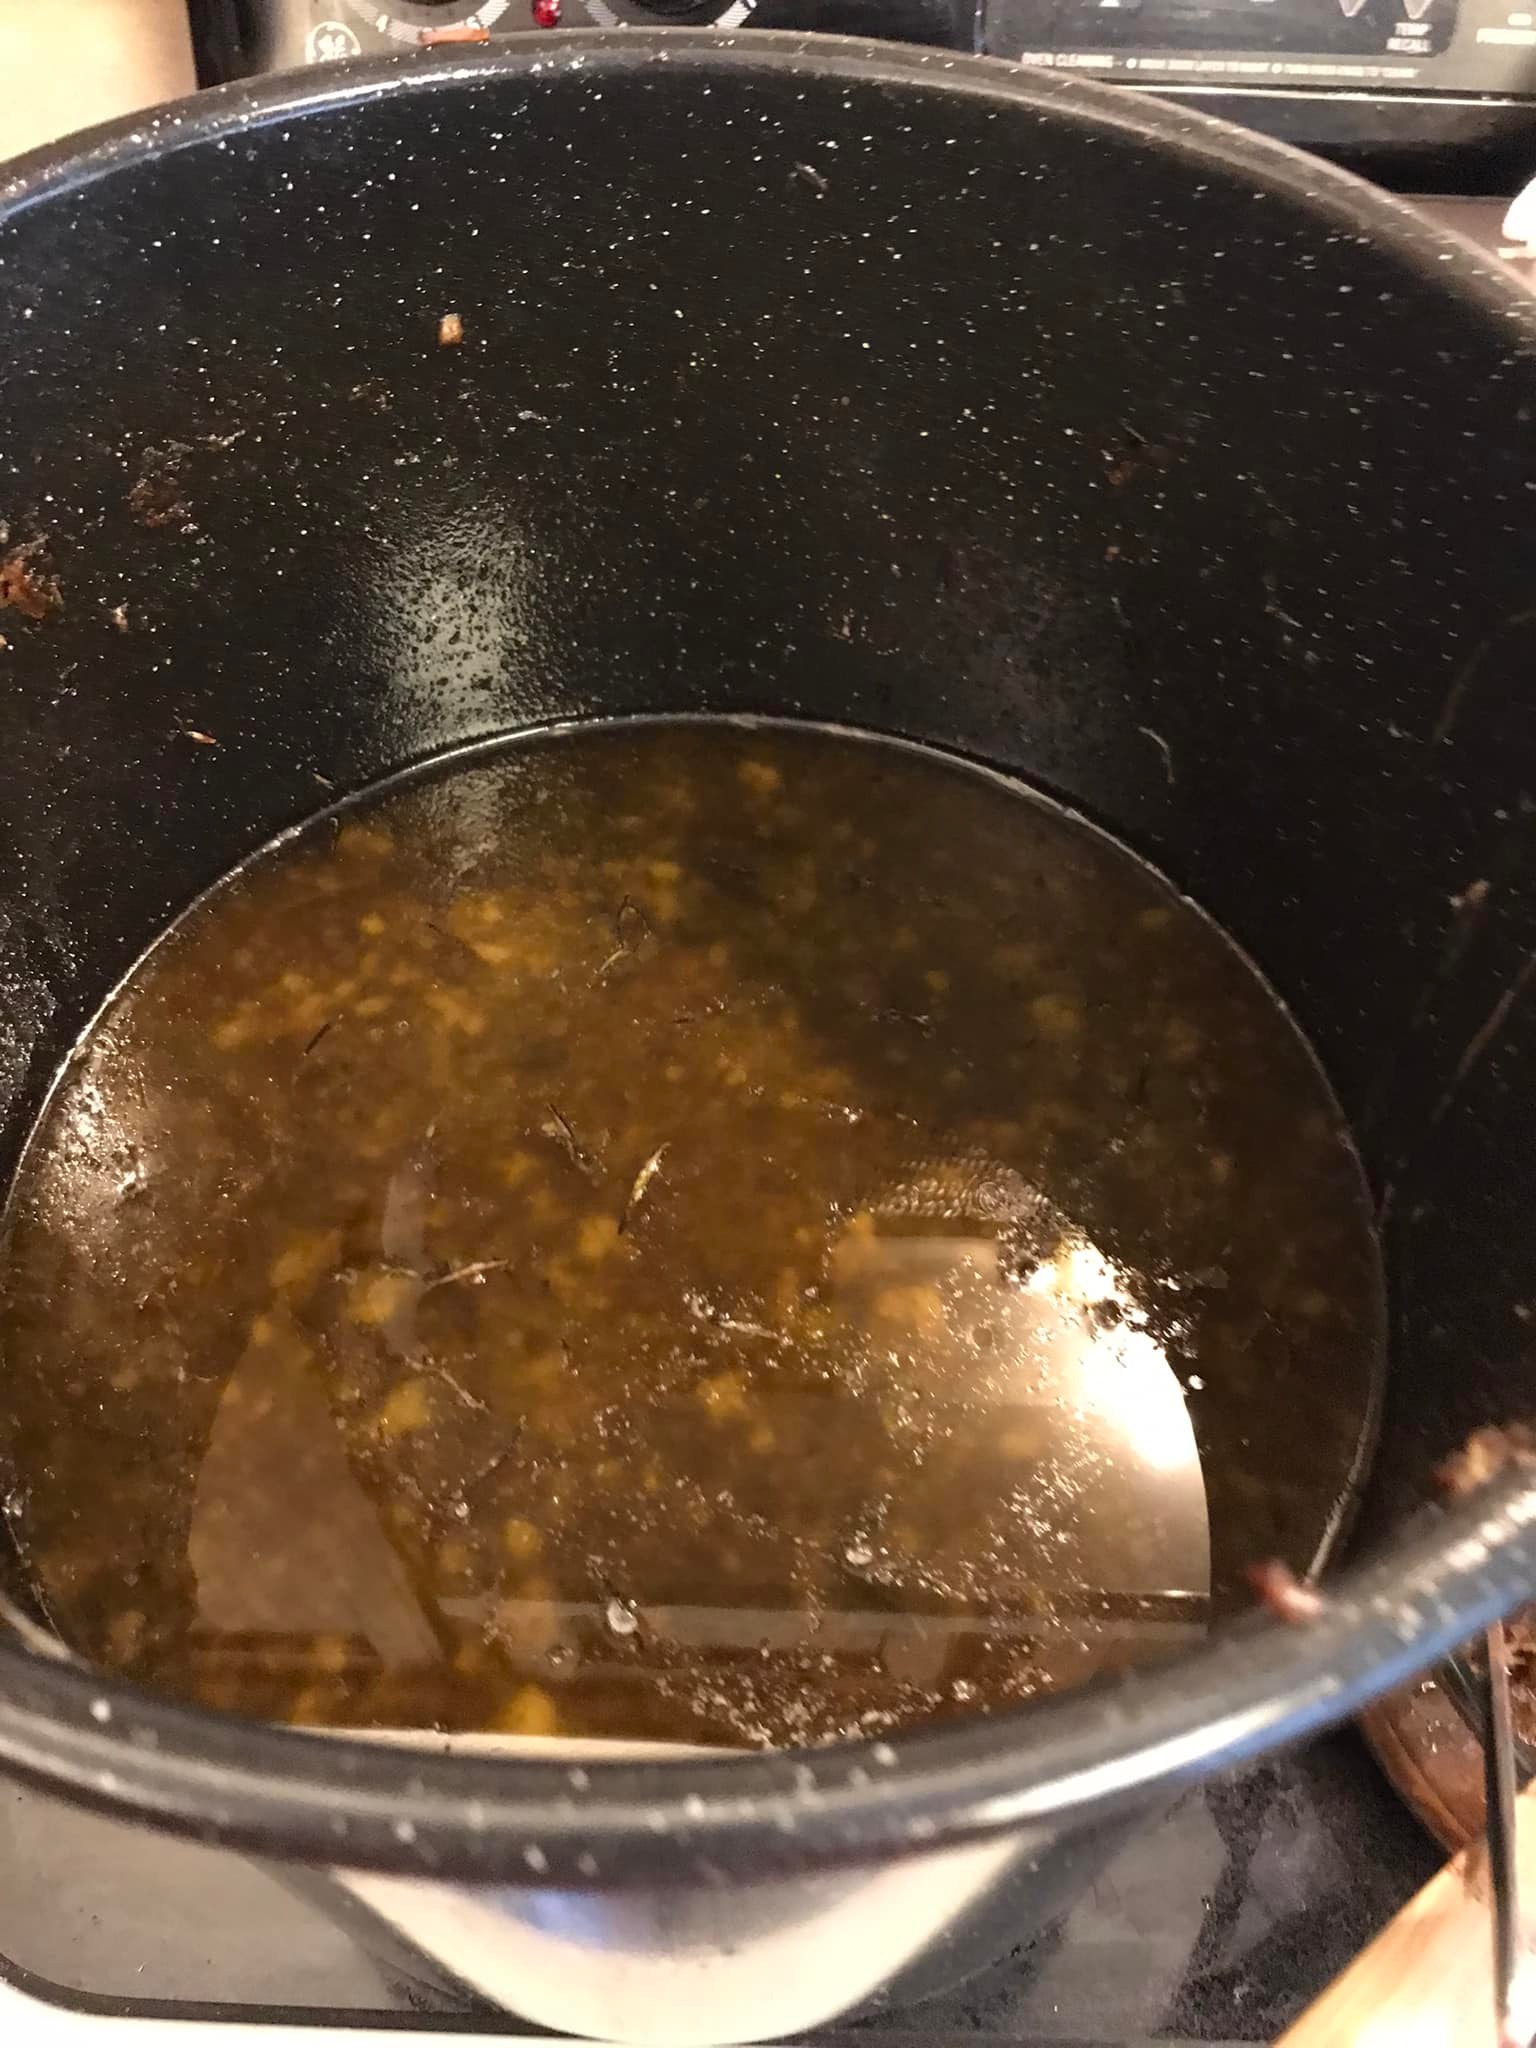
Once it comes to a boil, turn down the heat to a medium low and leave to a simmer the remainder. Also at this time is when foamy bubbles start to form. This is the impurities floating to the top. Skim them off with a spoon and discard
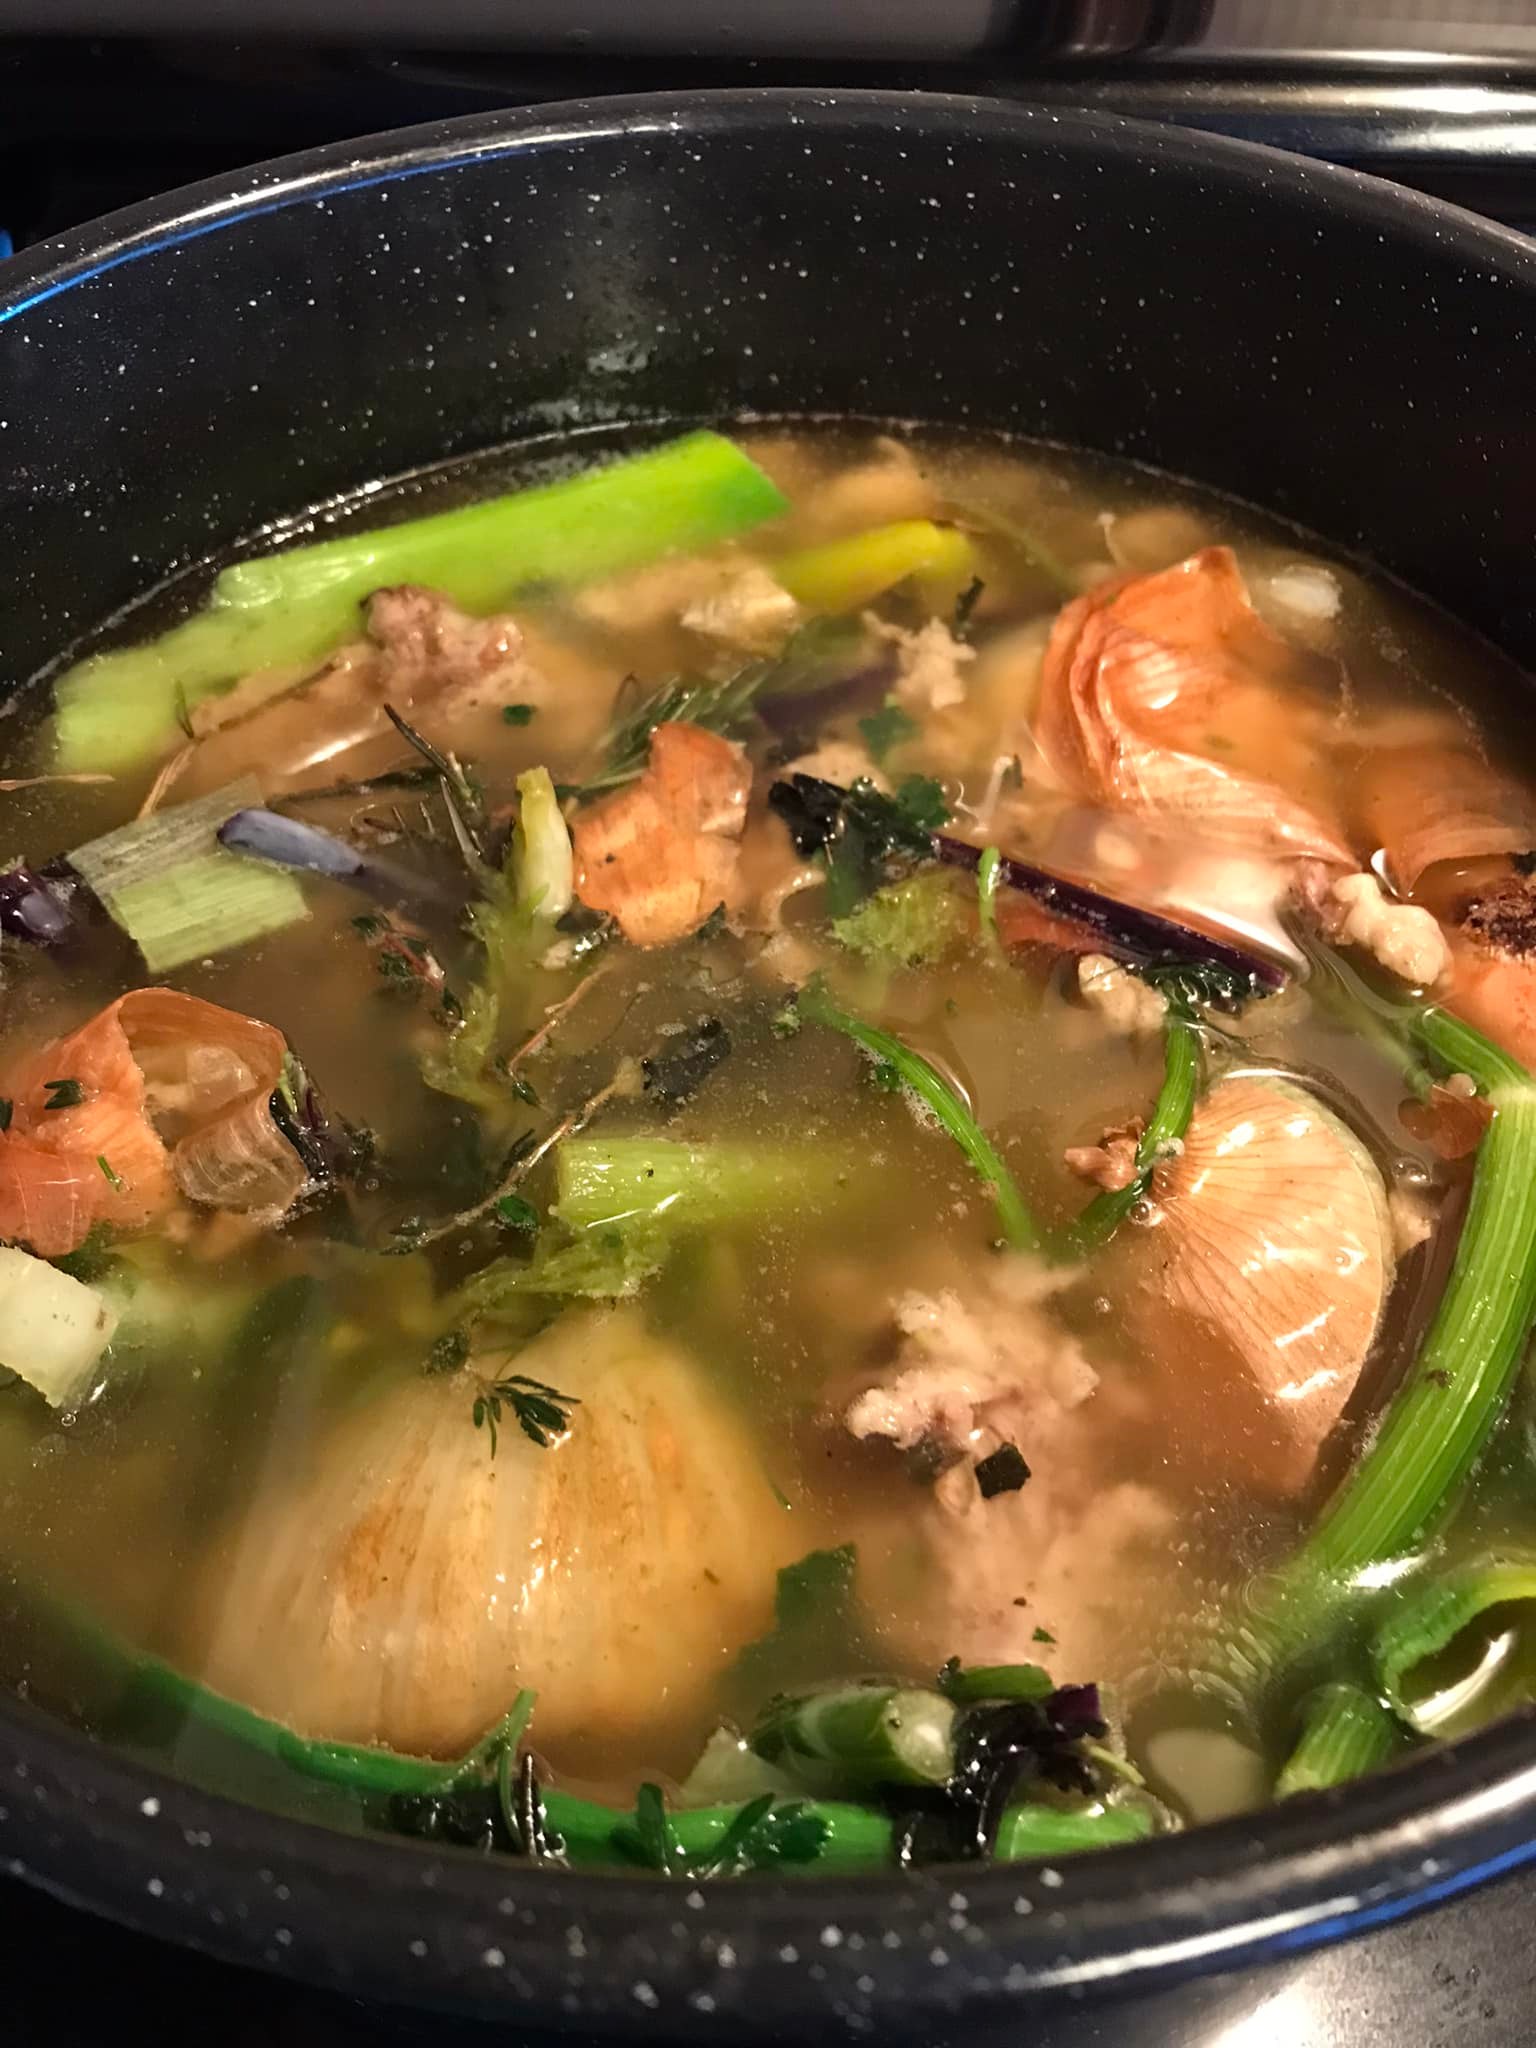
After it’s been brewing for 24 hours, I then added all the veggie and herb scraps I had saved. I also throw in some pink Himalayan salt for added minerals and taste. I don’t simmer the veggies and herbs as long as the bones to not cook out all of their benefits since the veggies and herbs are more fragile than bones
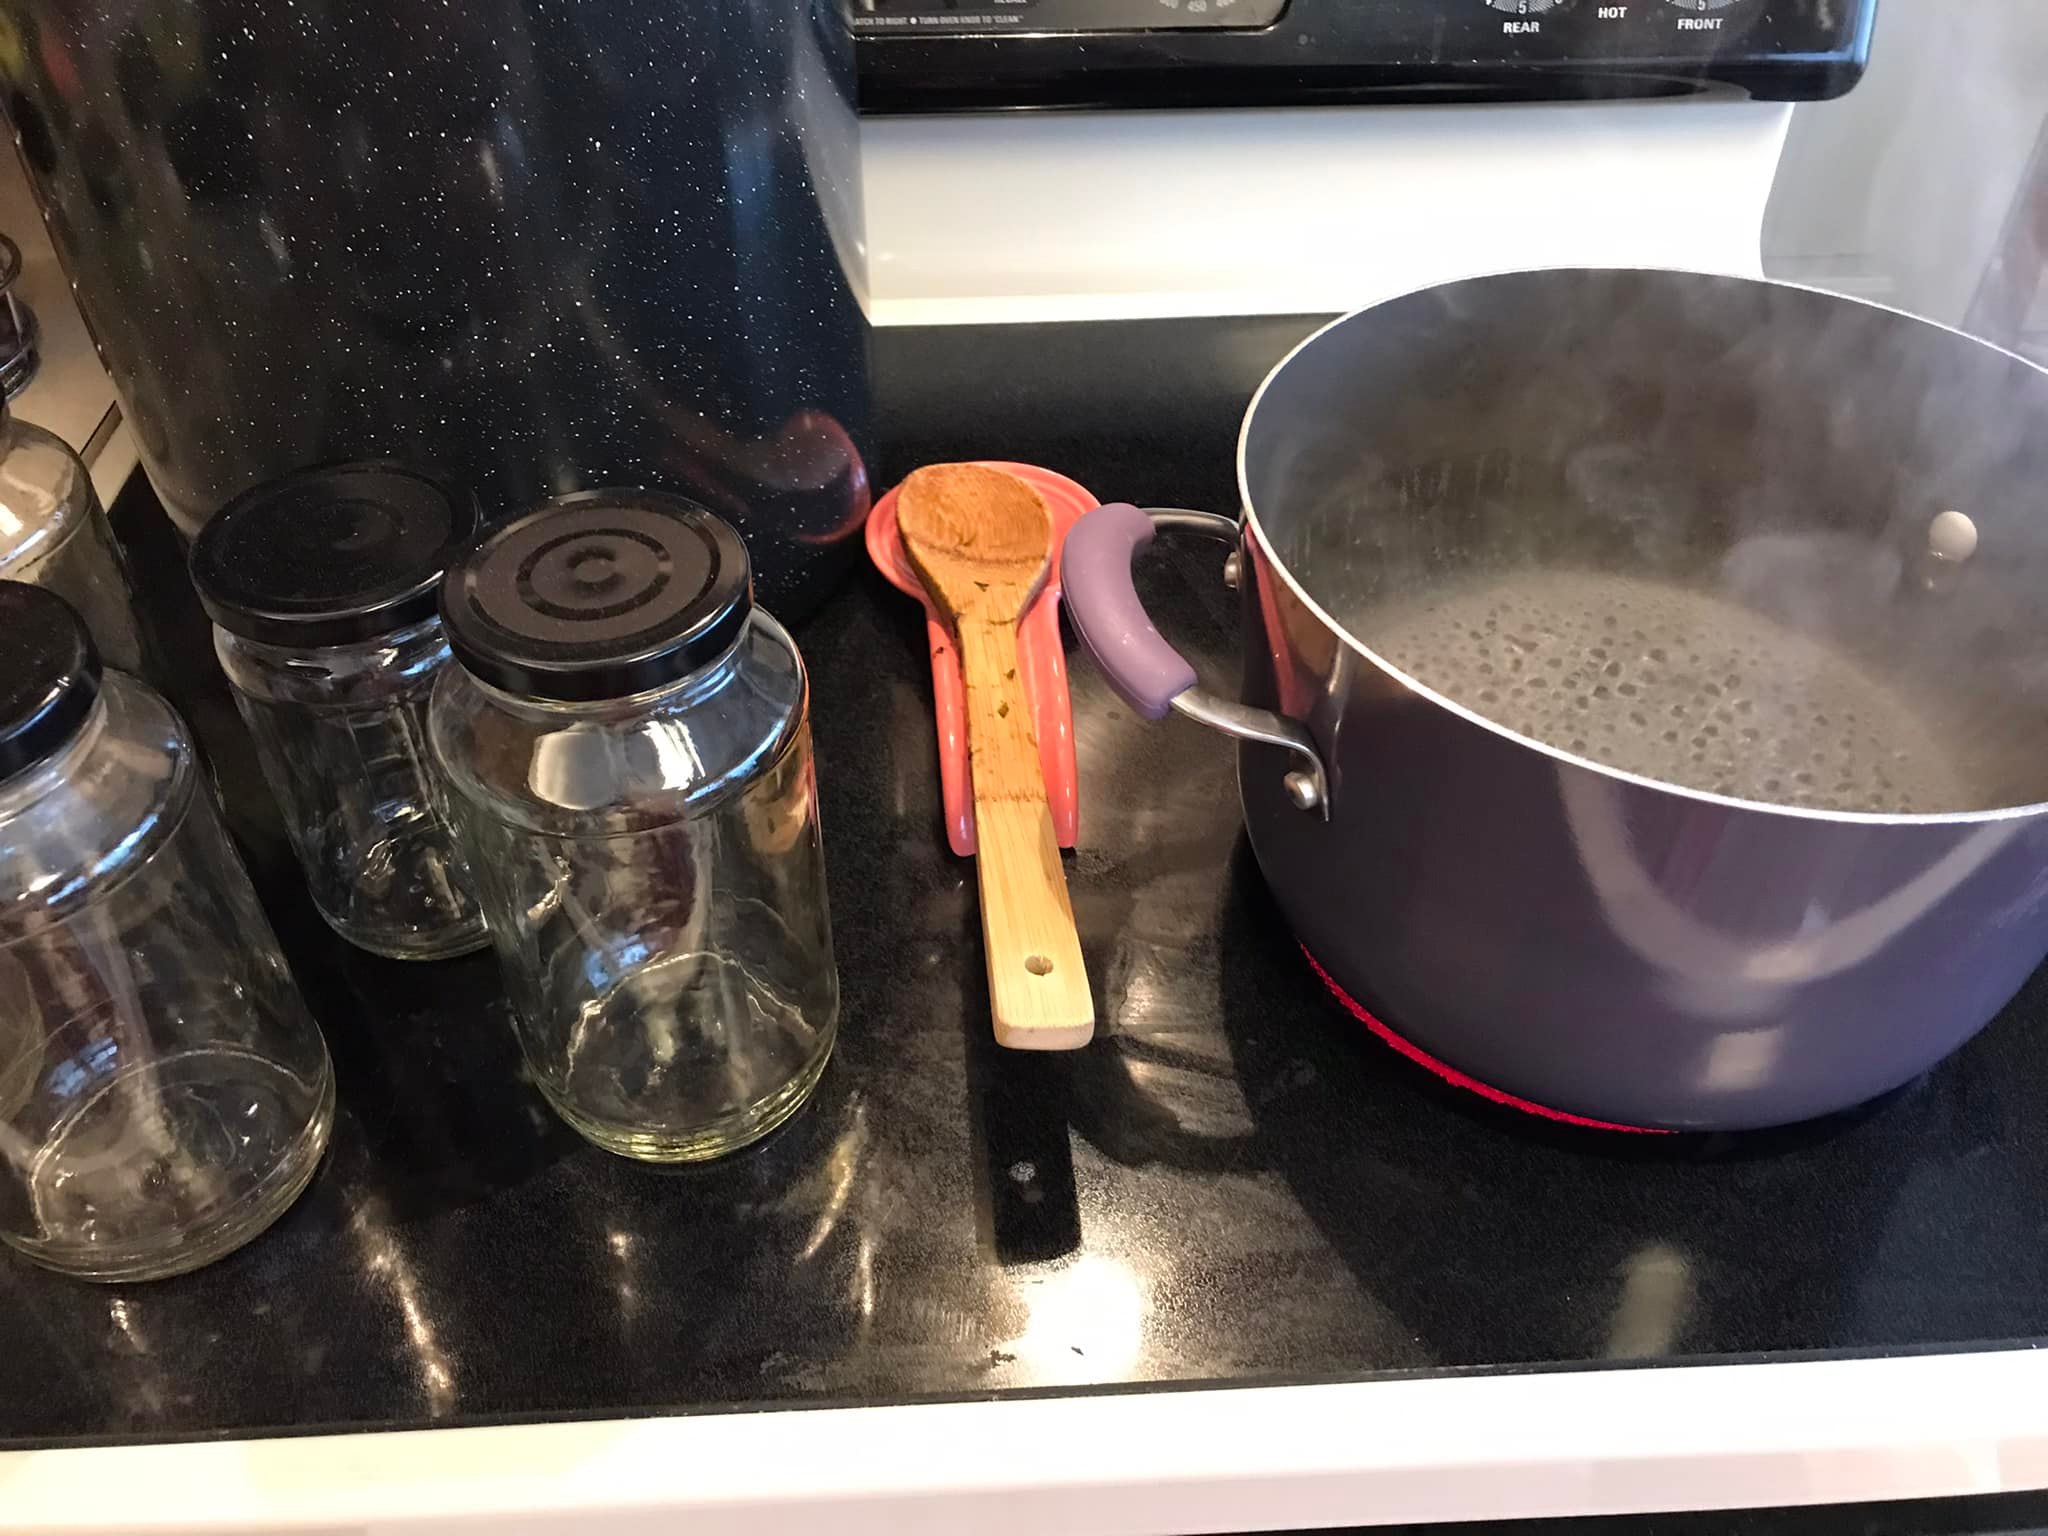
Ready to boil the jars I save. It’s hard to guess how many jars I will need so I make sure to over prepare on the jars
Lets do this thing!
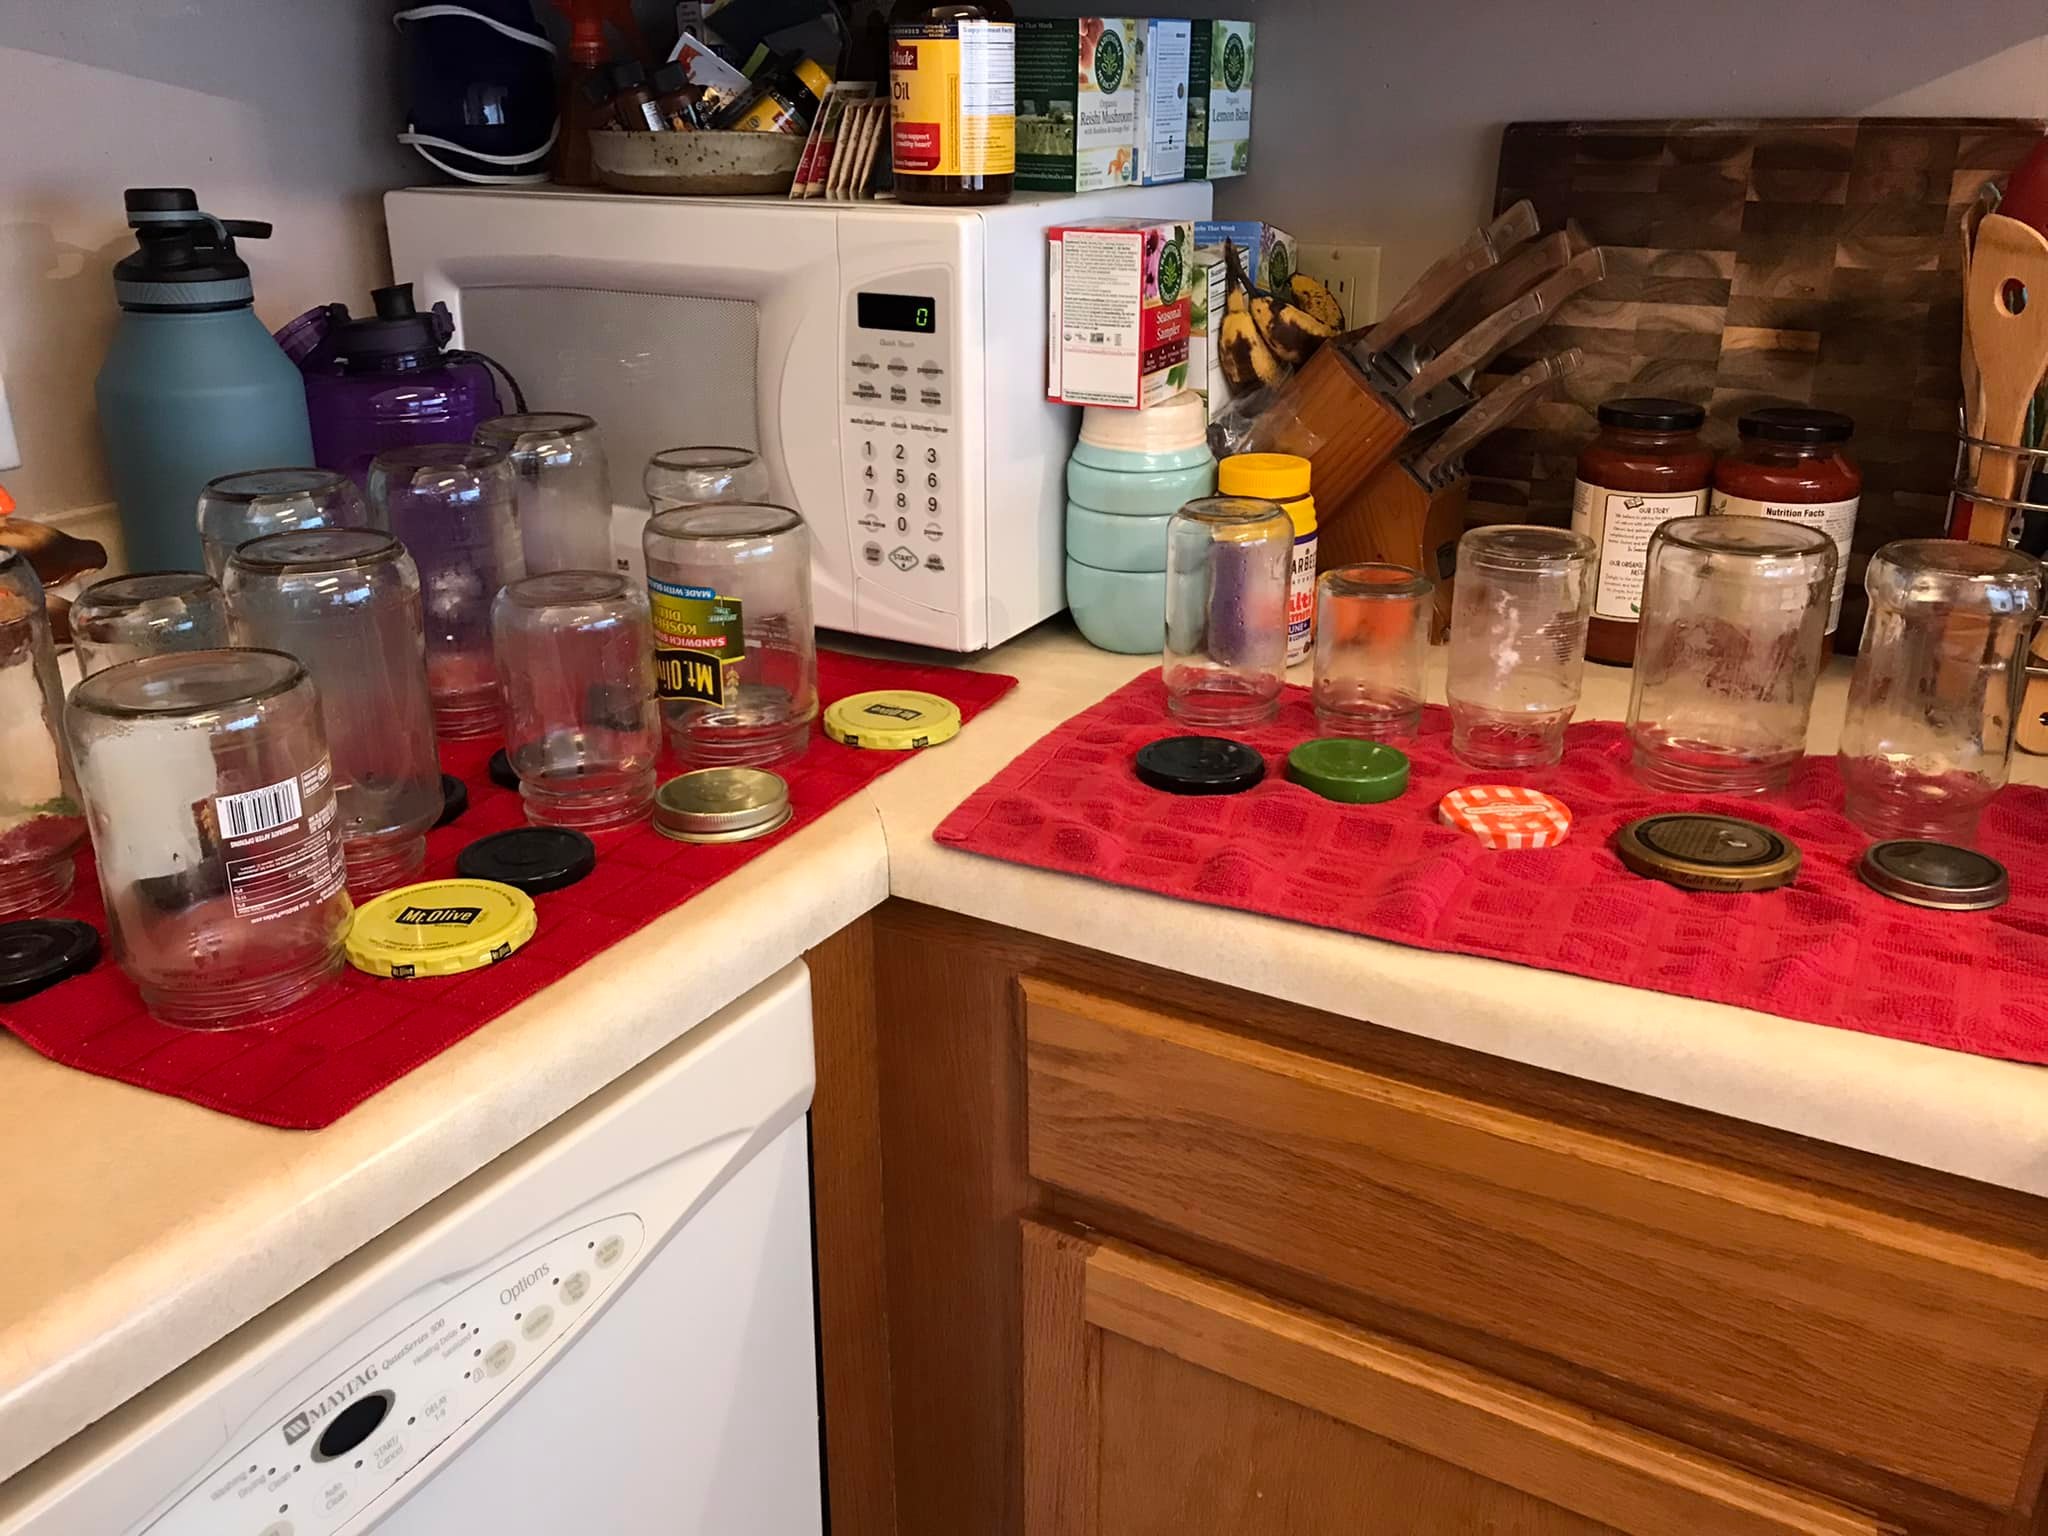
Jars all sanitized and ready
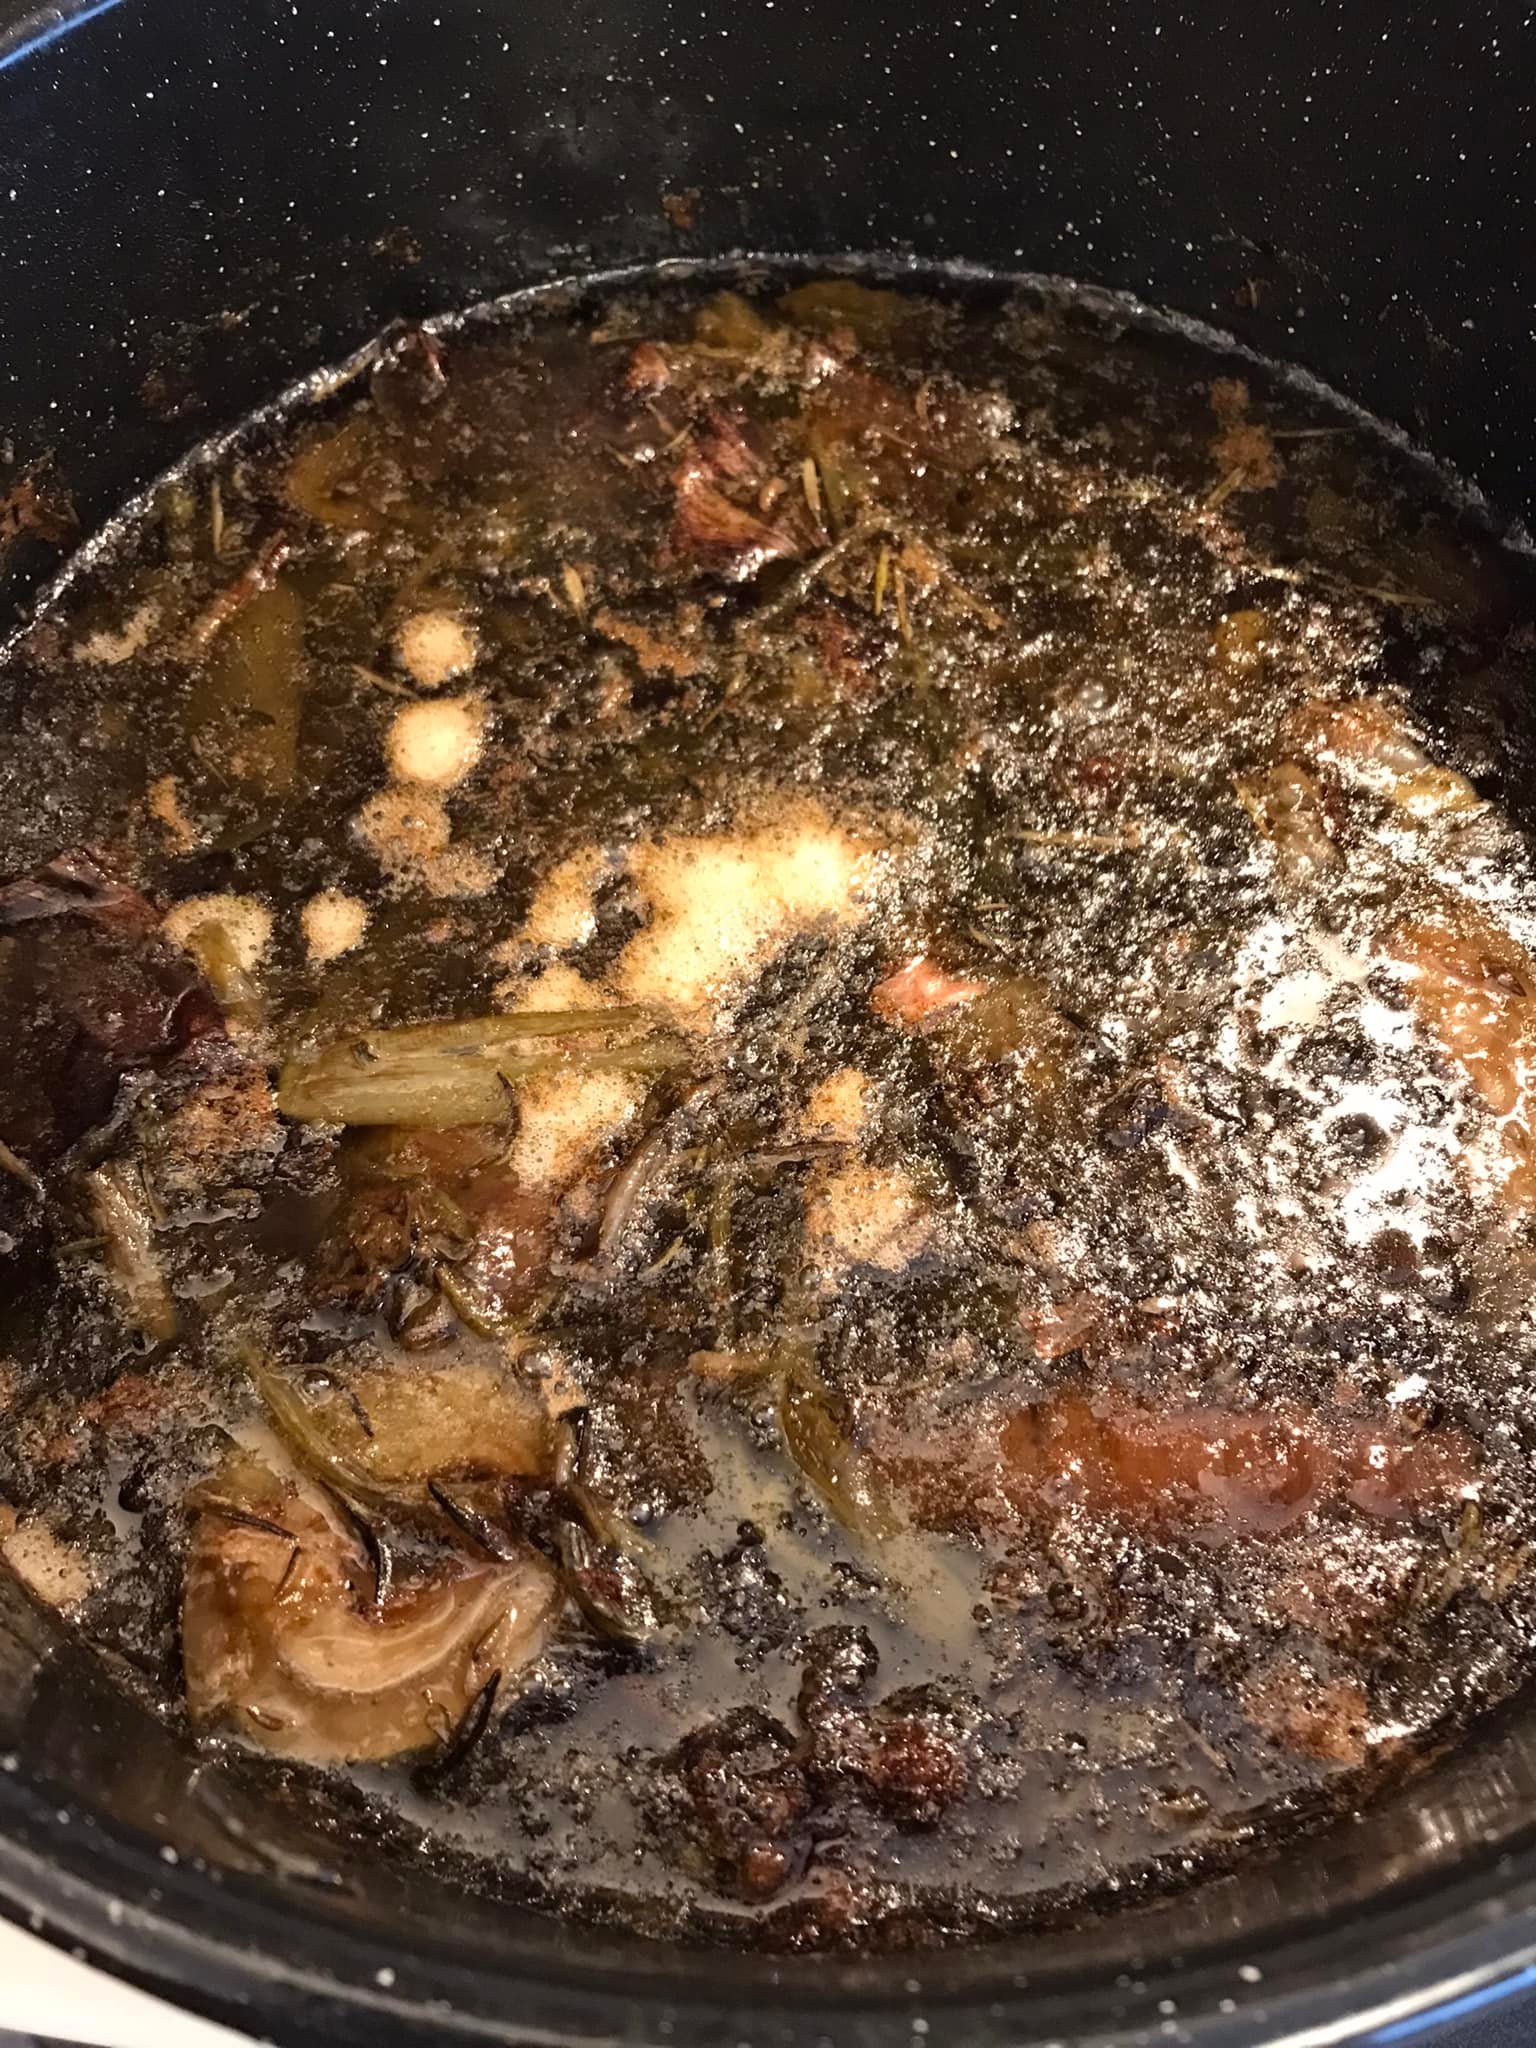
Been brewing for 48 hours and she’s ready to be strained and jarred
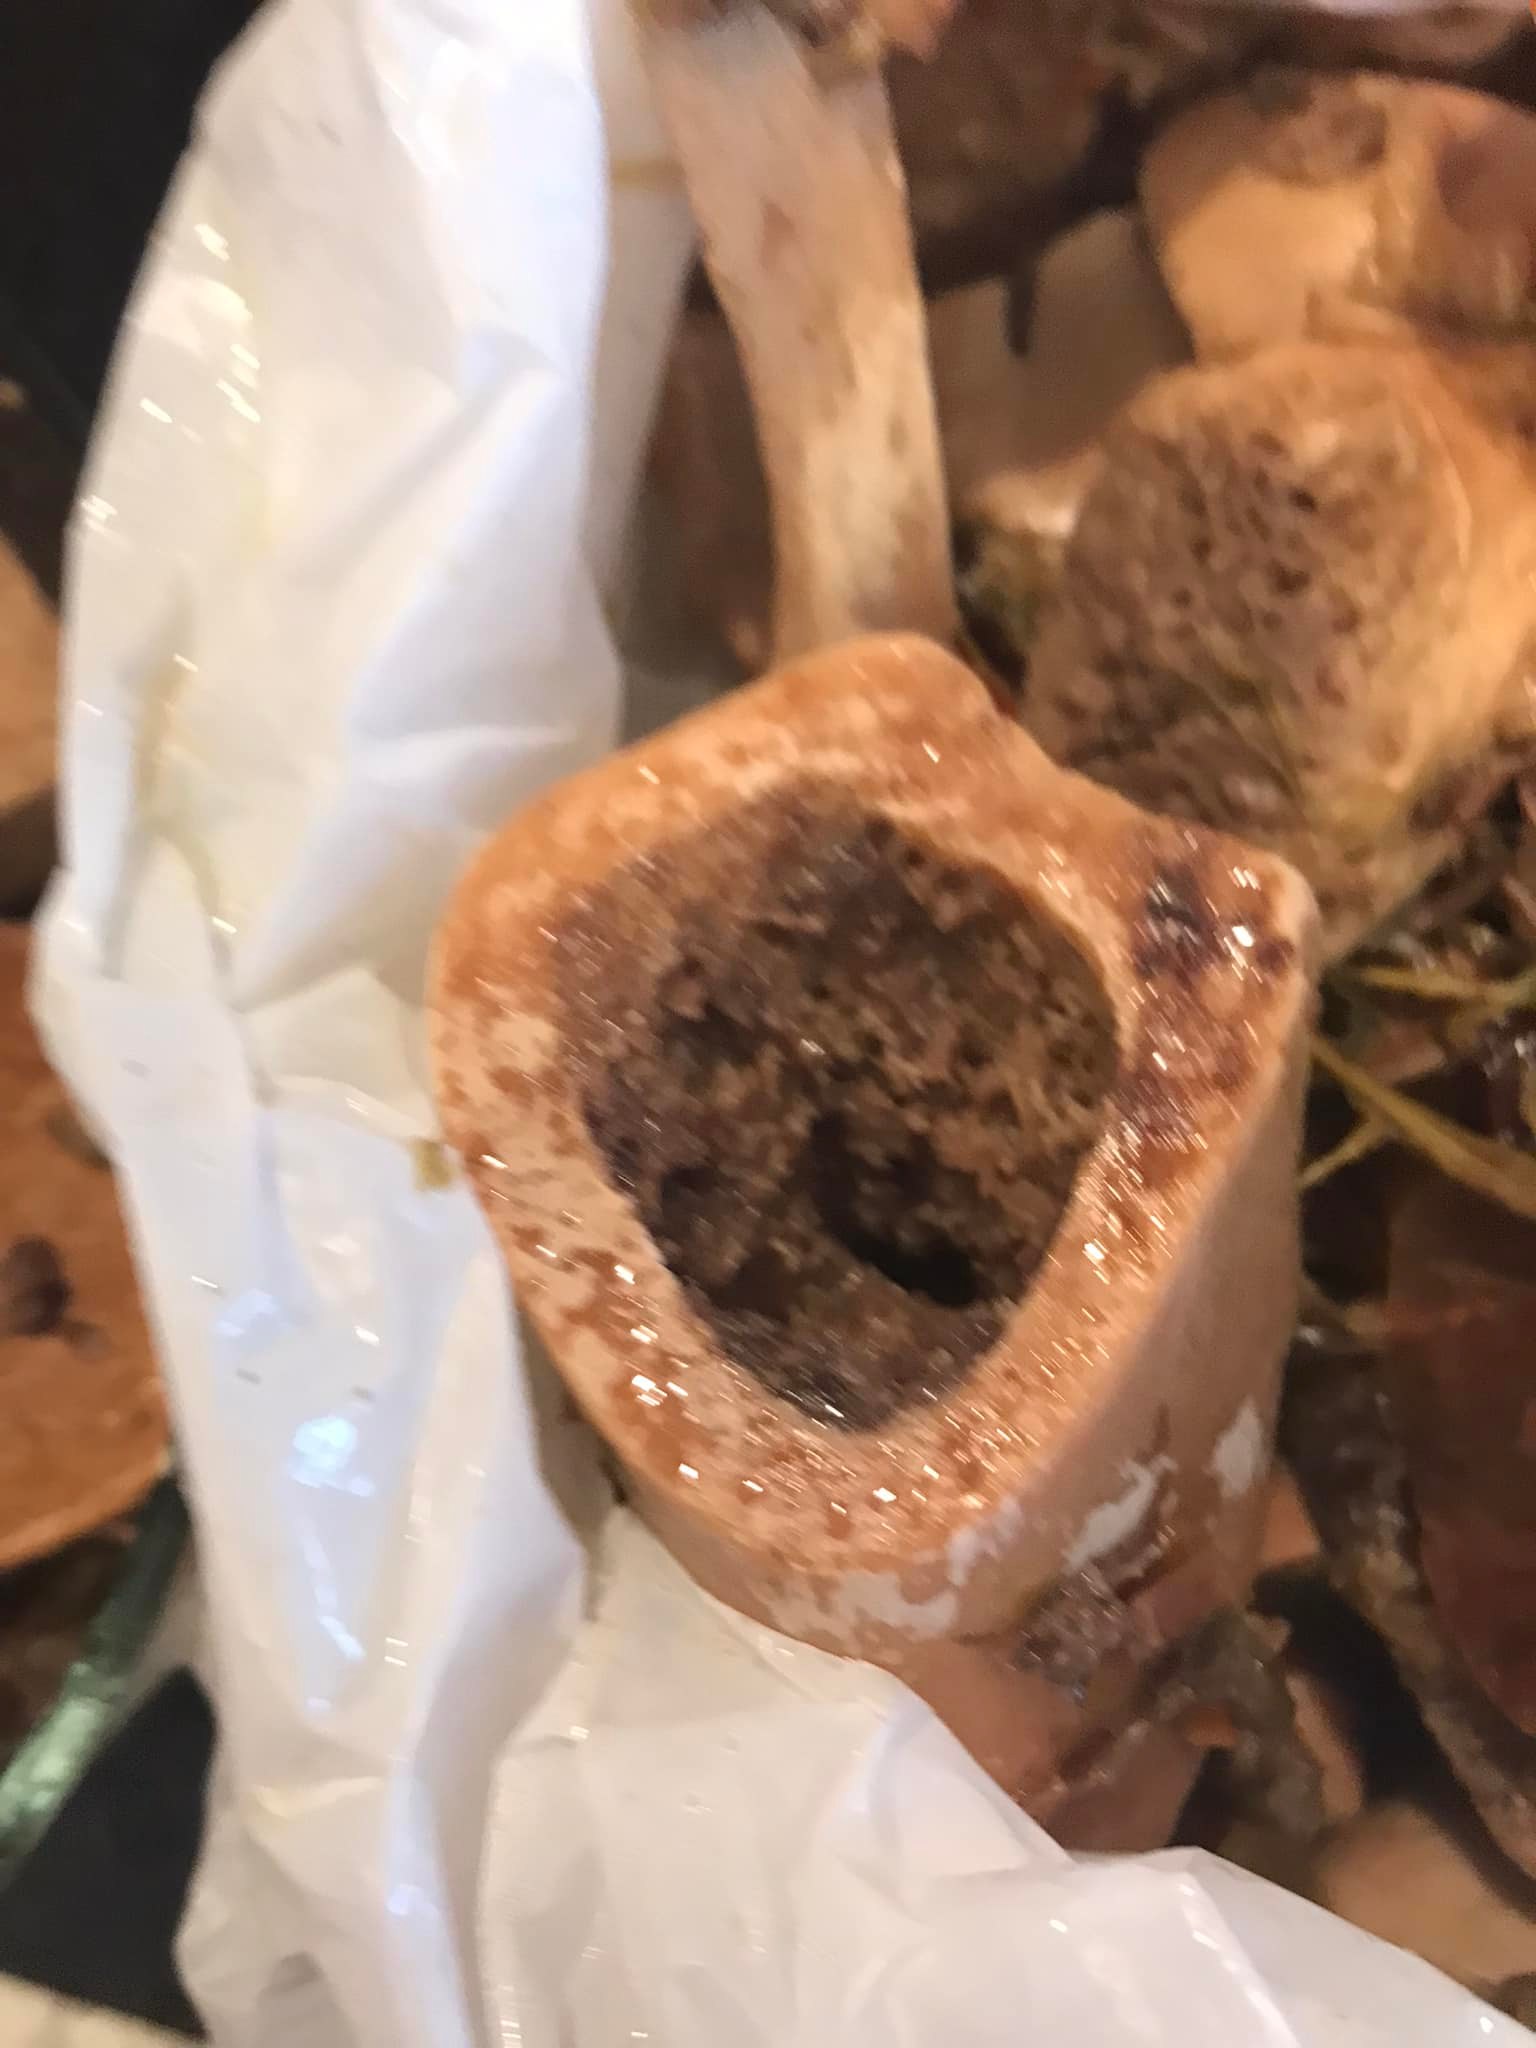
Look at that beautiful and nutritious bone marrow
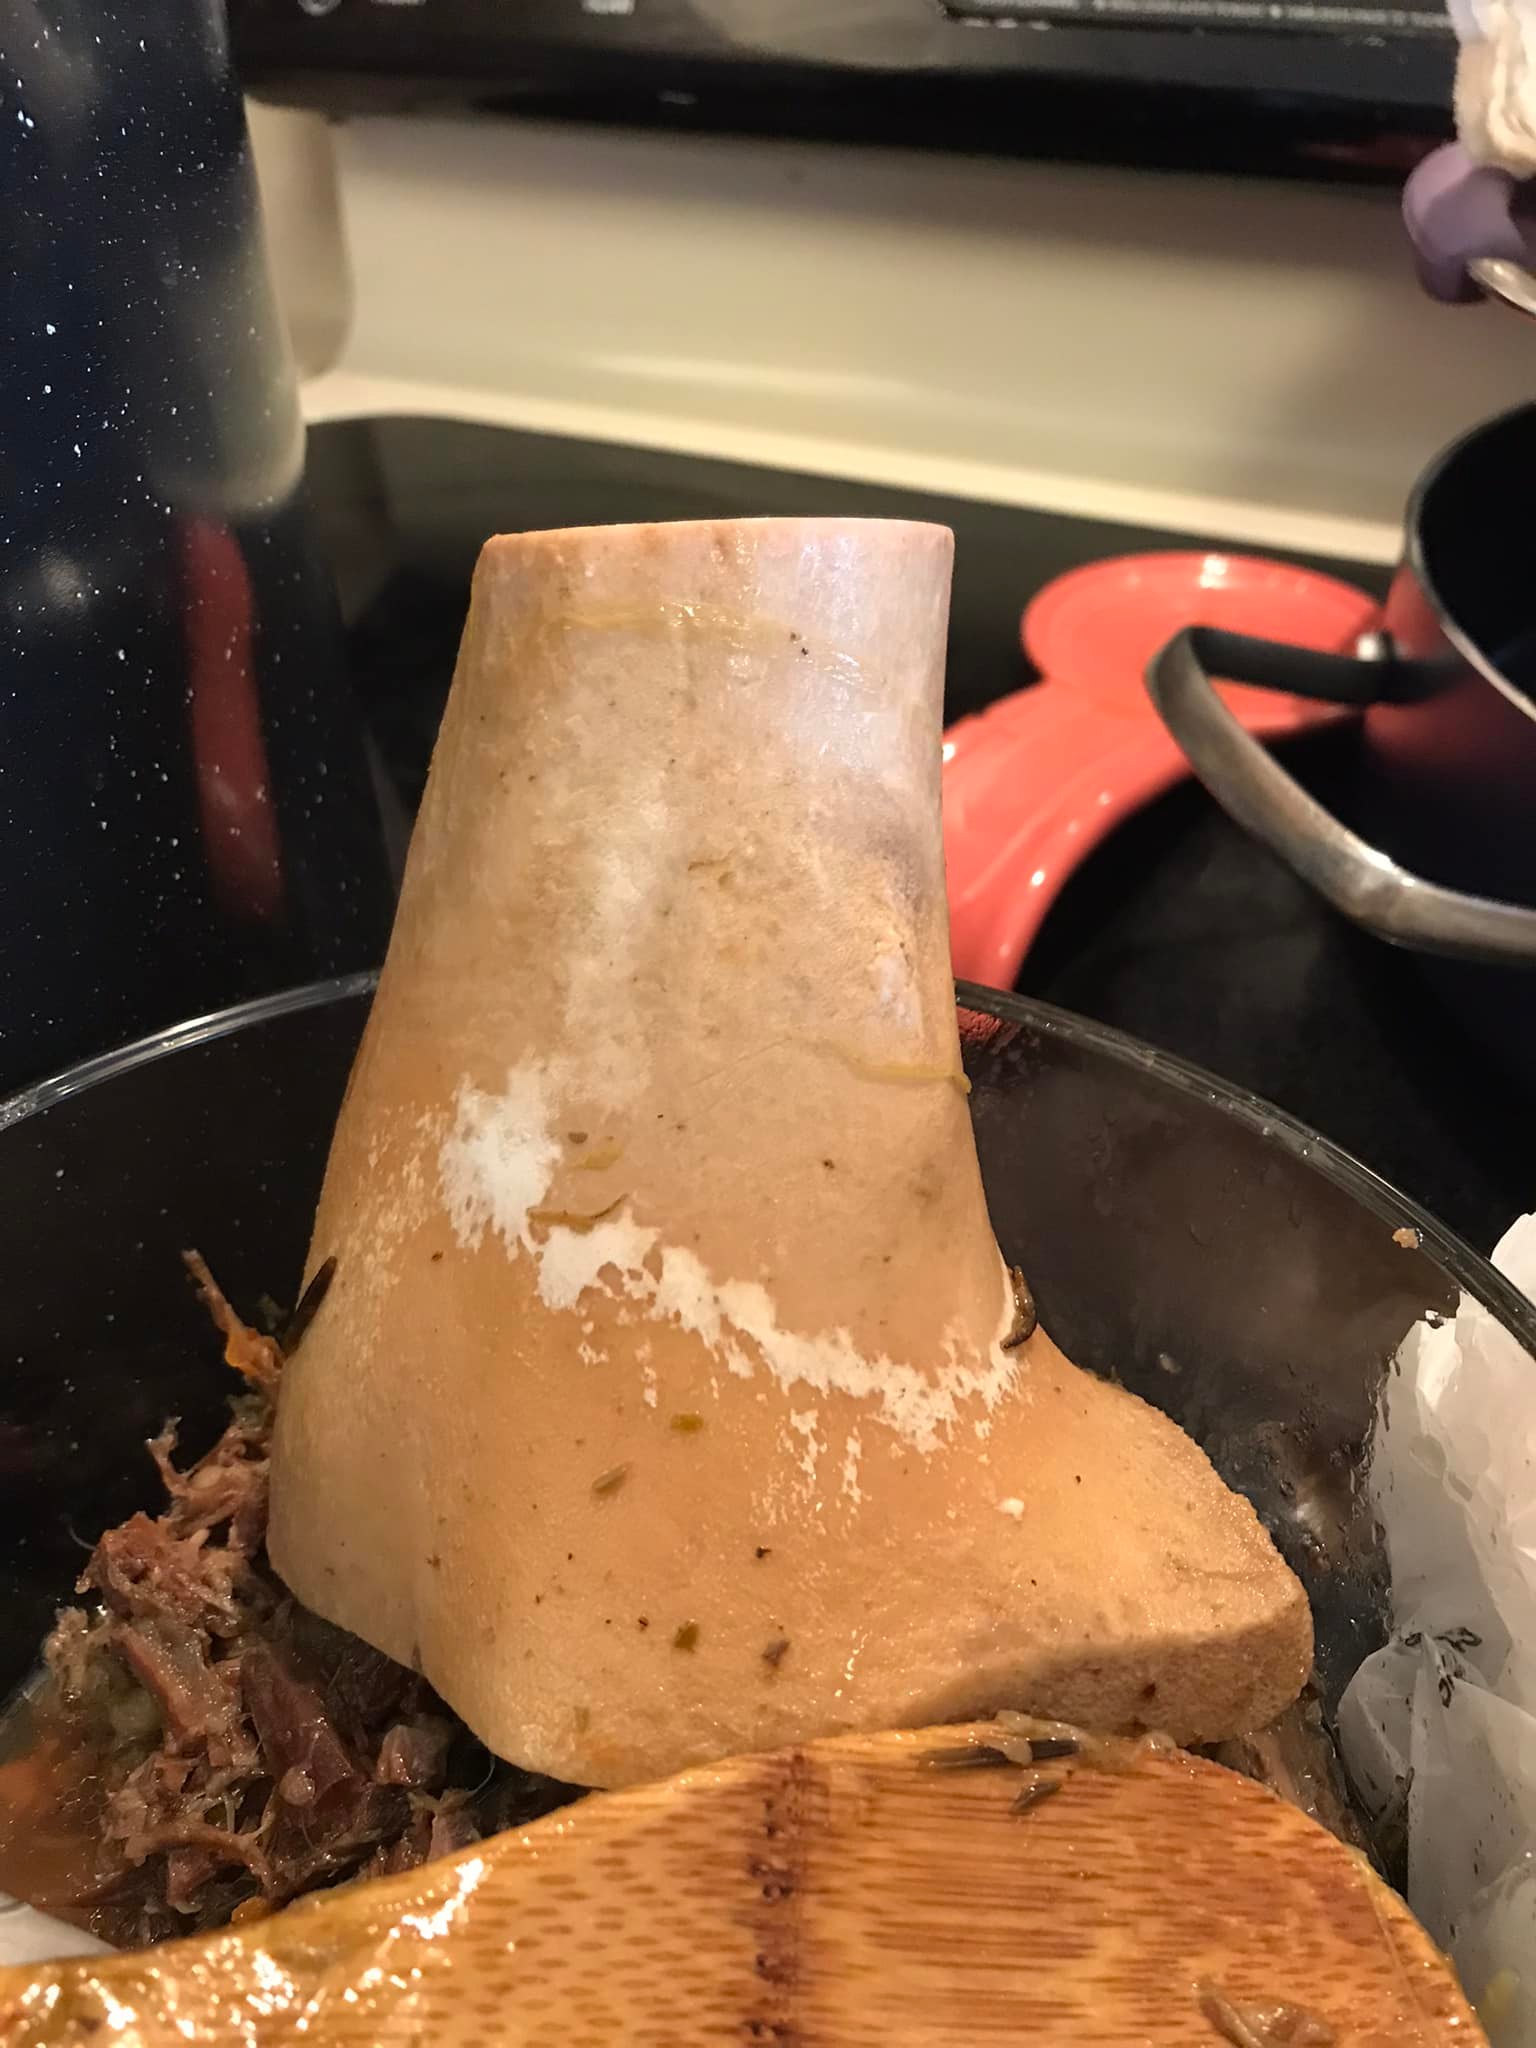
That’s a huge bone!

I take out all the big pieces and save the meat and marrow and discarding the rest.
Now it’s ready to be strained.
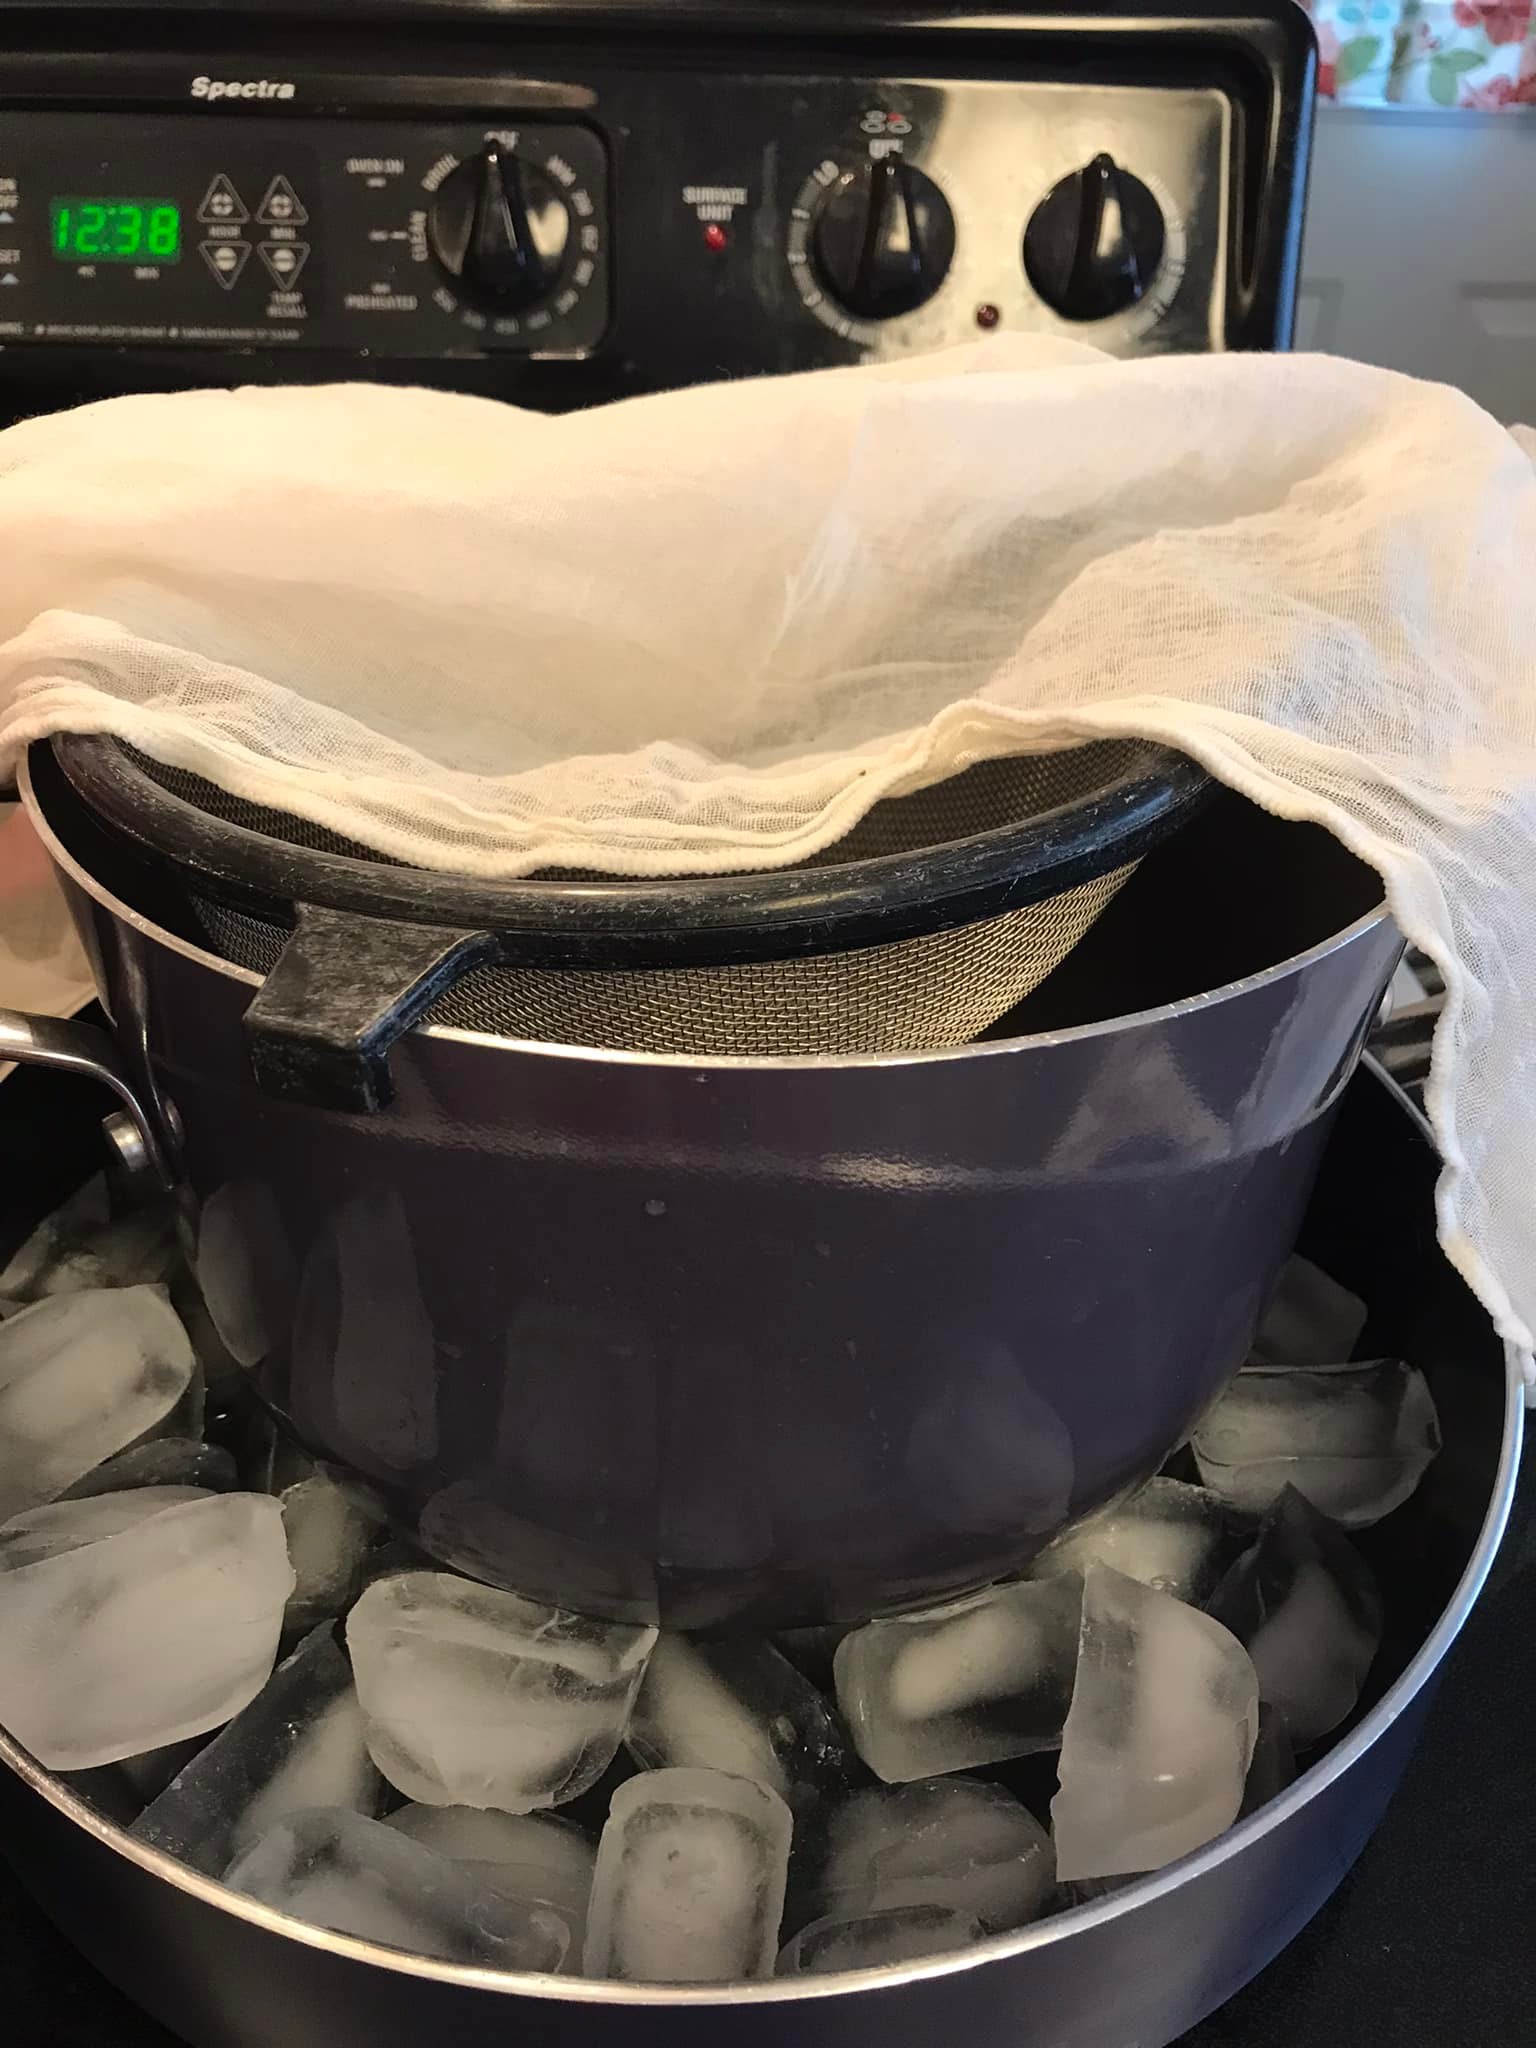
Here’s my set up, be sure to use a cheesecloth so it catches all the itty bitty pieces.
More of my supplies
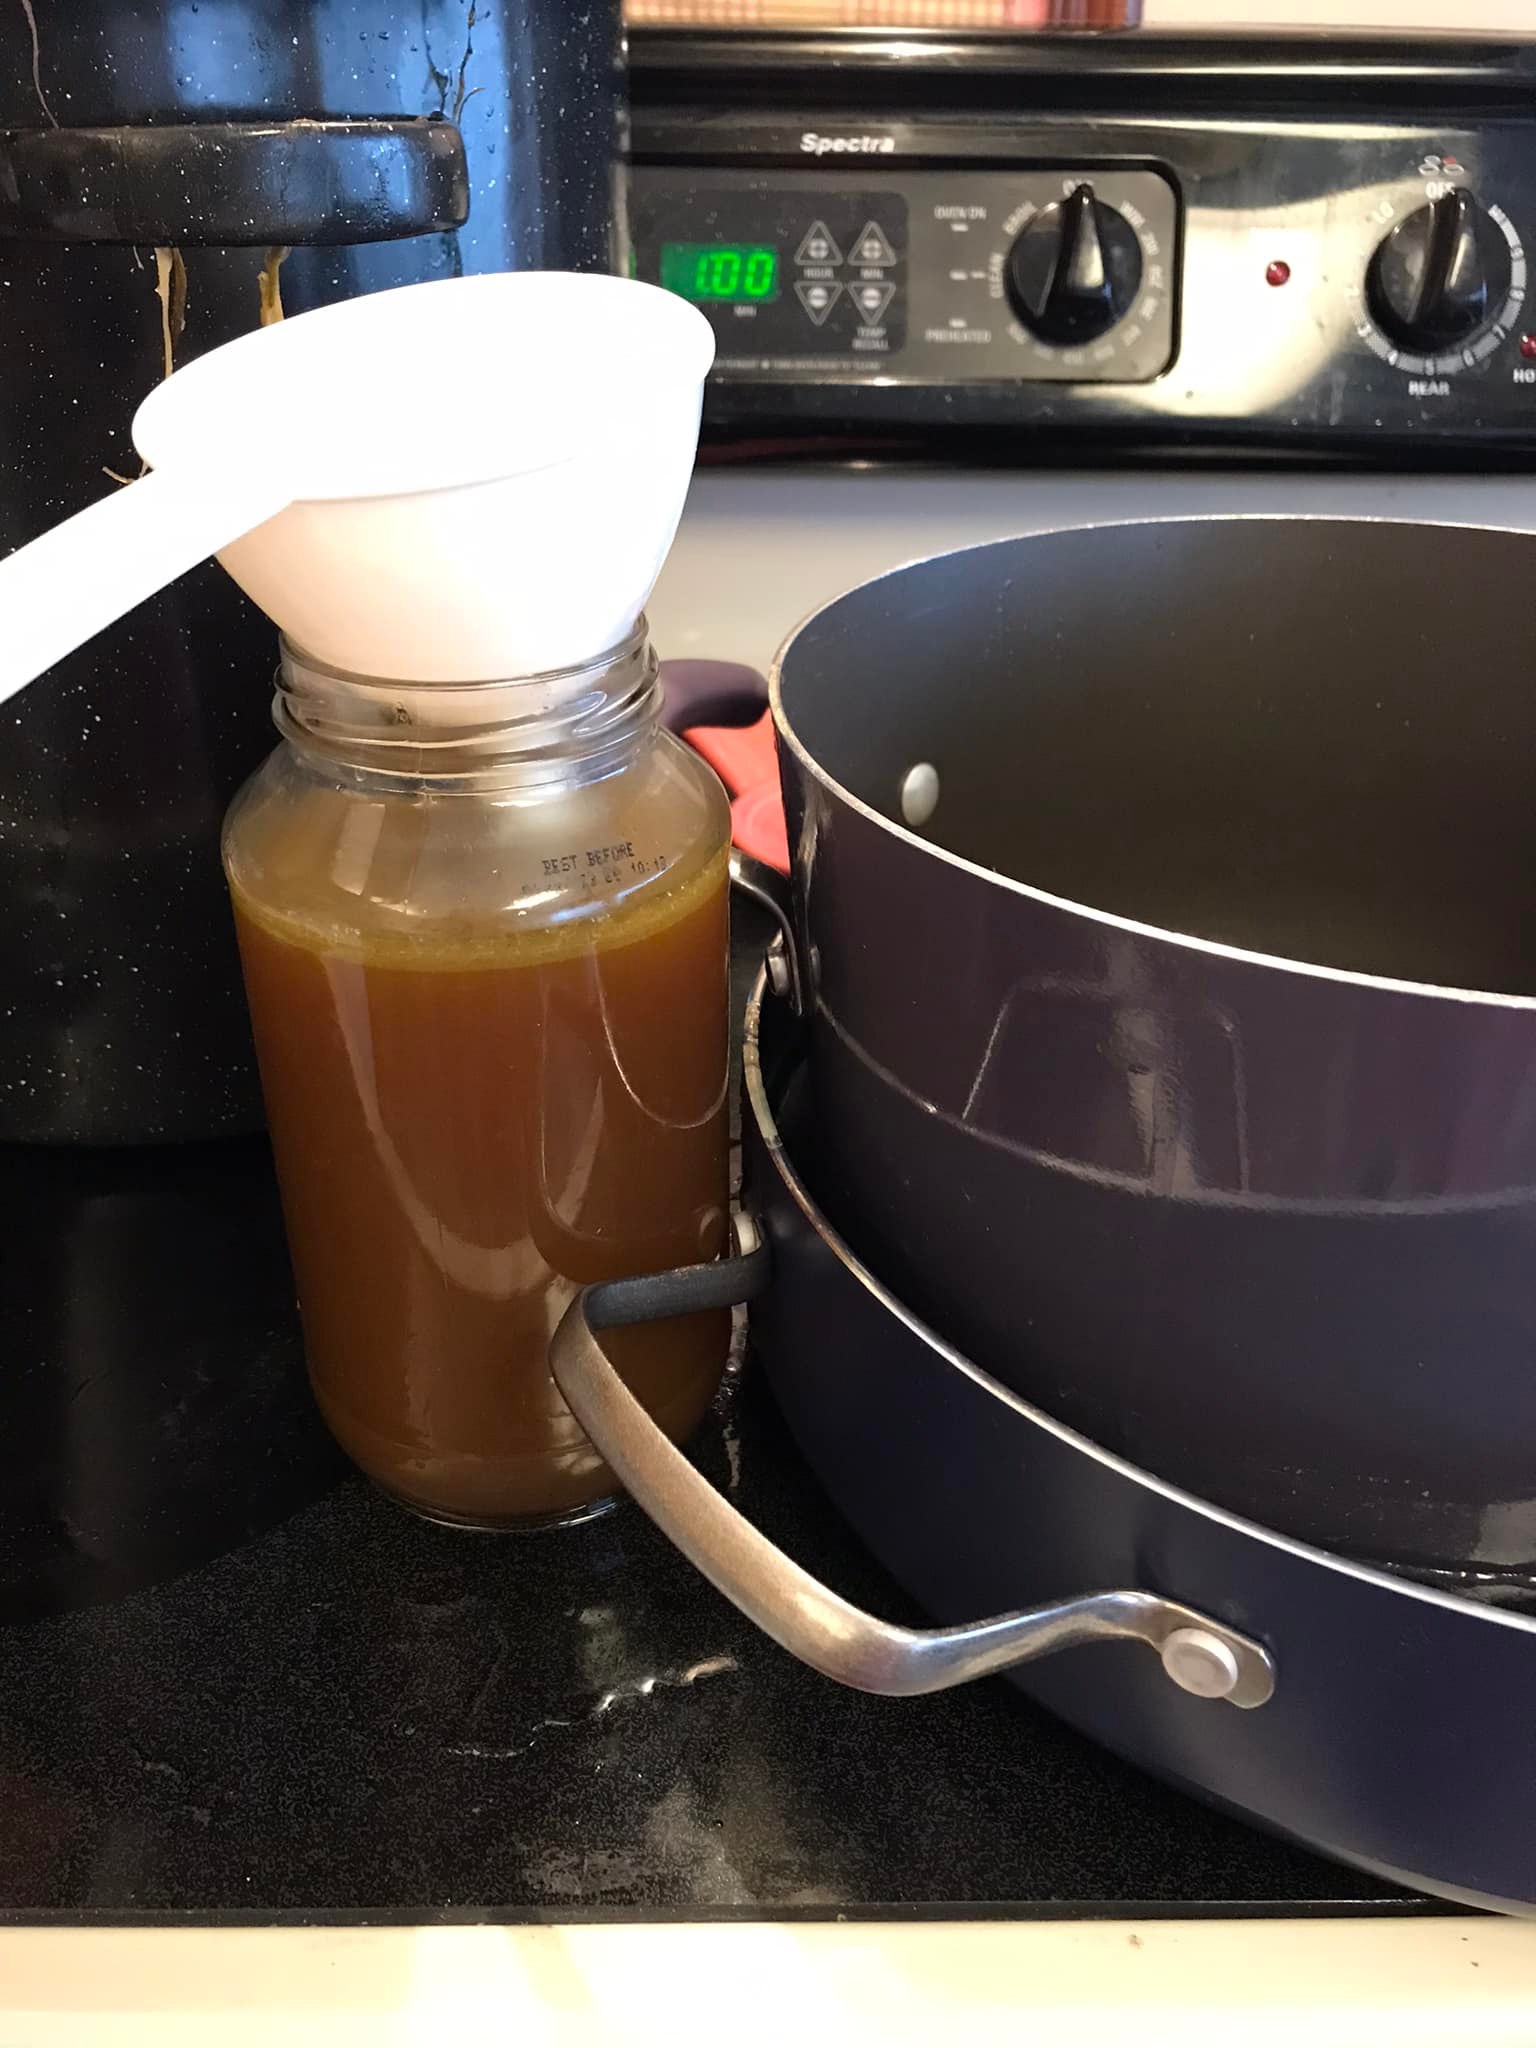
Jarrin it up! Be sure not to fill to the very top of the jar as it will expand when freezing.
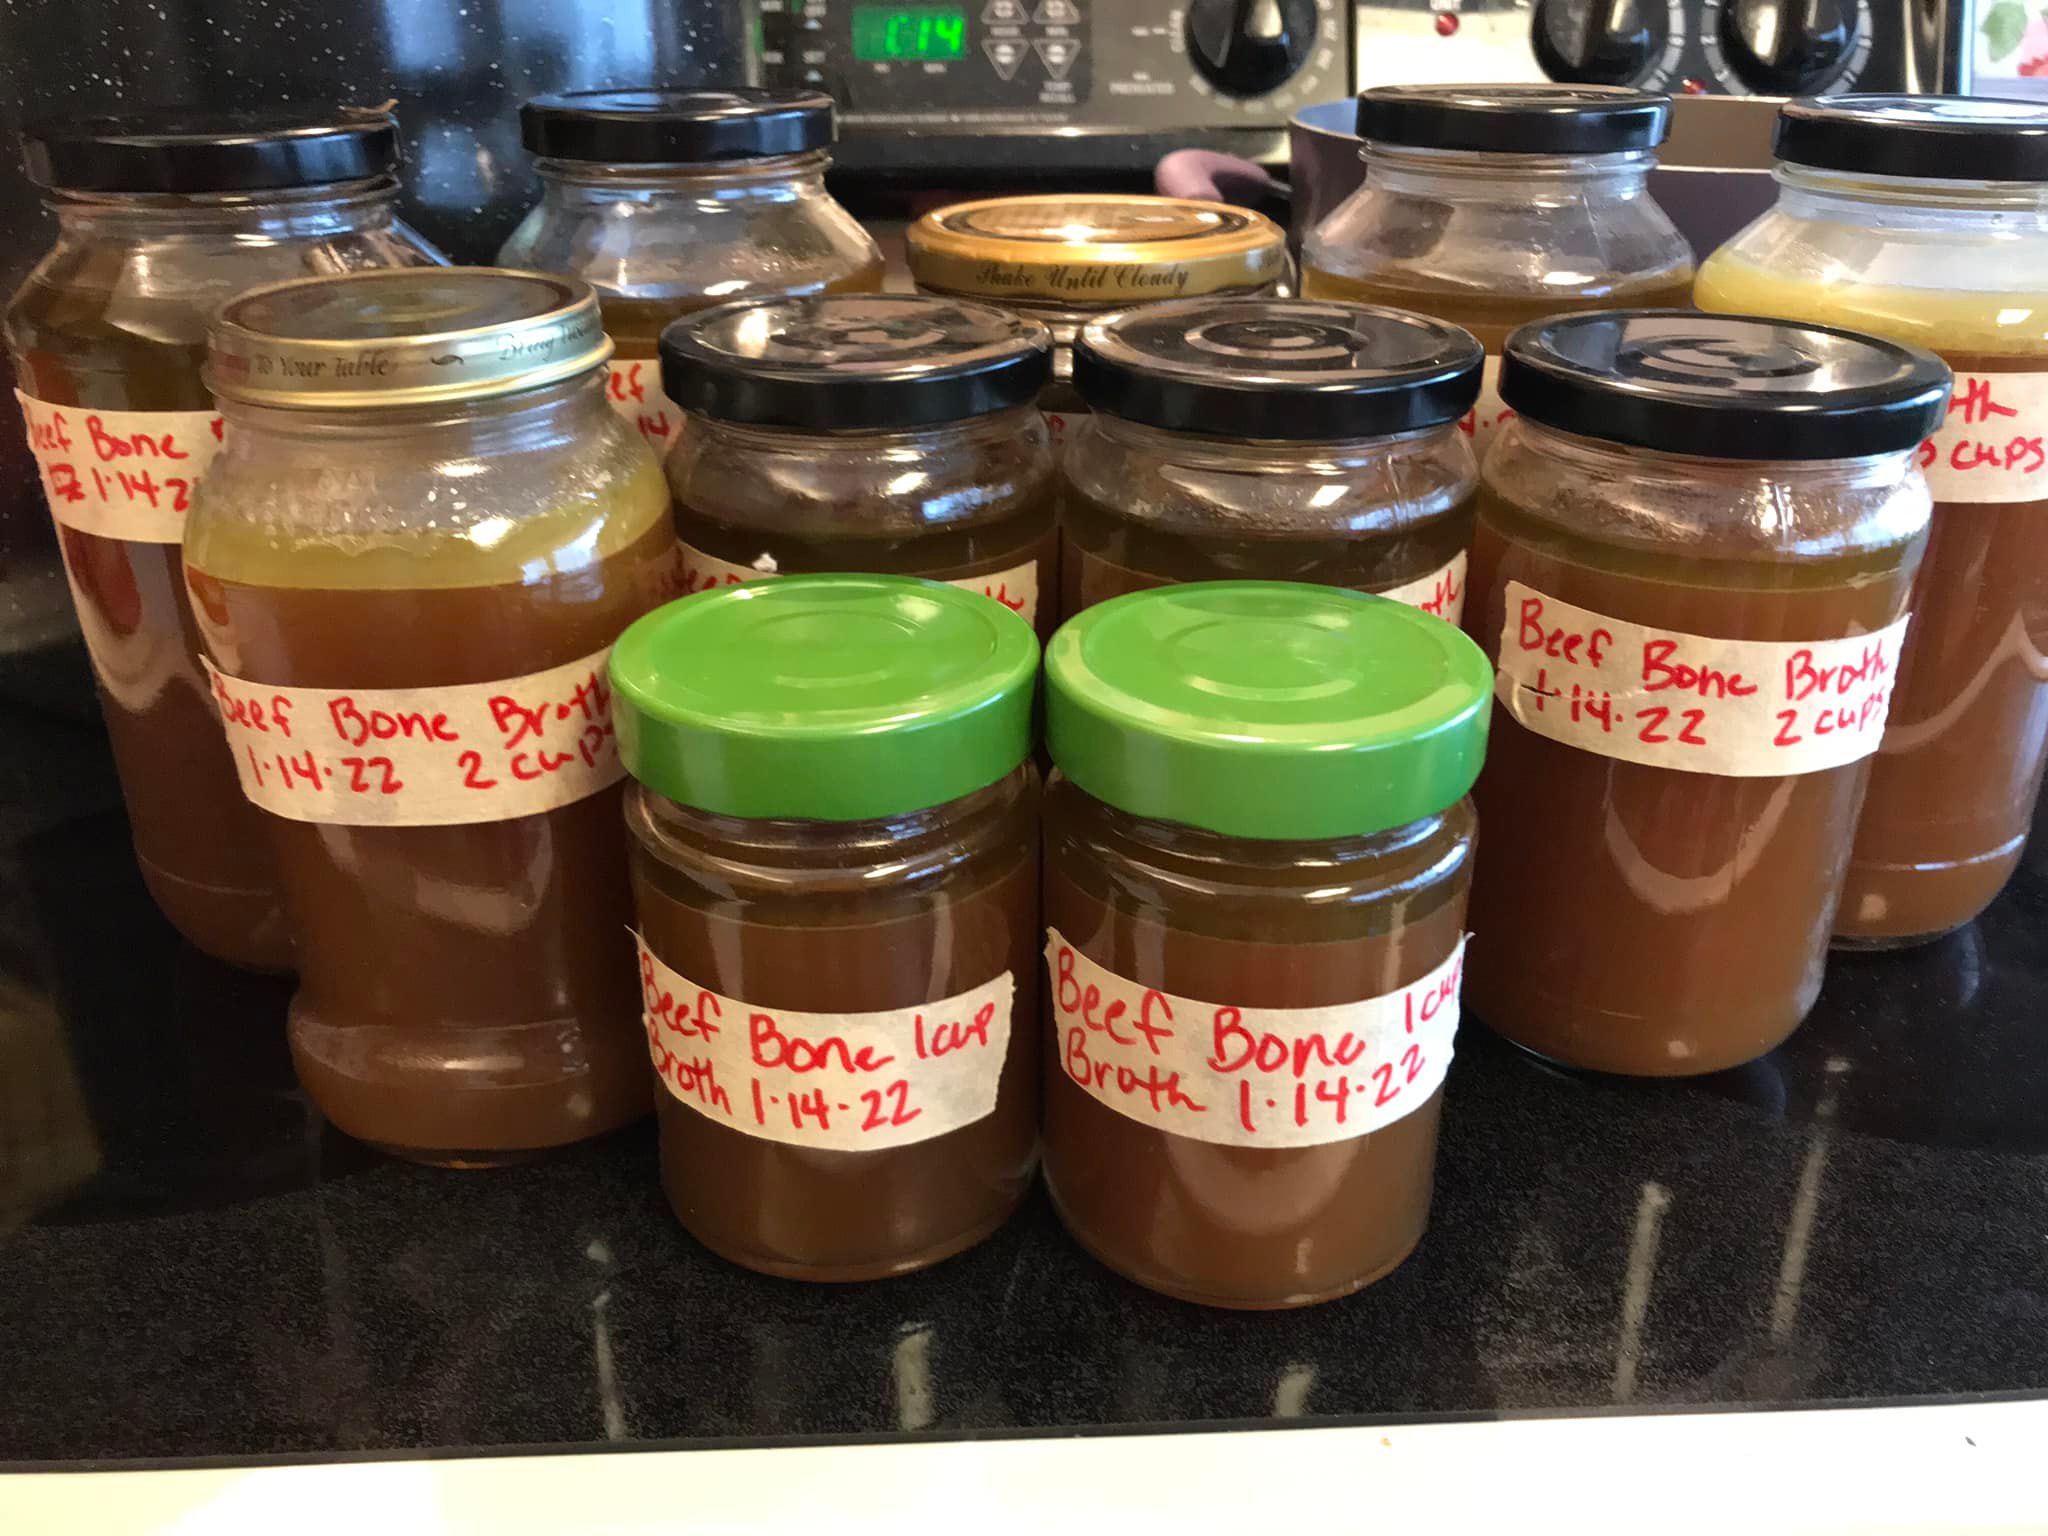
Here’s all my beautiful jars labeled and ready to give some away and I freeze the rest. Will be good in the fridge for 5 days and good in the freezer for at least 6 months.
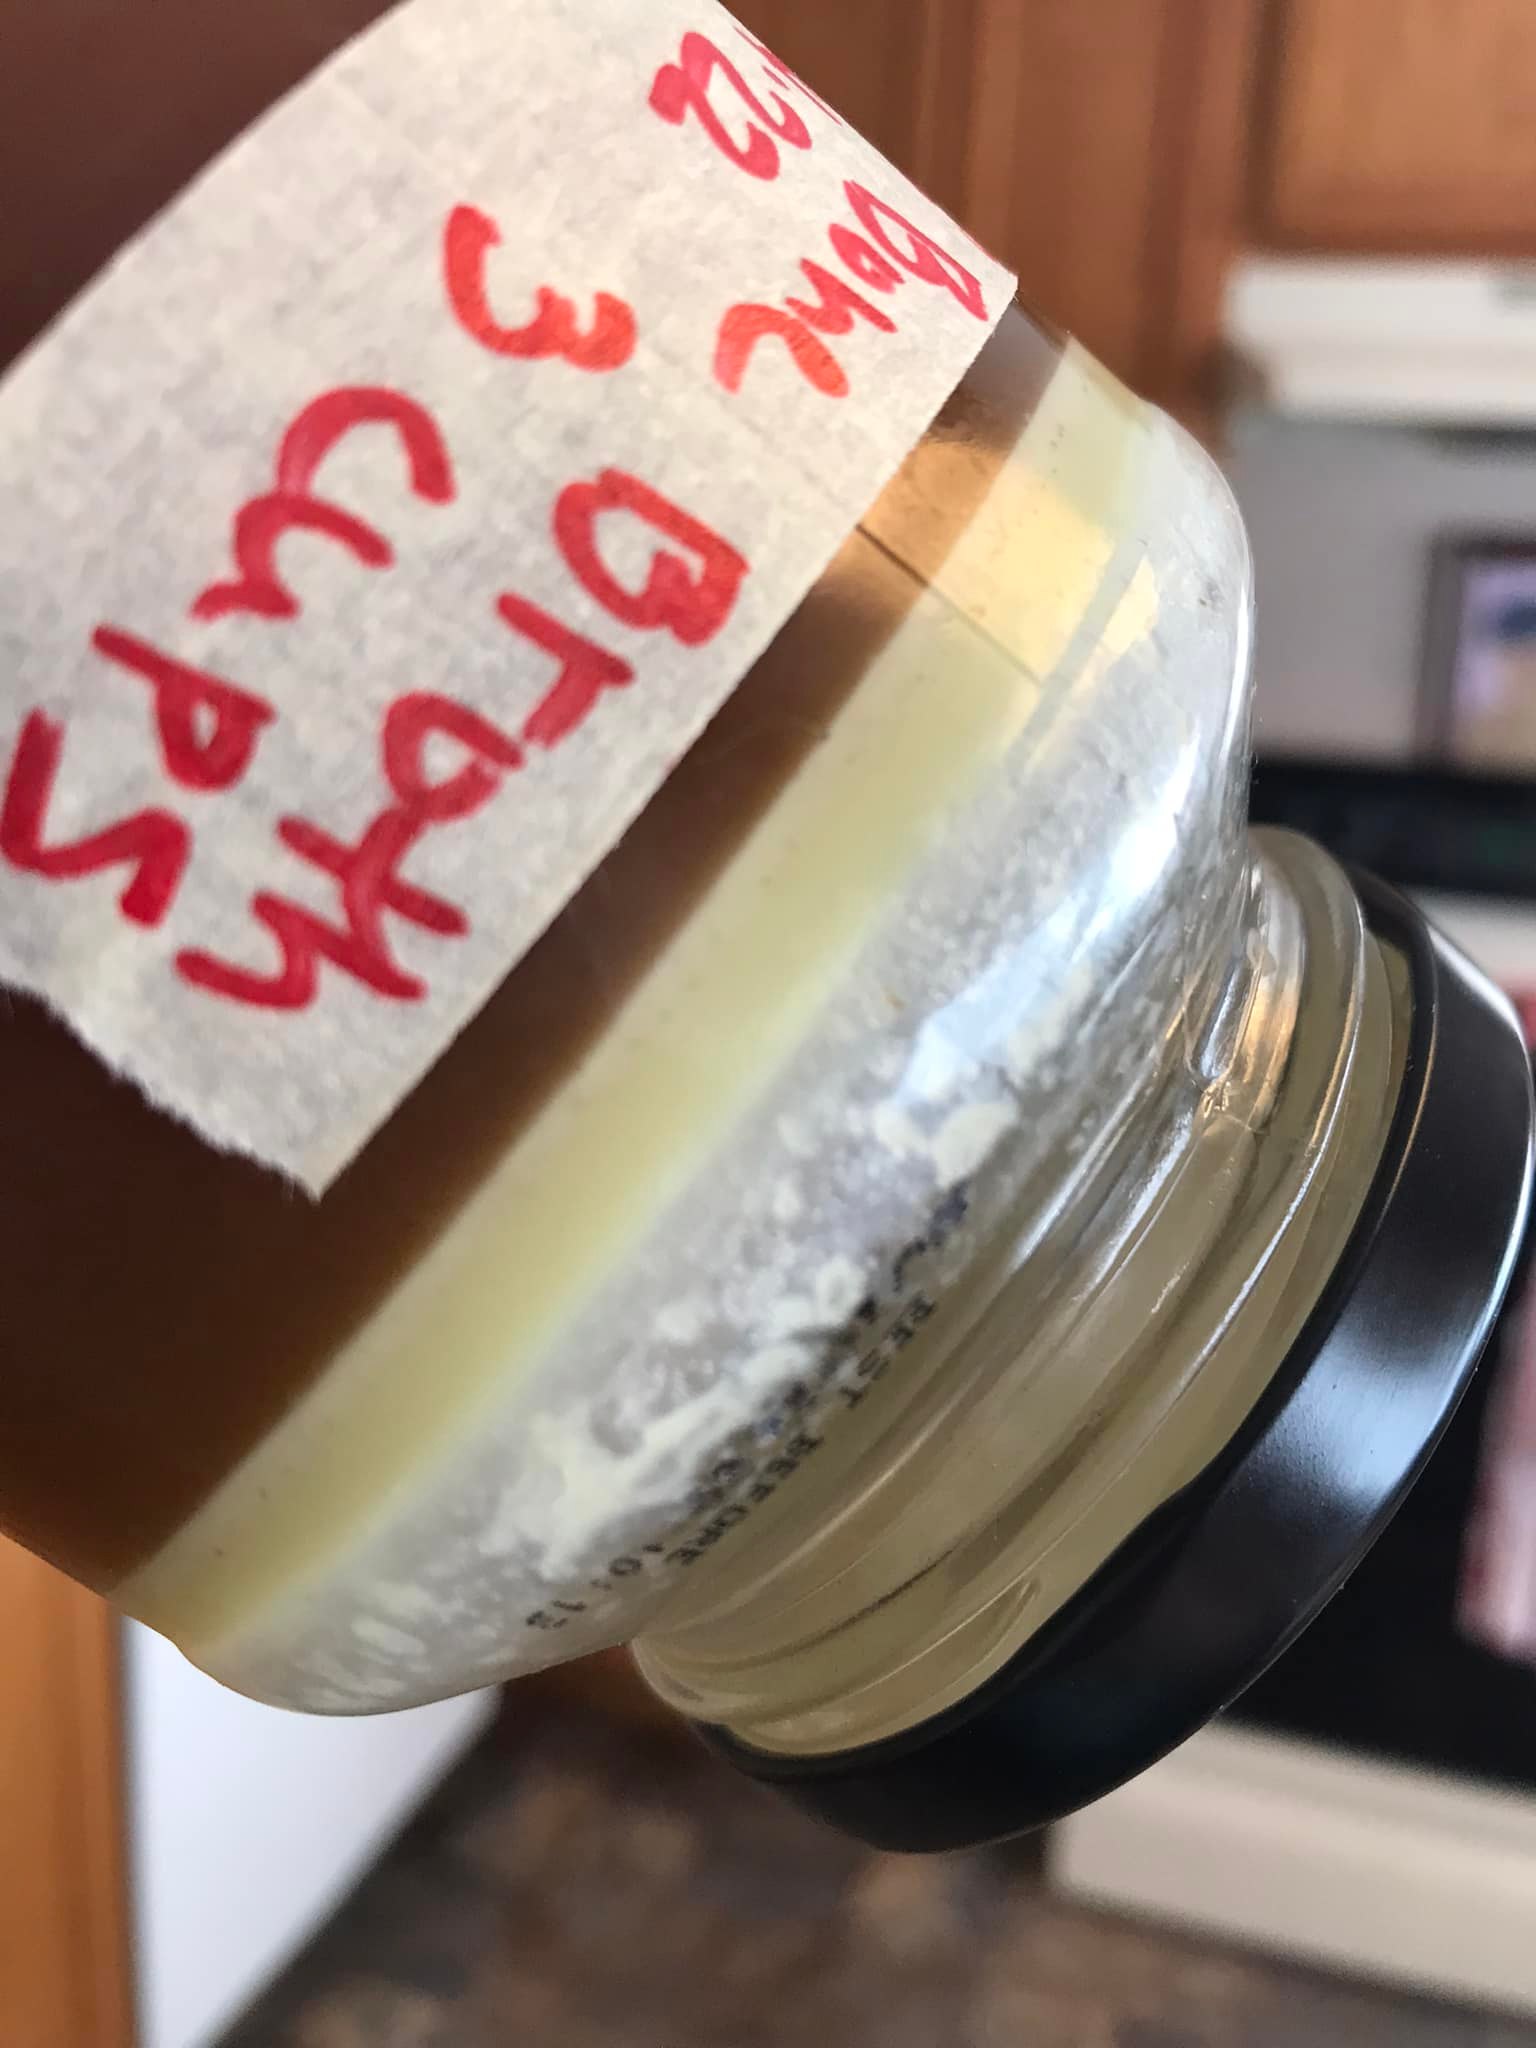
This is what you want your end result to do. Being gelatin like this means it’s full of collagen which is what we get the most nutrients from. This again is good for our gut health, immune system, hair, nails and joints and not to mention various other health benefits!
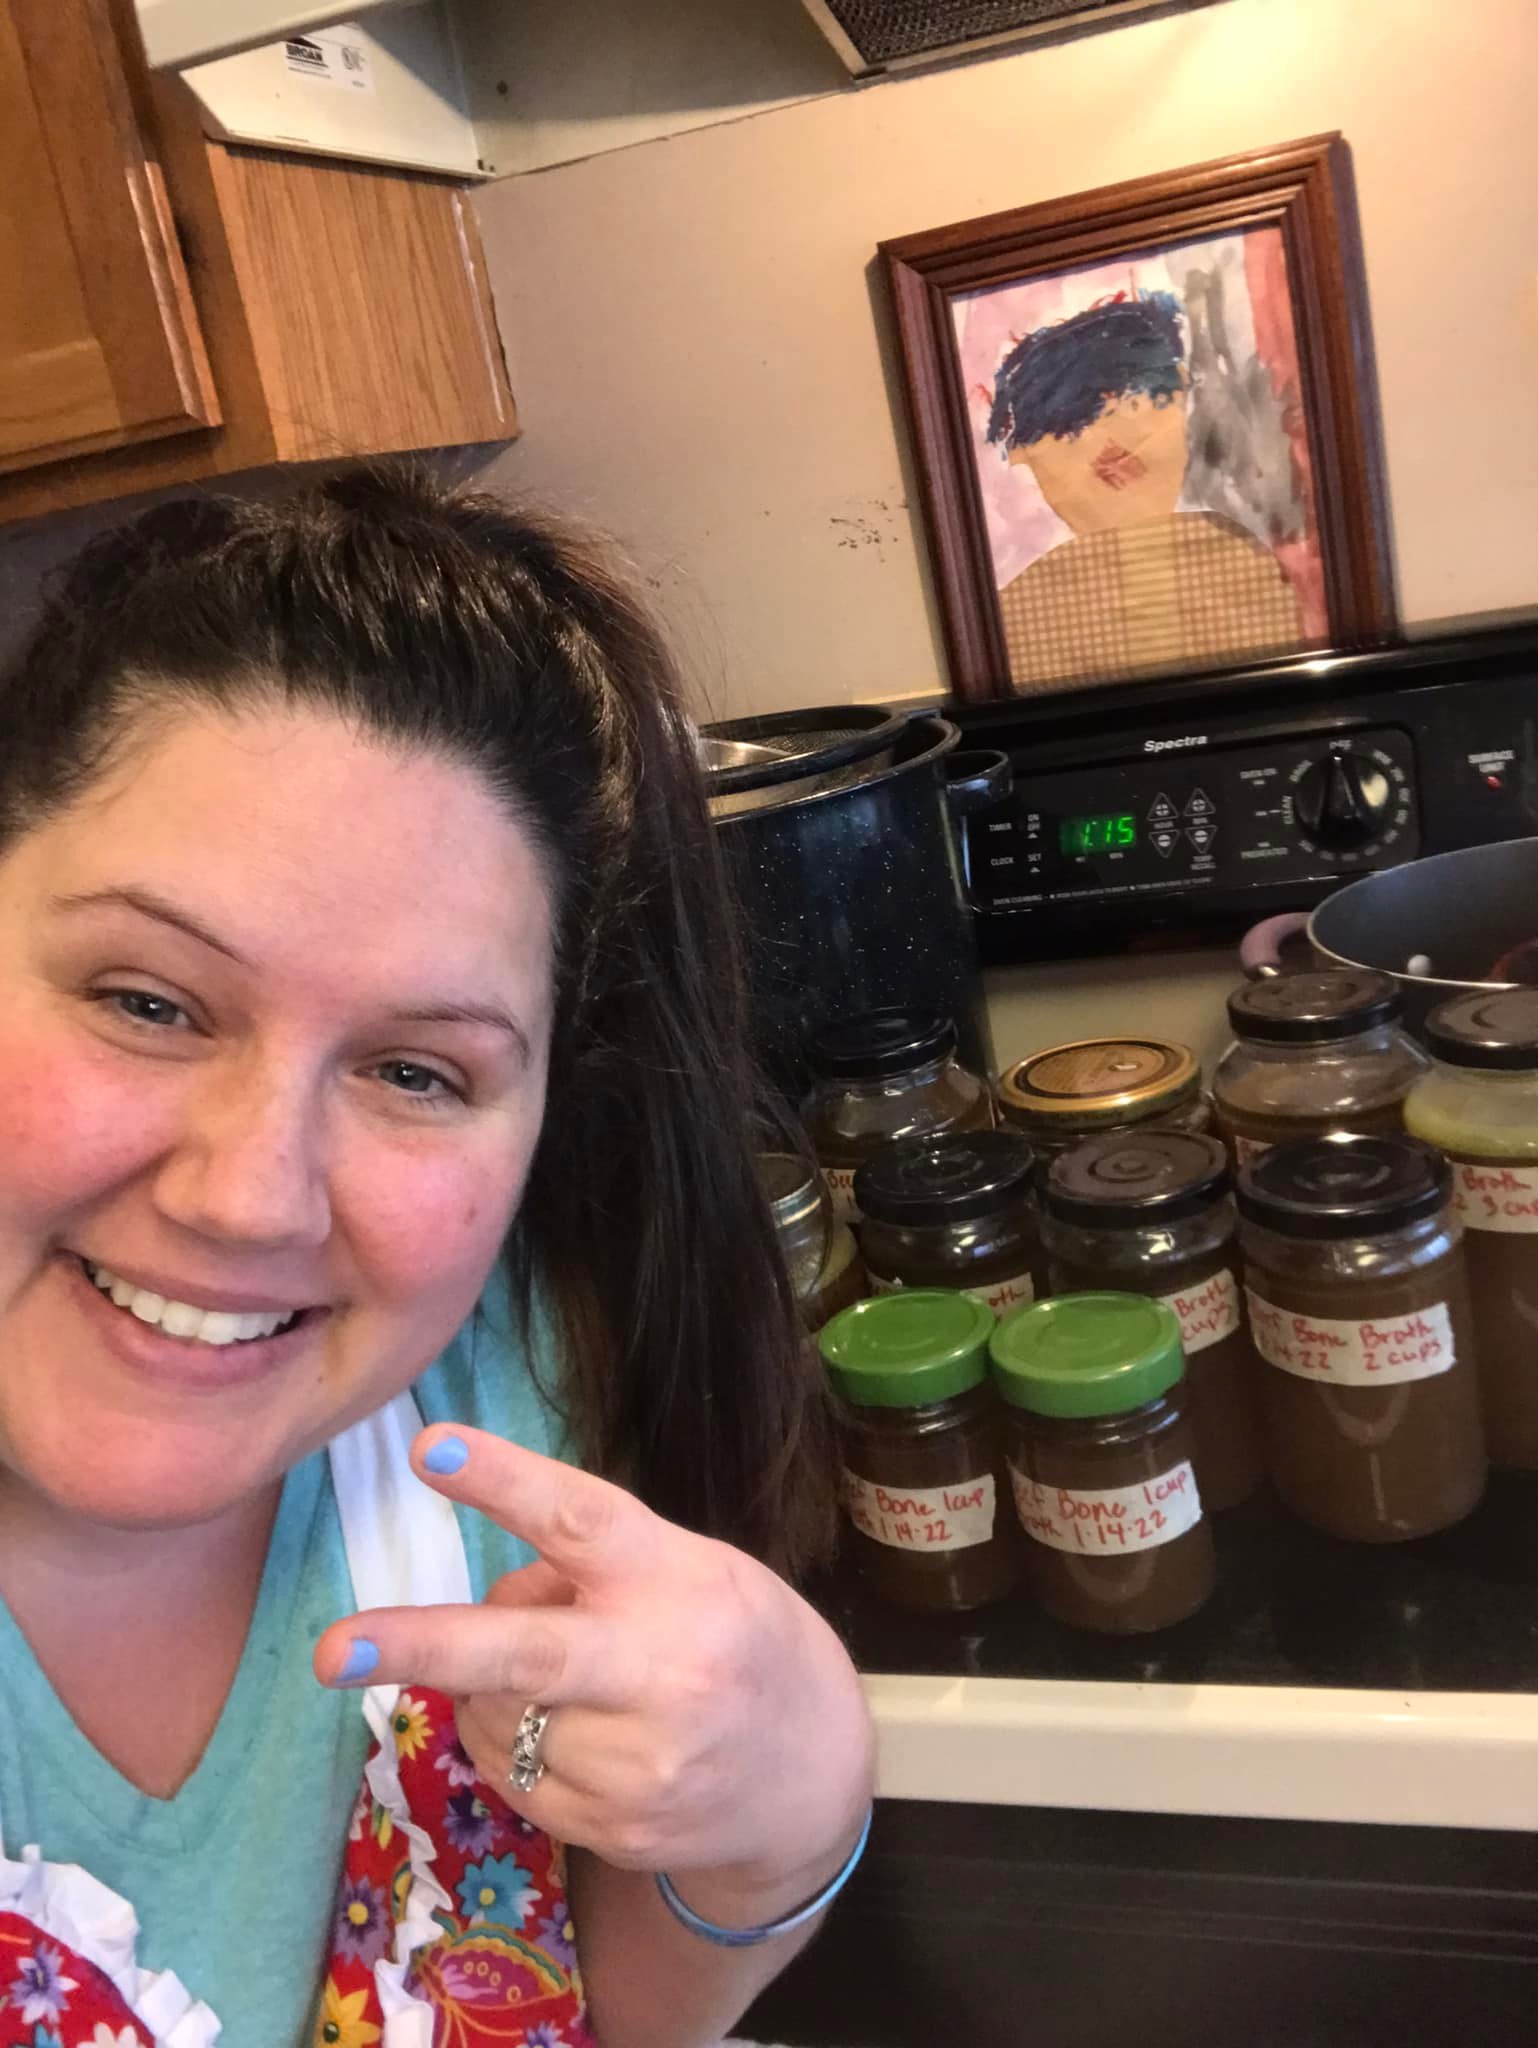
Annnnnd that’s a wrap! 26 cup batch
Chicken Bone Broth Tutorial
I usually don’t bake the chicken bones like I do with beef since they have usually been cooked already. I also have not tried this with the chicken feet as I don’t think it’s necessary. But we do cut off the toes with the nail of the feet. I’ve seen where some people leave them on and some cut off, so I think it’s just preference and maybe we are taking away some of the collagen when doing that since nails contain collagen. Maybe one day I will try it with leaving them on.
Chicken bones will need to simmer around 24 hours. I used to add in the veggies at the beginning of the simmering time but the last several times, I wait to add it in until later because I read that the nutrients from the veggies get cooked out if simmered for too long.
I have more pictures than instructions for this tutorial since it’s basically the same process, just doesn’t simmer as long and don’t need to bake the bones in the beginning. Just need to cut off the tips of the toes if you choose to.
Also, would this technically be dinosaur bone broth? Asking for a friend, lol. I did ask my Dino expert, my son, and he just smirked and shook his head so I think that was maybe a yes!
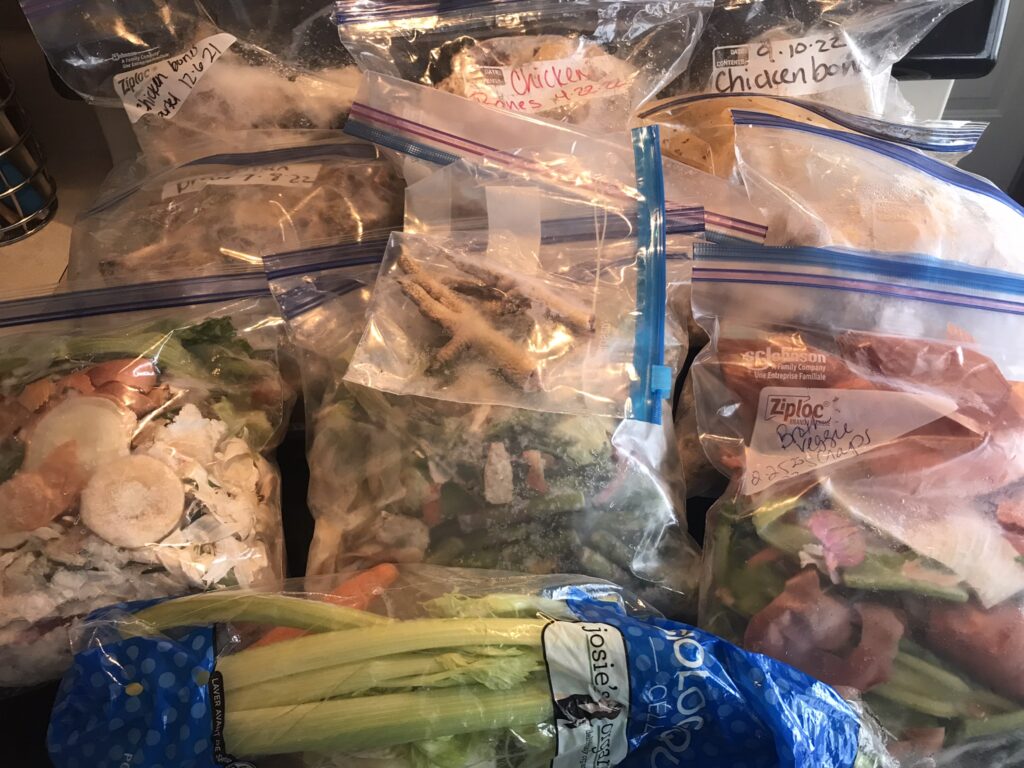
Here’s all my saved bags of chicken bones and veggie scraps. I cook whole chickens a lot since they’re essentially cheaper and fills up my bone bags quicker
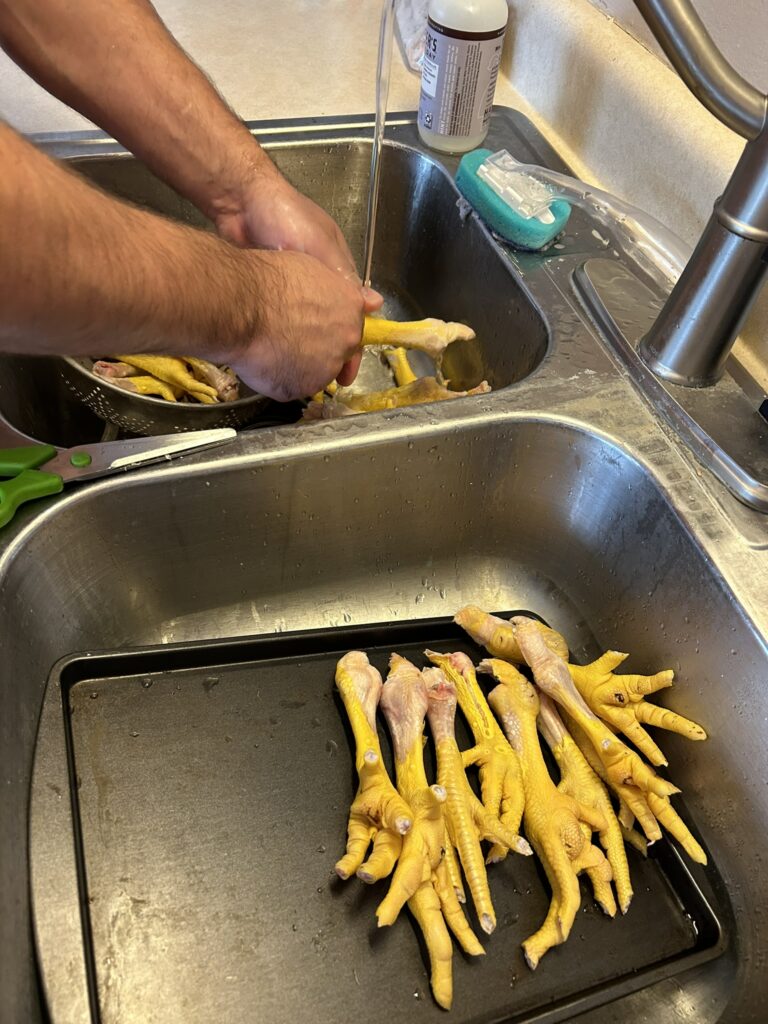
Credit to my hubby for cutting off the tips. I just haven’t quite gotten brave enough to do that, yet
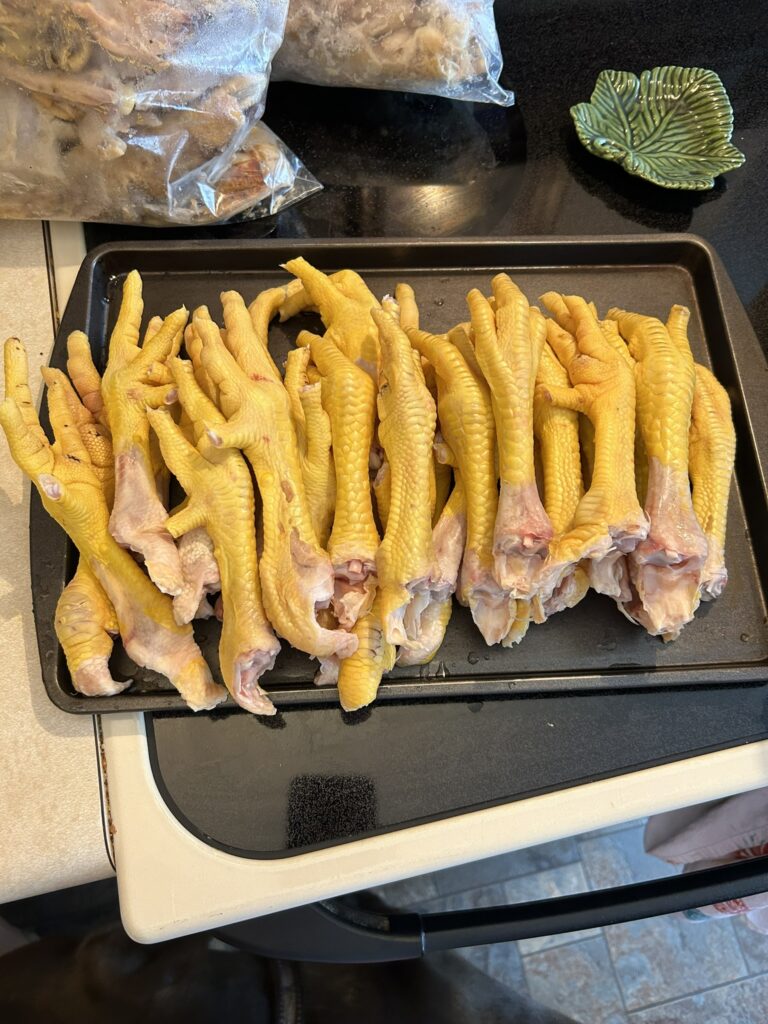
Lovely, clean feet ready to be added to stockpot
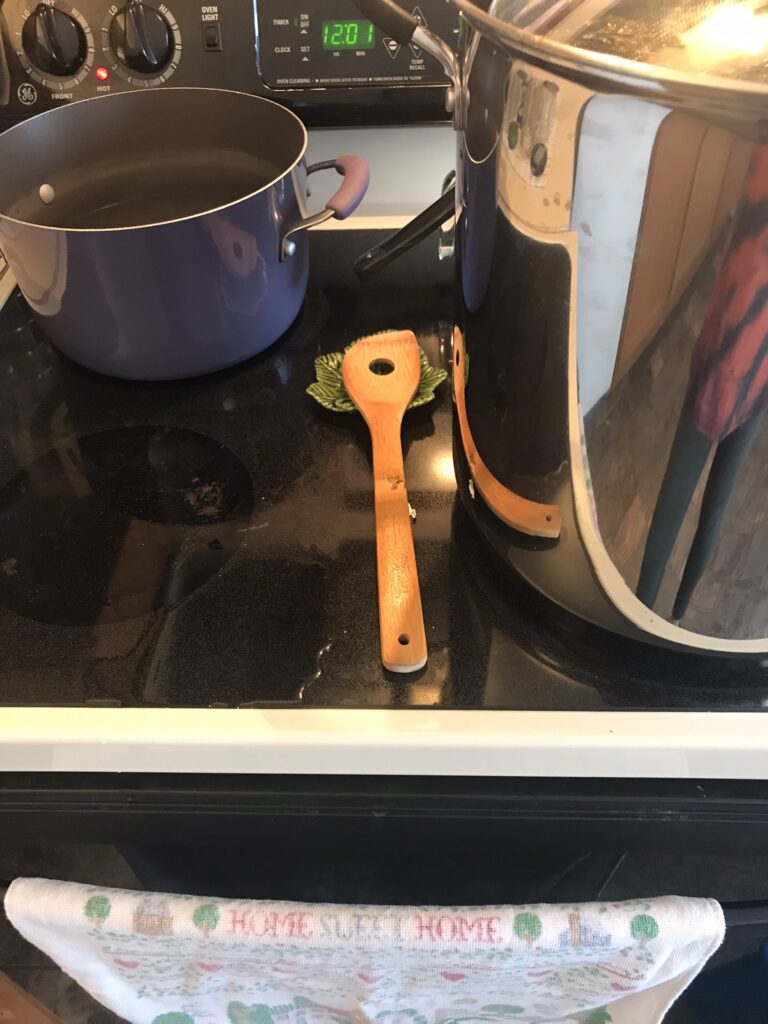
My huge new stockpot so I can make bigger batches each time! More to share and more to save.
Also, peep my late momma’s dish towel that we had when I was a child. This towel is near and dear to my heart
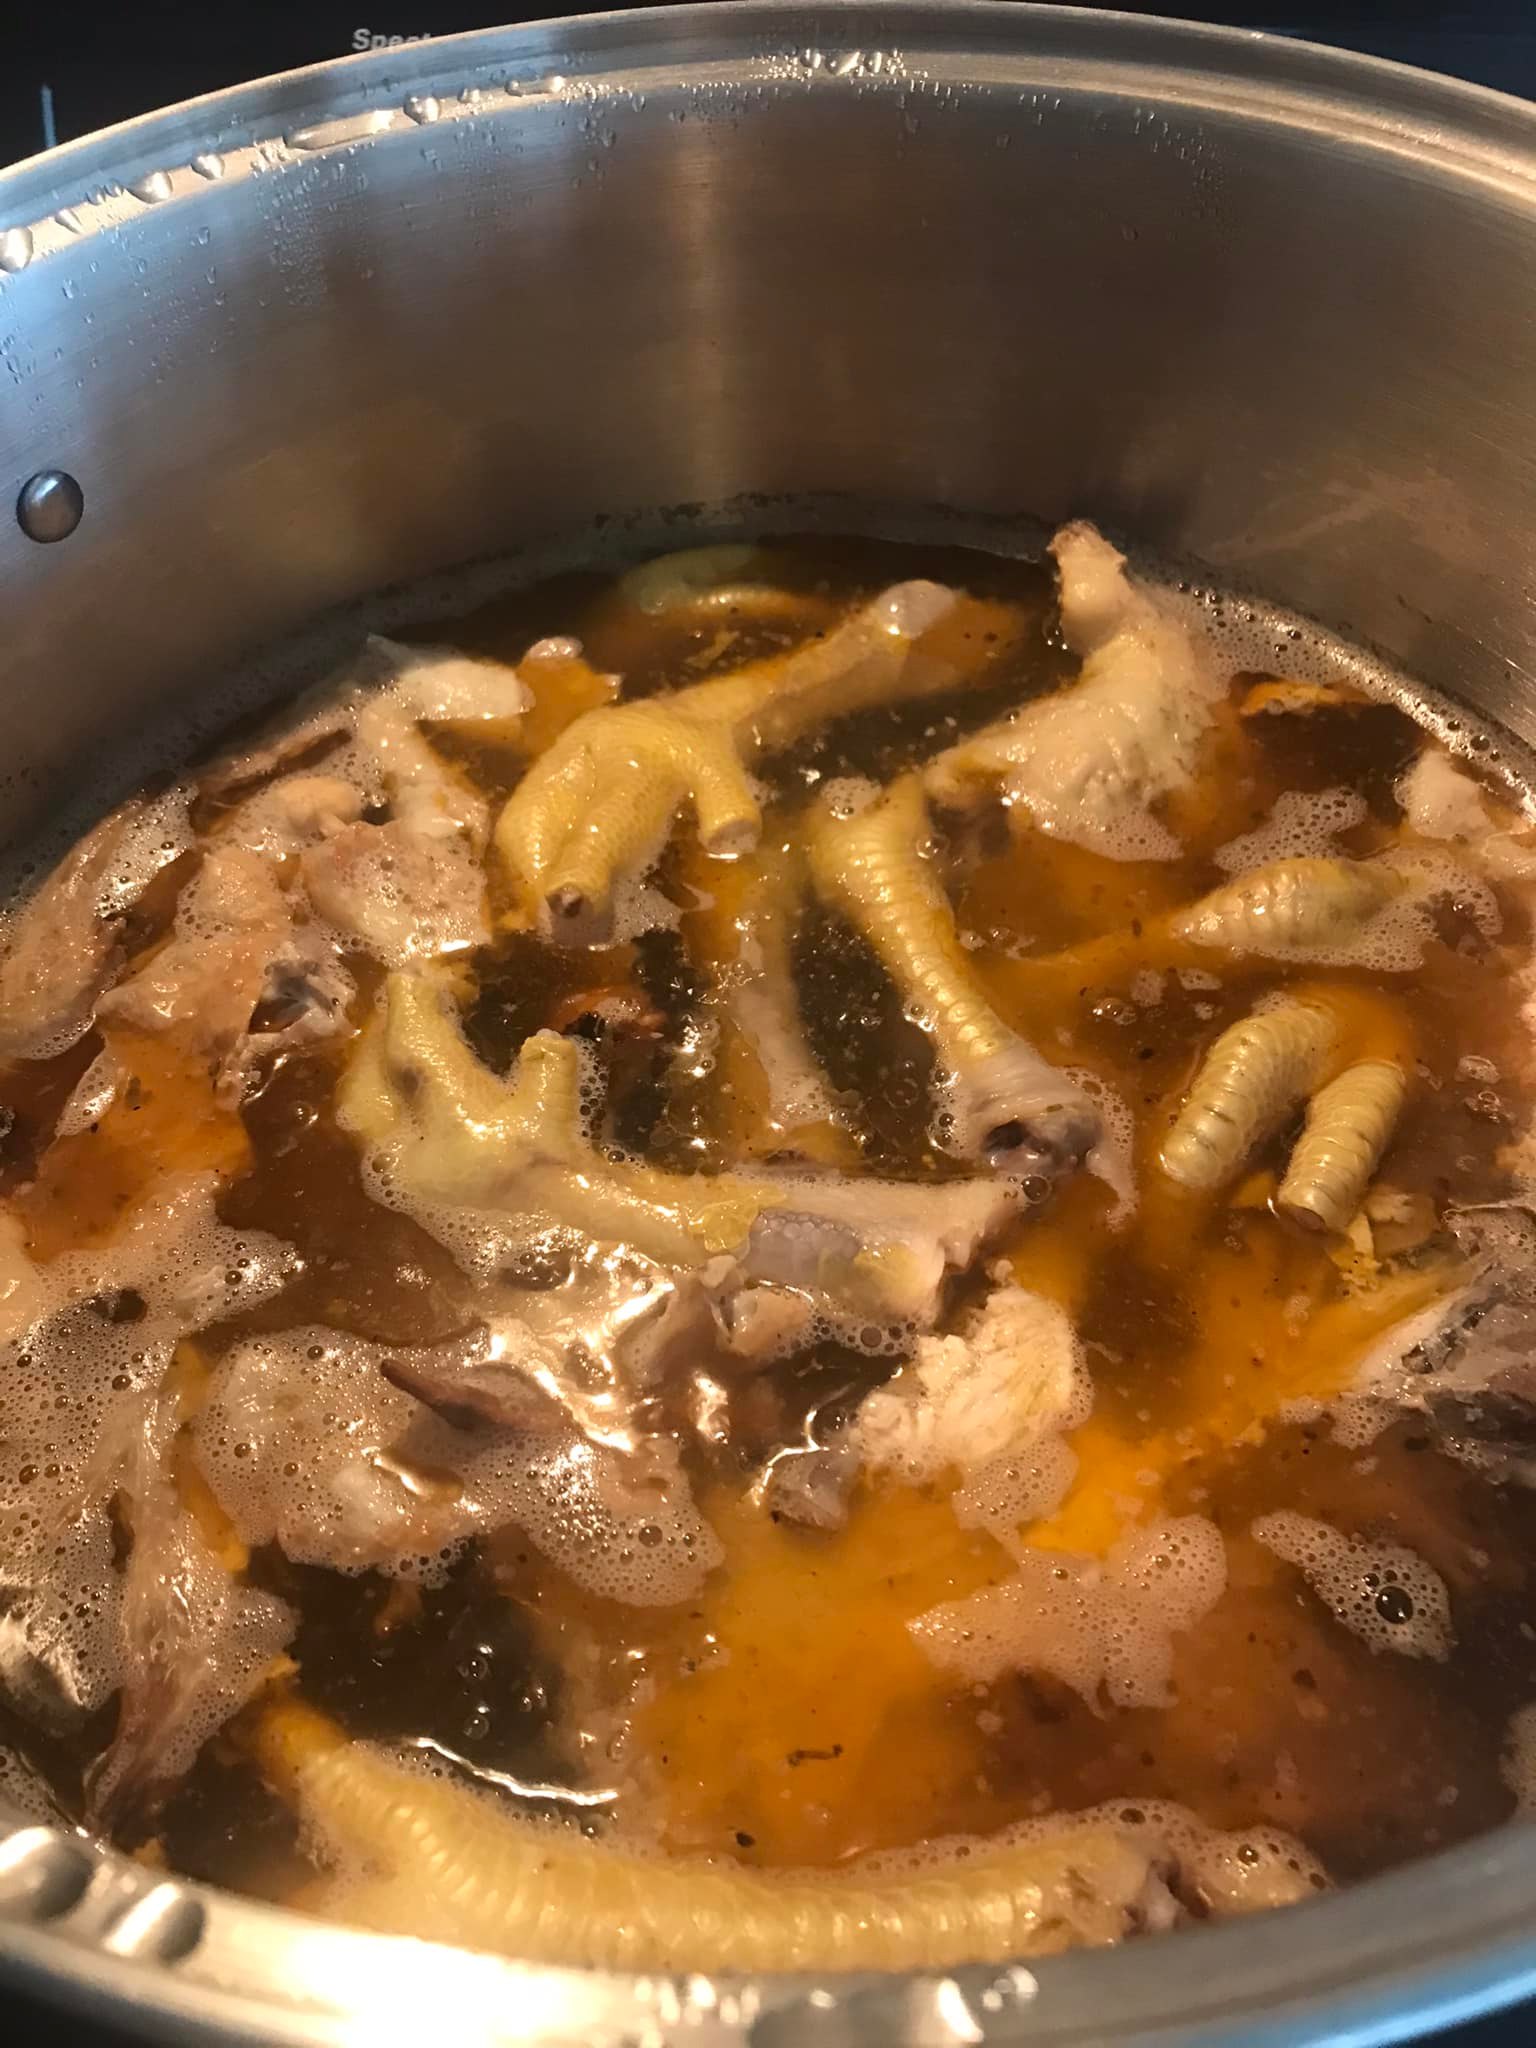
Wow, the color is already turning to a beautiful golden color

Scooping out the foamy bubbles also known as impurities. This time I added the veggies in the beginning once the water and bones were simmering since the chicken bones simmer half the time the beef bones take. You can add in the beginning or half way through, I just wouldn’t simmer than longer than 24 hours.
Discarding the foam
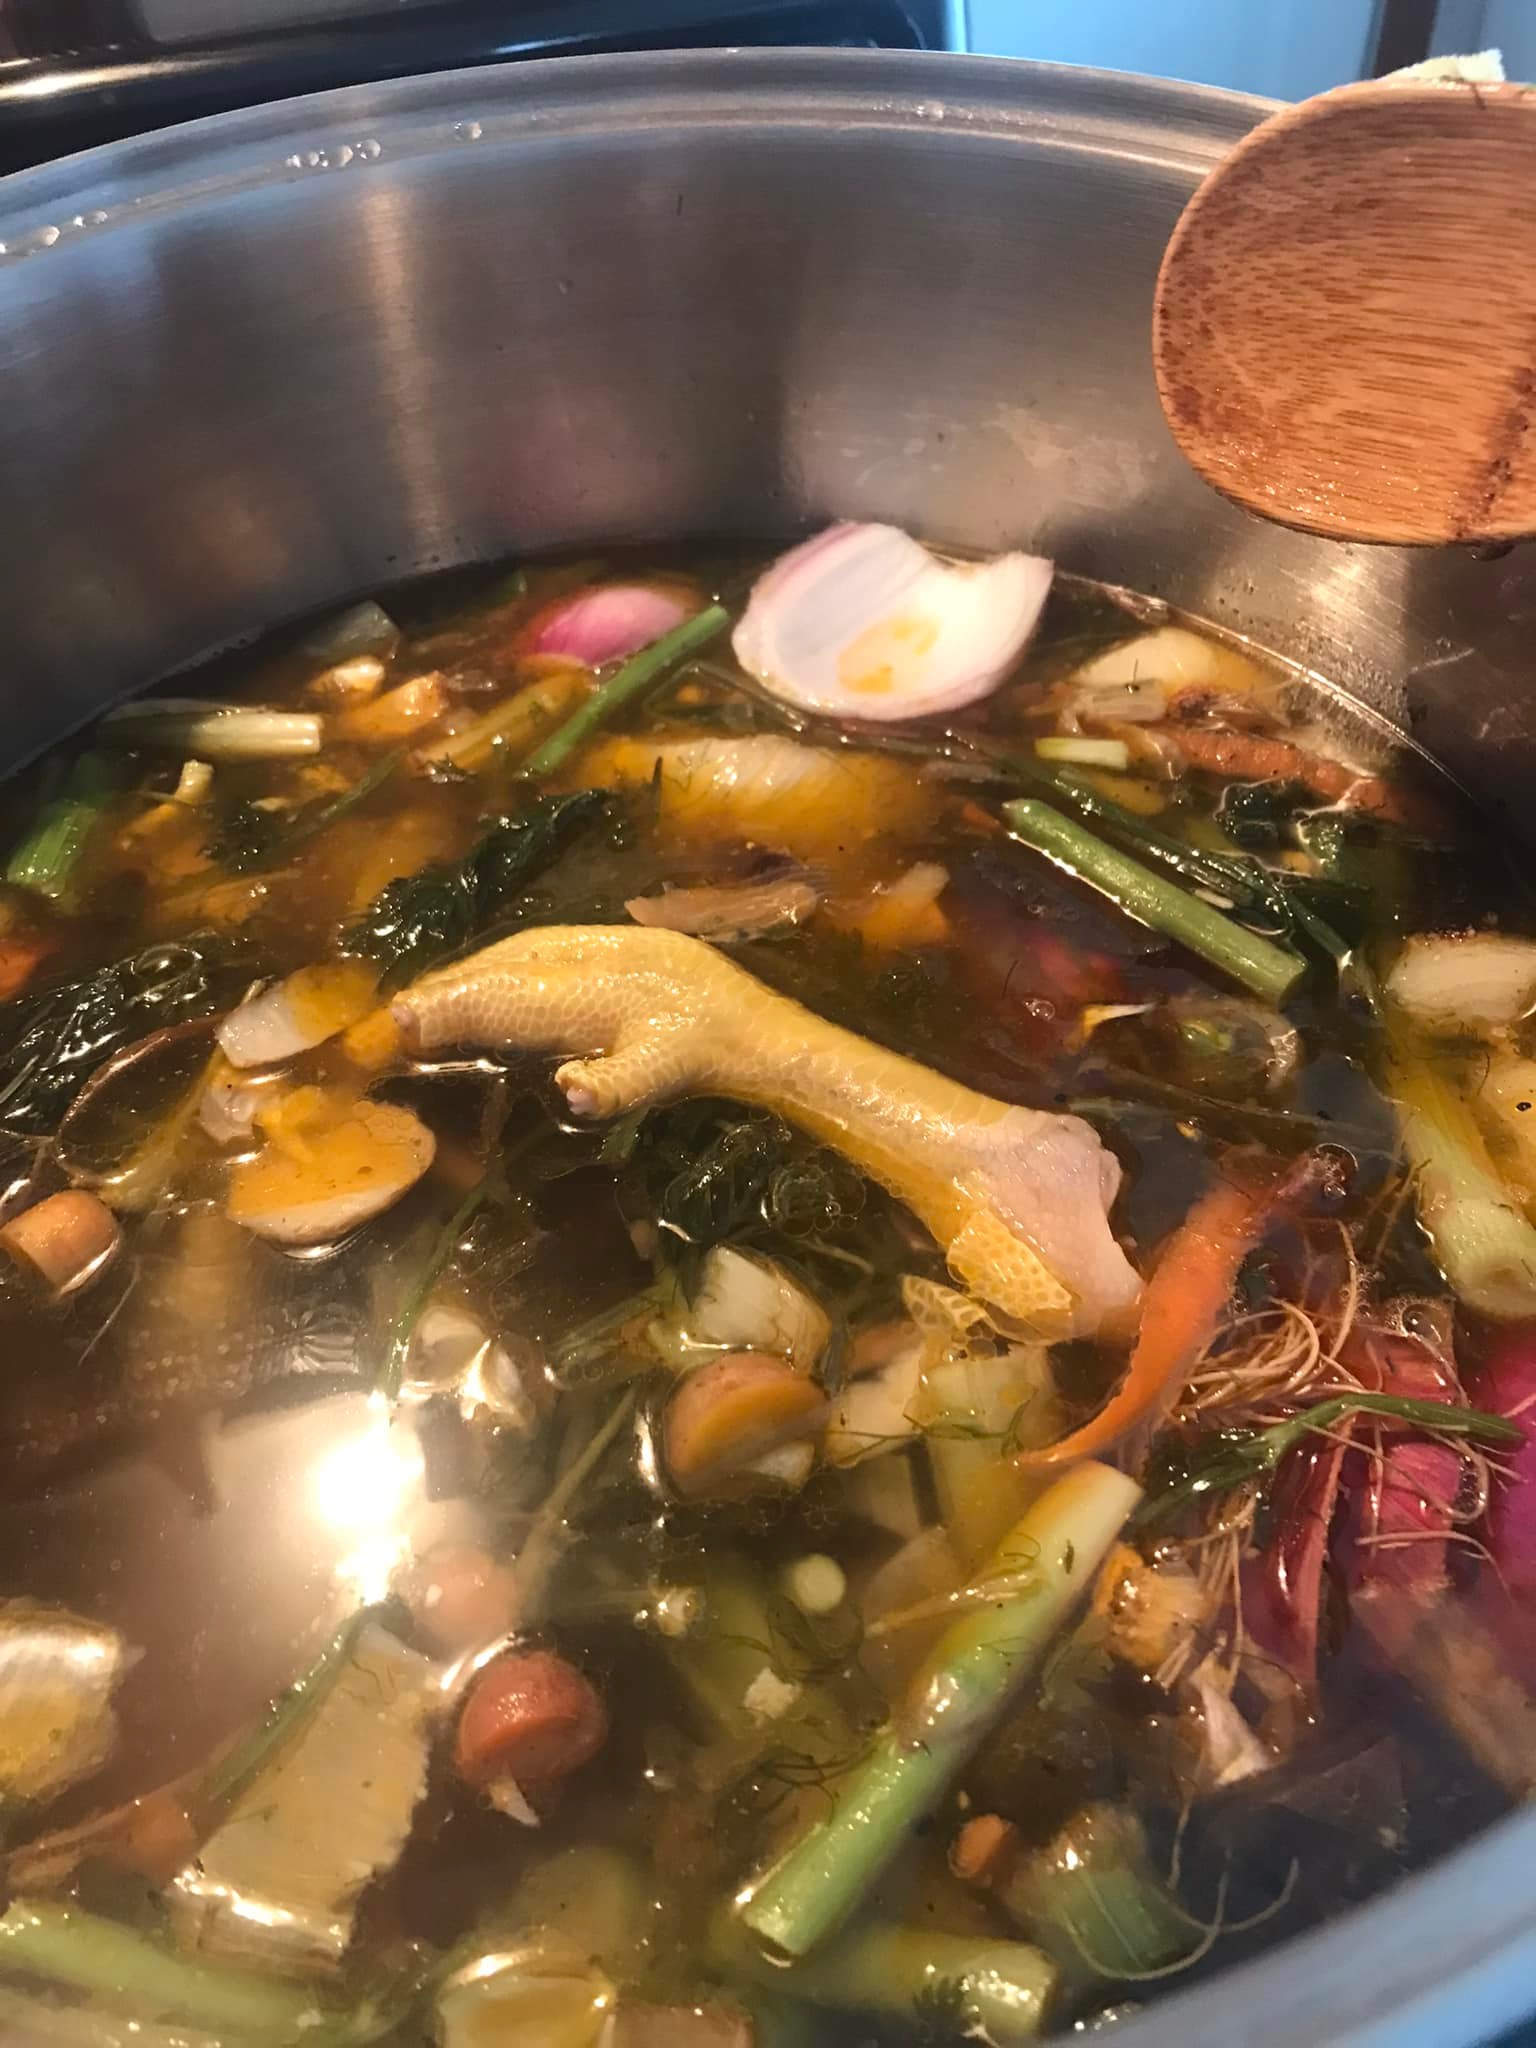
It’s probably just me but this little foot is lookin kinda cute and I love the deep purples and greens from the veggies

After the bones and veggies have been simmering a long while, they’re not looking as cute and pretty anymore. I was using that wooden spoon to help push out all the juices to yield as much as possible
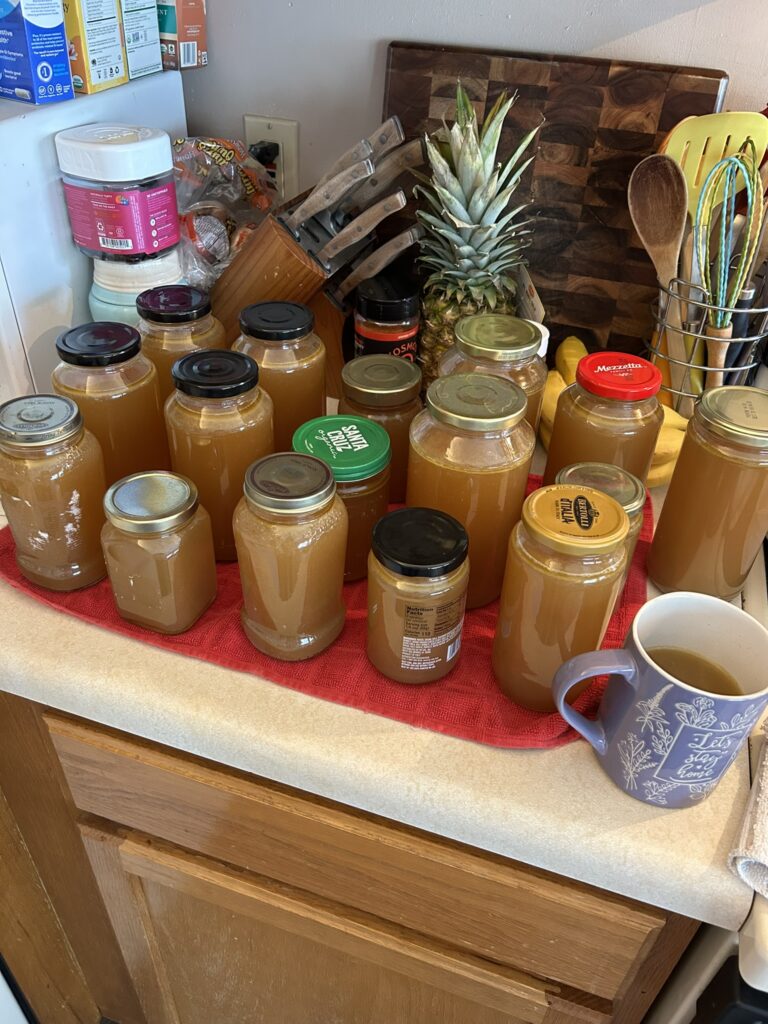
With this bigger stockpot, I’m able to jar up around 46 cups! I also had to sip on some right away and have a good taste test
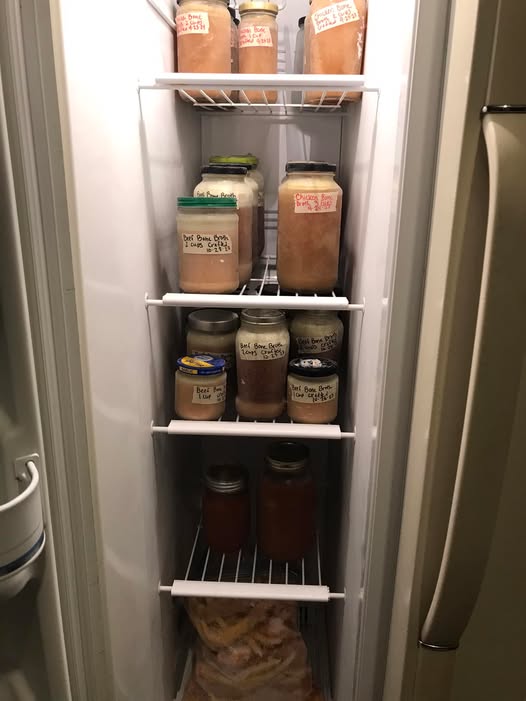
Chicken bone broth, beef bone broth, farm and family made applebutter (ifykyk) and chicken feet. A beautiful freezer that warms my soul
Homemade beef bone broth ideas!
Crockpot Roast and then Leftover Roast Stroganoff
First day, use around one cup of bone broth for cooking a roast. Strain the leftover juice and use when making stroganoff with the leftover roast!
I was curious to see if the roast juice was going to congeal like the bone broth and it did congeal some. .
Here’s the ingredients that I usually use
Leftover roast
A little butter
Cream of mushroom can
Sour cream
Roast juice
Worshtershire
Garlic powder
Sea salt
Pepper
Egg noodles
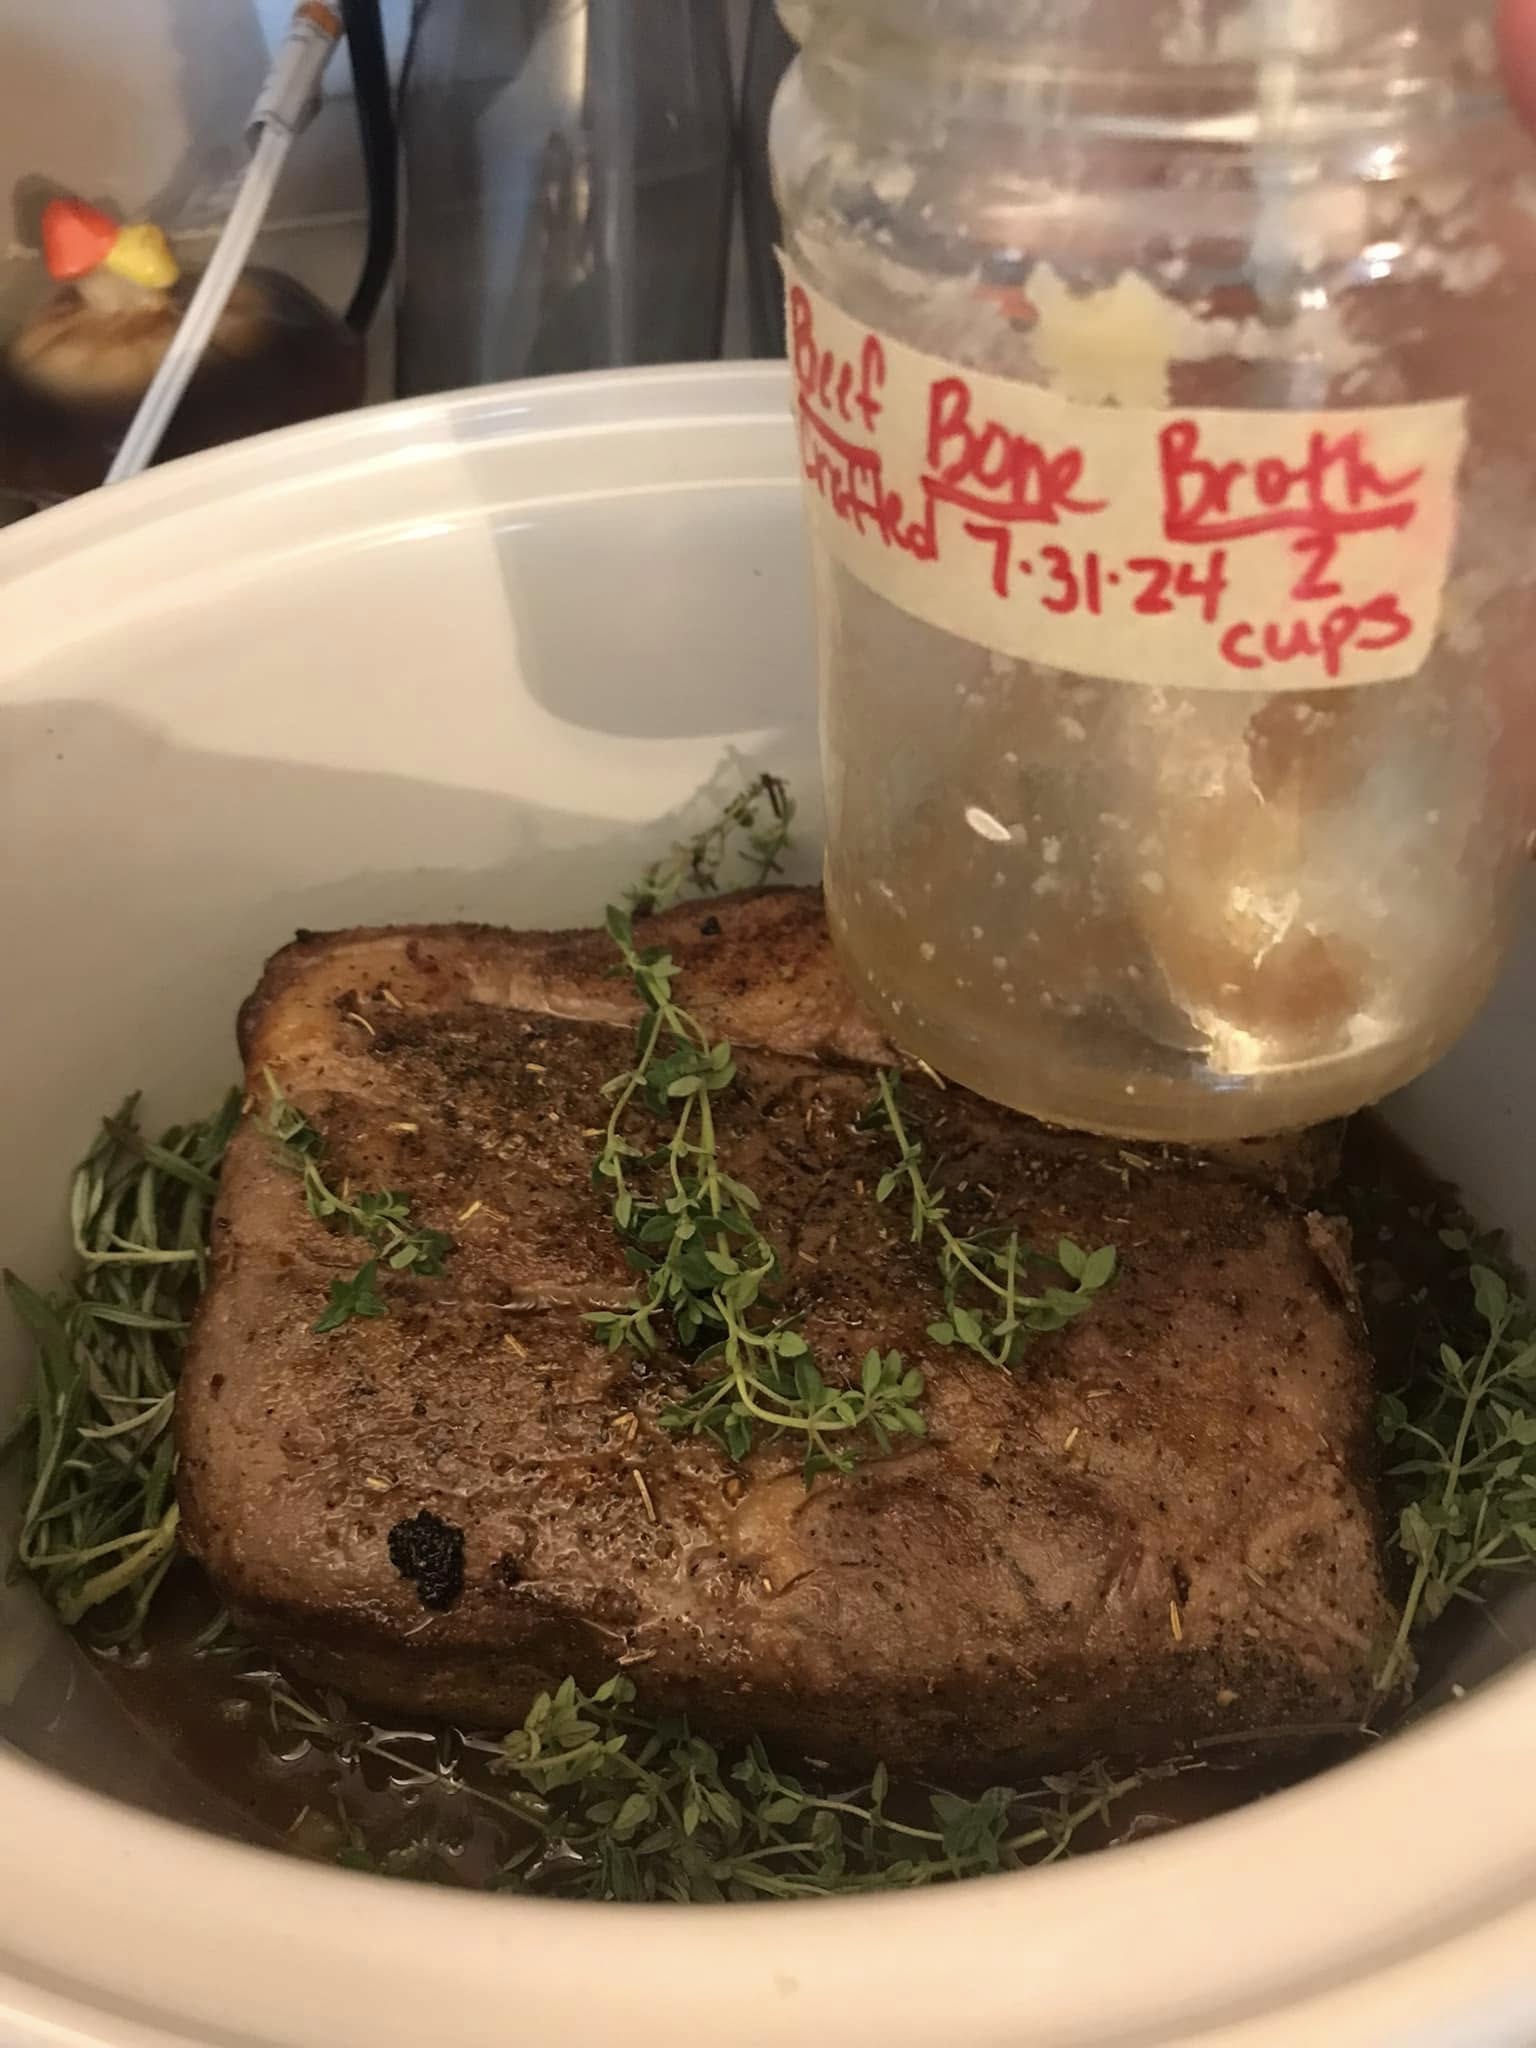
This does say it’s a 2 cup jar but this batch I made had a thick layer of fat on top, leaving closer to a cup of broth.
Also, sear your roast on all sides before crockpot-ing it.
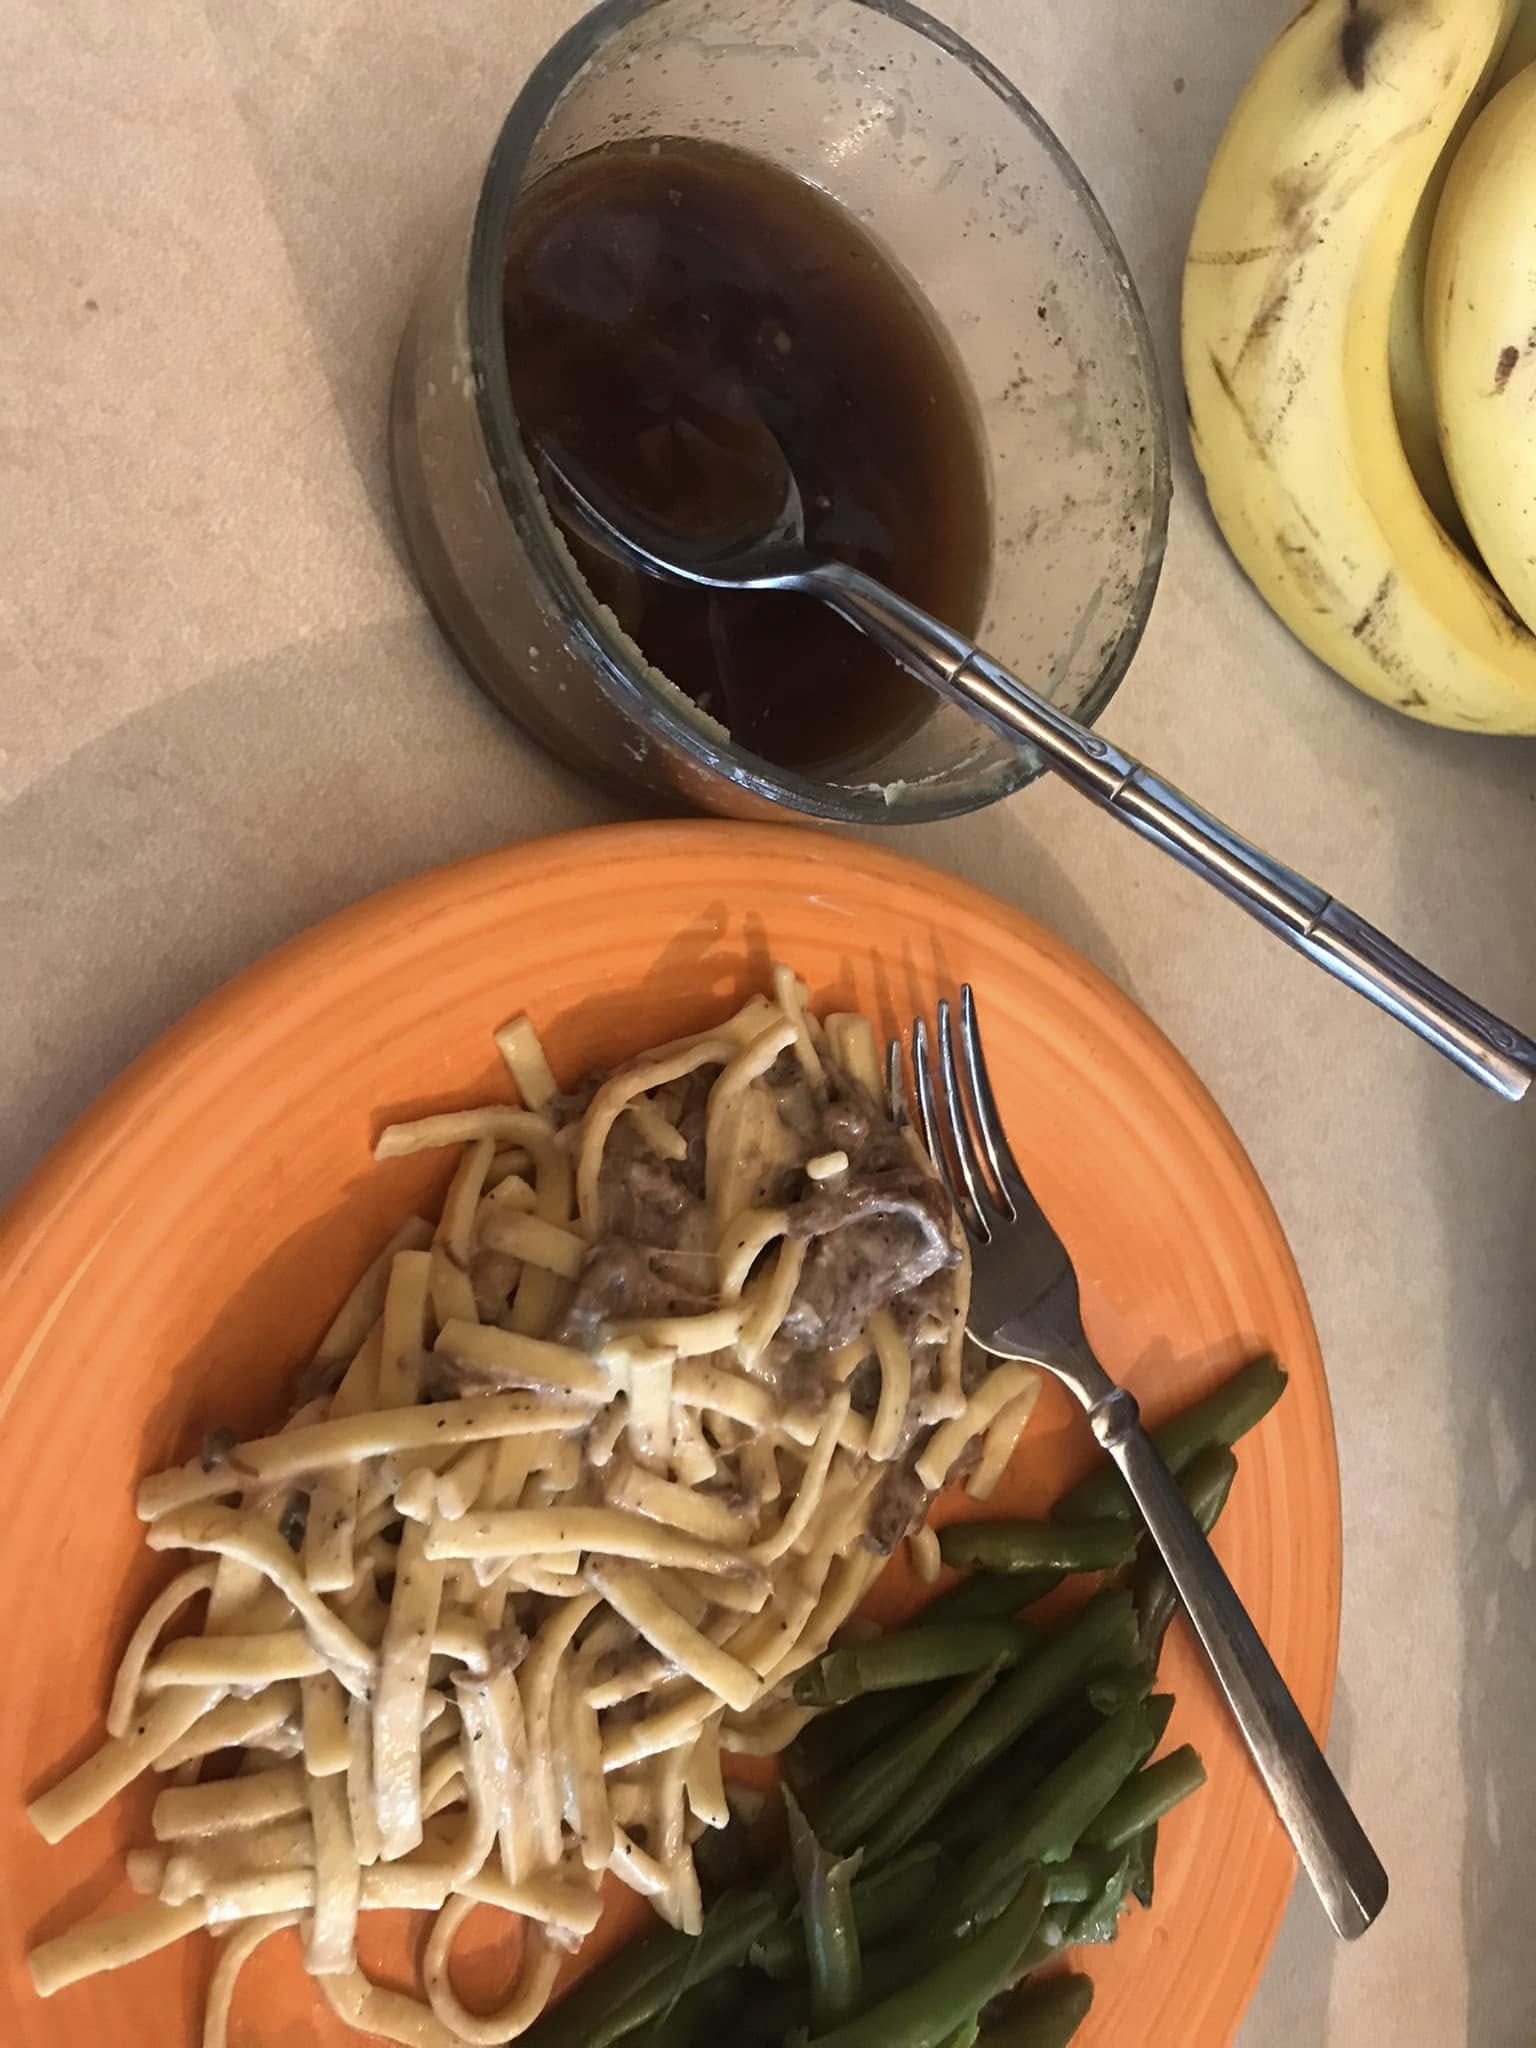
Yummy plate of stroganoff and green beans with what I had left over of the roast beef bone broth juices
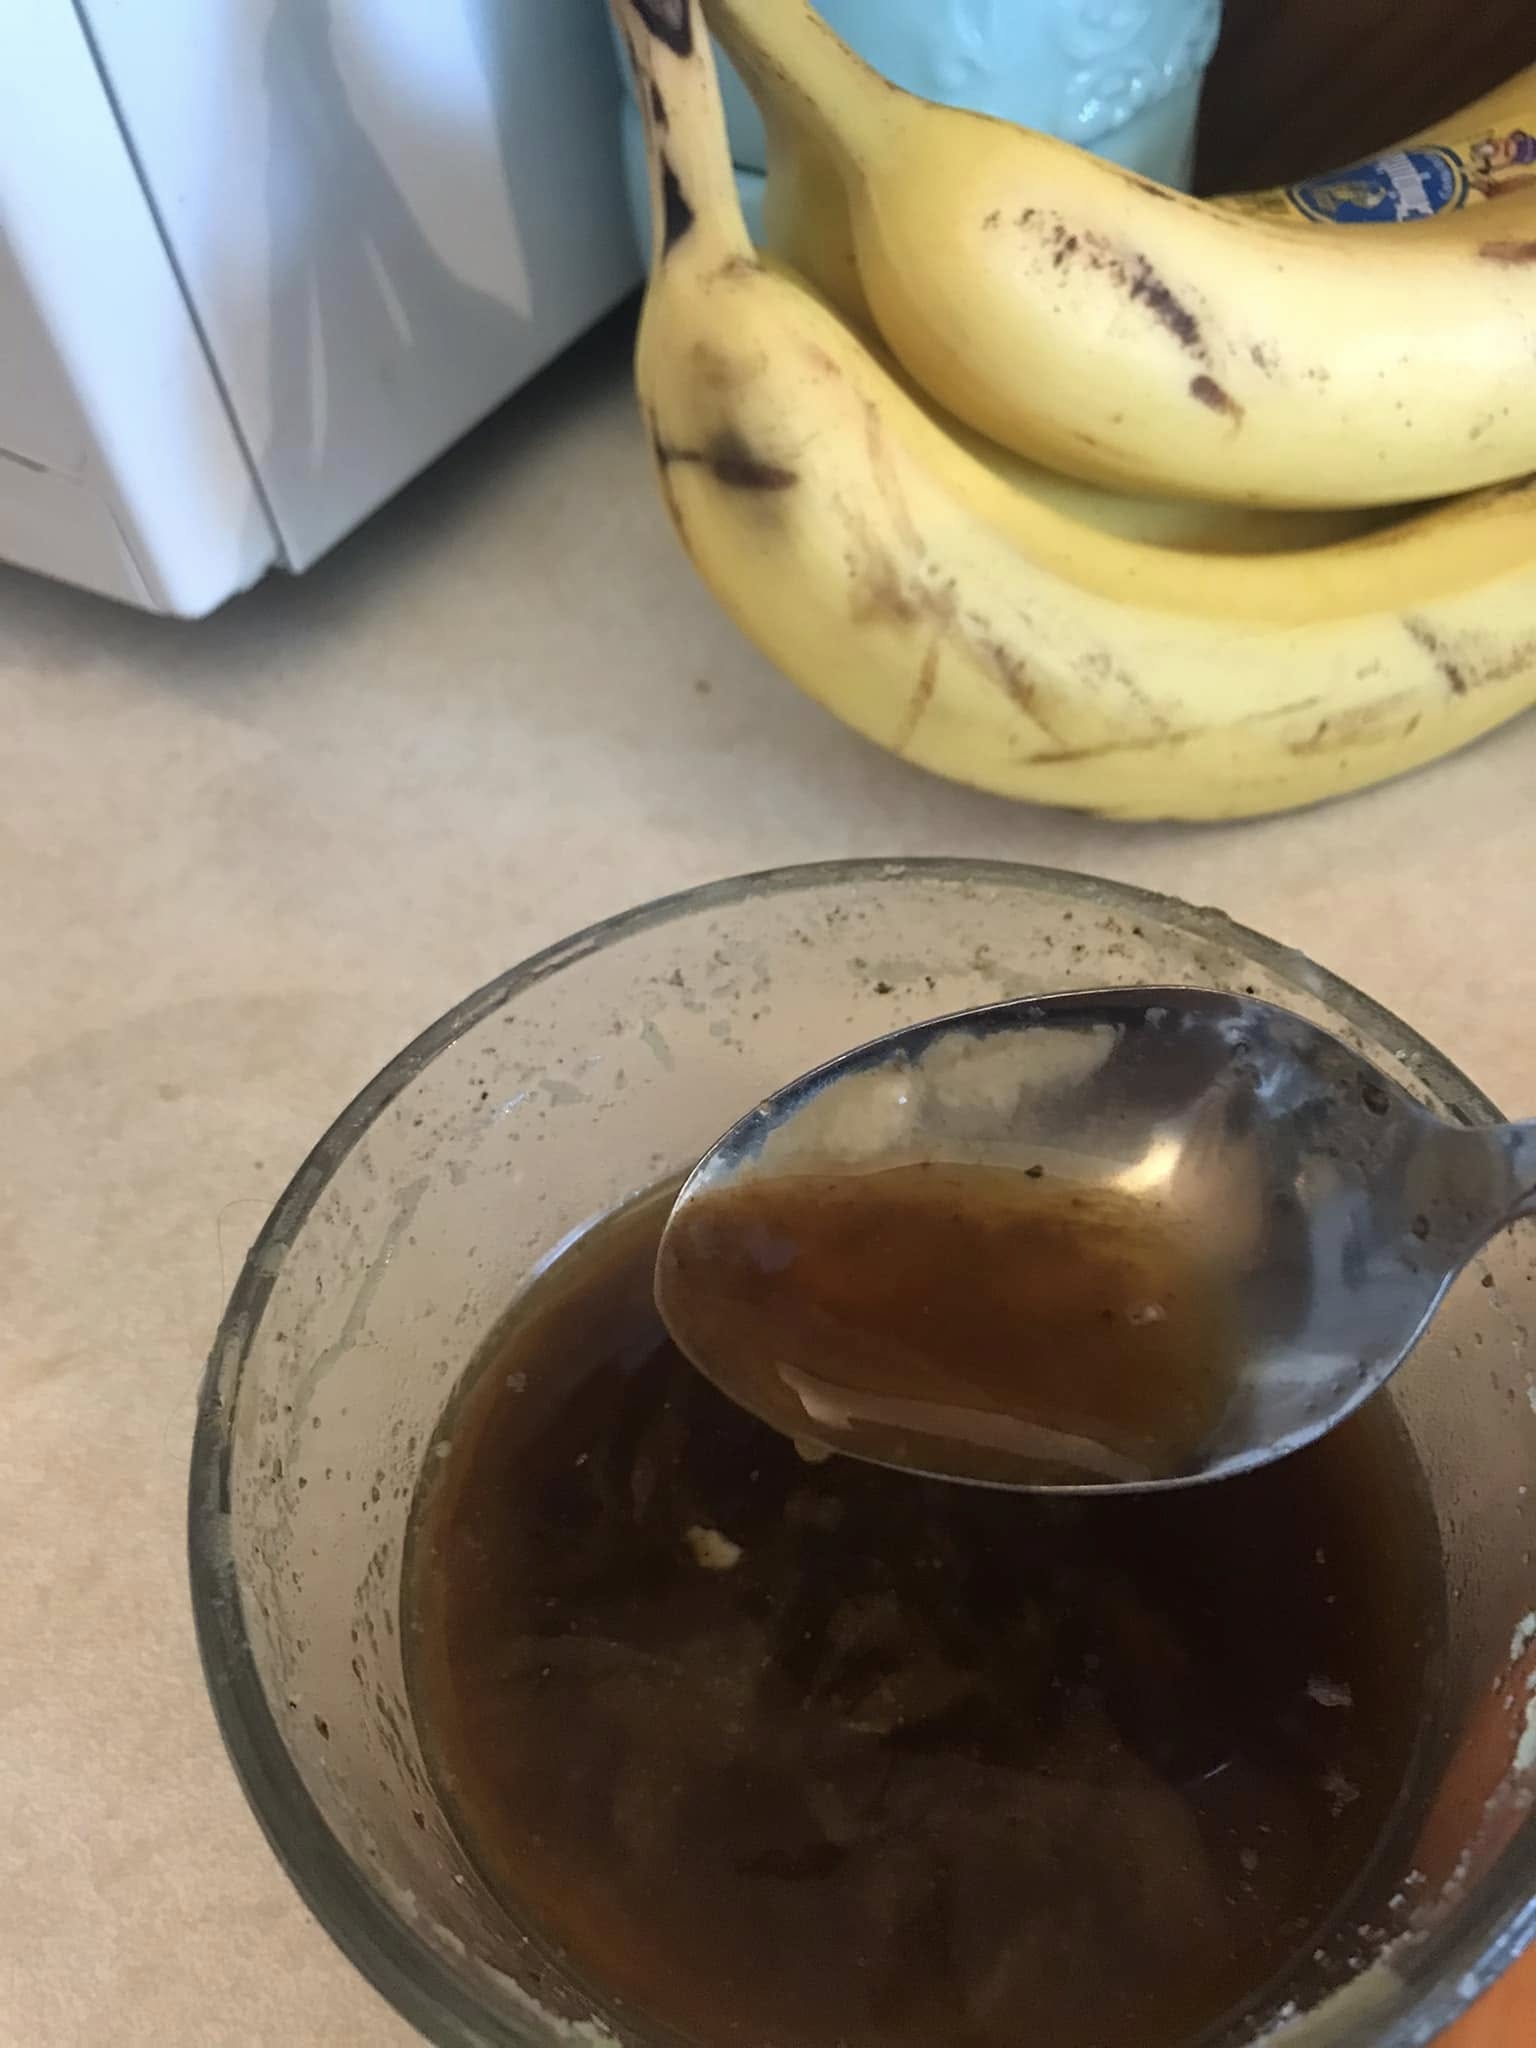
This bowl was full before the stroganoff and I tired to capture the
congeal-ness-ish of it
Corned Beef and Cabbage
I also use beef bone broth when I cook corned beef and cabbage. I love using WyseGuide’s recipe for this!
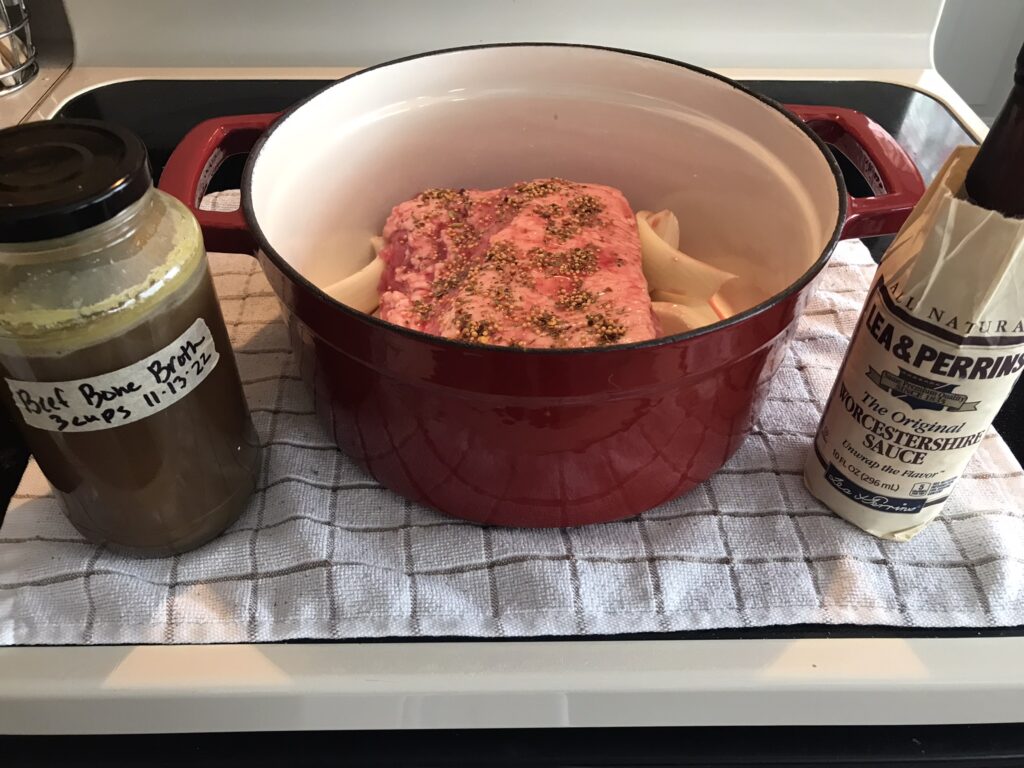
I also have to share this soup that I created using items I had at the time.
I call it Sea Kelp and Bonito Soup
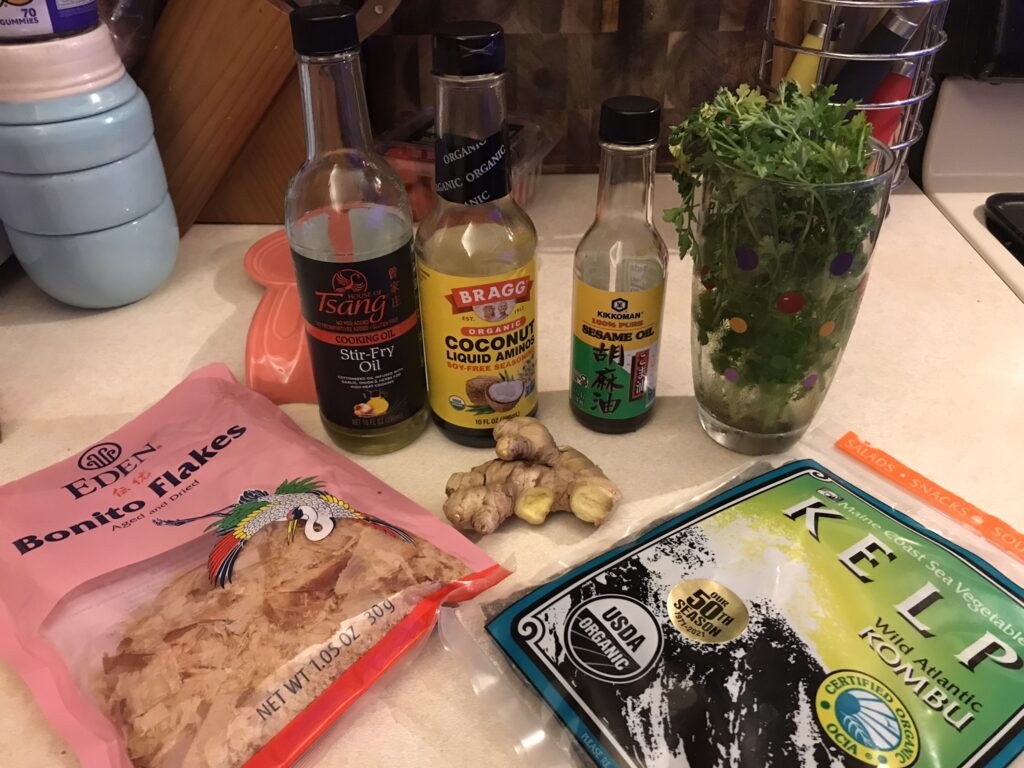
Sauté onion and celery in the infused stirfry oil, then add fresh ginger (I like to use a potato peeler to remove the skin and then shave the ginger into flakes) and fresh garlic. Sauté a couple more minutes then add in beef bone broth and water.
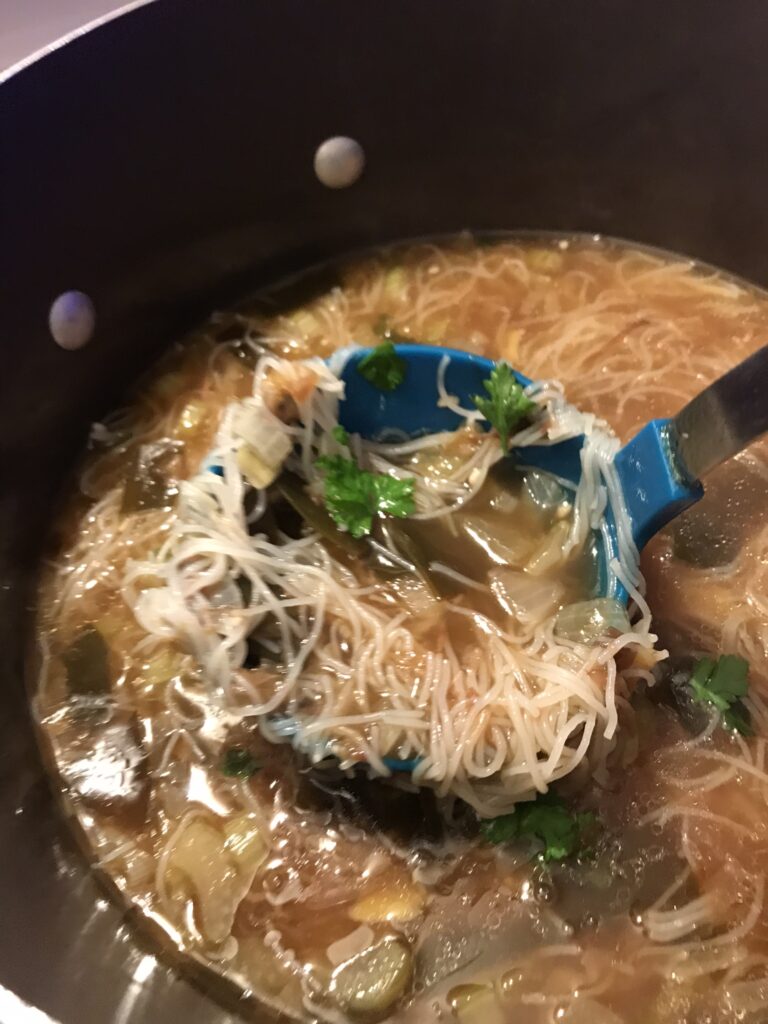
Once simmering, add in sea kelp. Bring to a boil and add in bonito flakes. Then bring back to simmer. Add in coconut aminos and a little sea salt. Cook thin rice noodles according to package. Once done, add the noodles along with sesame oil and parsley and voila a delicious soup!
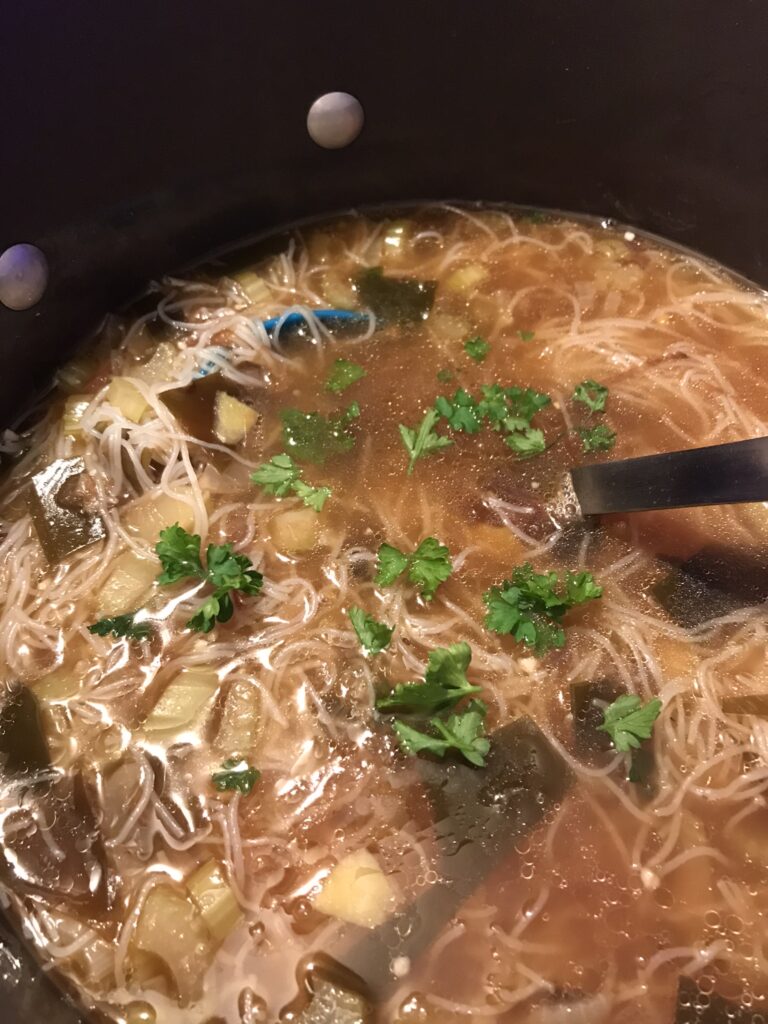
I also made grilled cheese in case my boys didn’t like it, but they enjoyed this creation as well!
In conclusion, there are so many ways you can incorporate delicious and nutritious bone broth into your life and yes, it’s a little time consuming to make, but it’s fairly cheap since you’re mainly using scraps and goes a long way on our journeys of health and healing. I hope my tutorials help. This is from researching how other people make their’s and several years of trial and error and making each batch better than the last.
Take Care 🙂